Introduction
This mini project had two parts to it: creating a 3D model to have printed and scanning a real object using a 3D scanning application. Here I was given the opportunity to expand on my 3D modeling skills as well as learn how to 3D scan an object. Here's how it went-
3D Printing
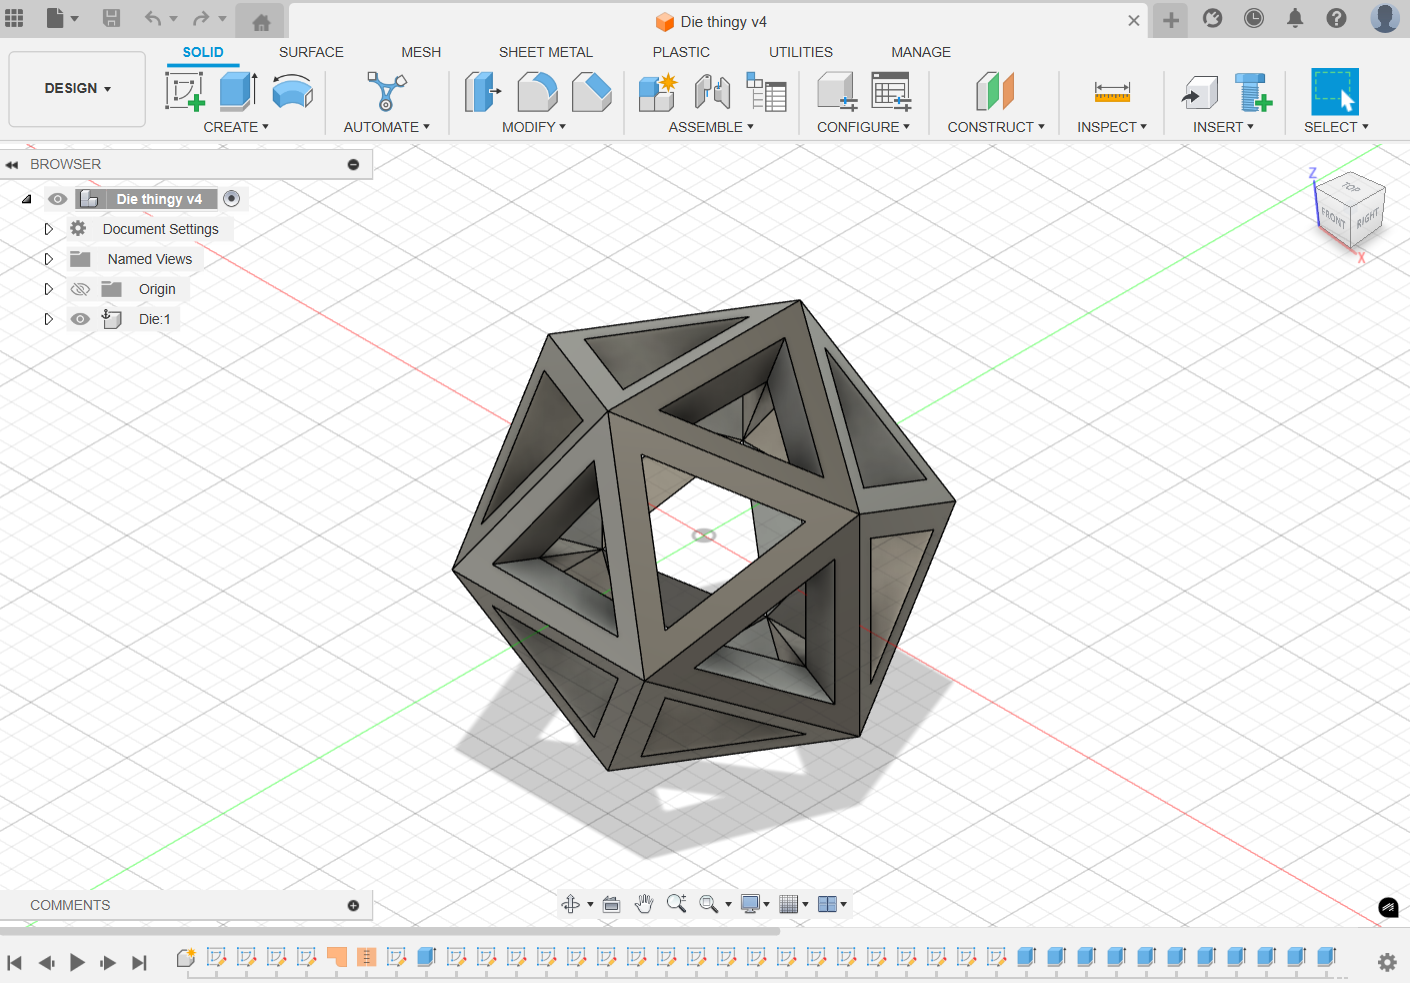
I started out with the making my 3D model, as I was already familiar with this half of the project. Initially I wanted to model a 20-sided die-shape that would be hollow with a loose ball on this inside of it. Using a technique I had learned a few years back of creating 3 intersecting rectangles across 3 axes and making a 3D sketch, I created the die-shape. However, Fusion began acting weird when I began extruding sections out of the shape. This along with my desire to make something else for practice lead me to switch to making a ball bearing.
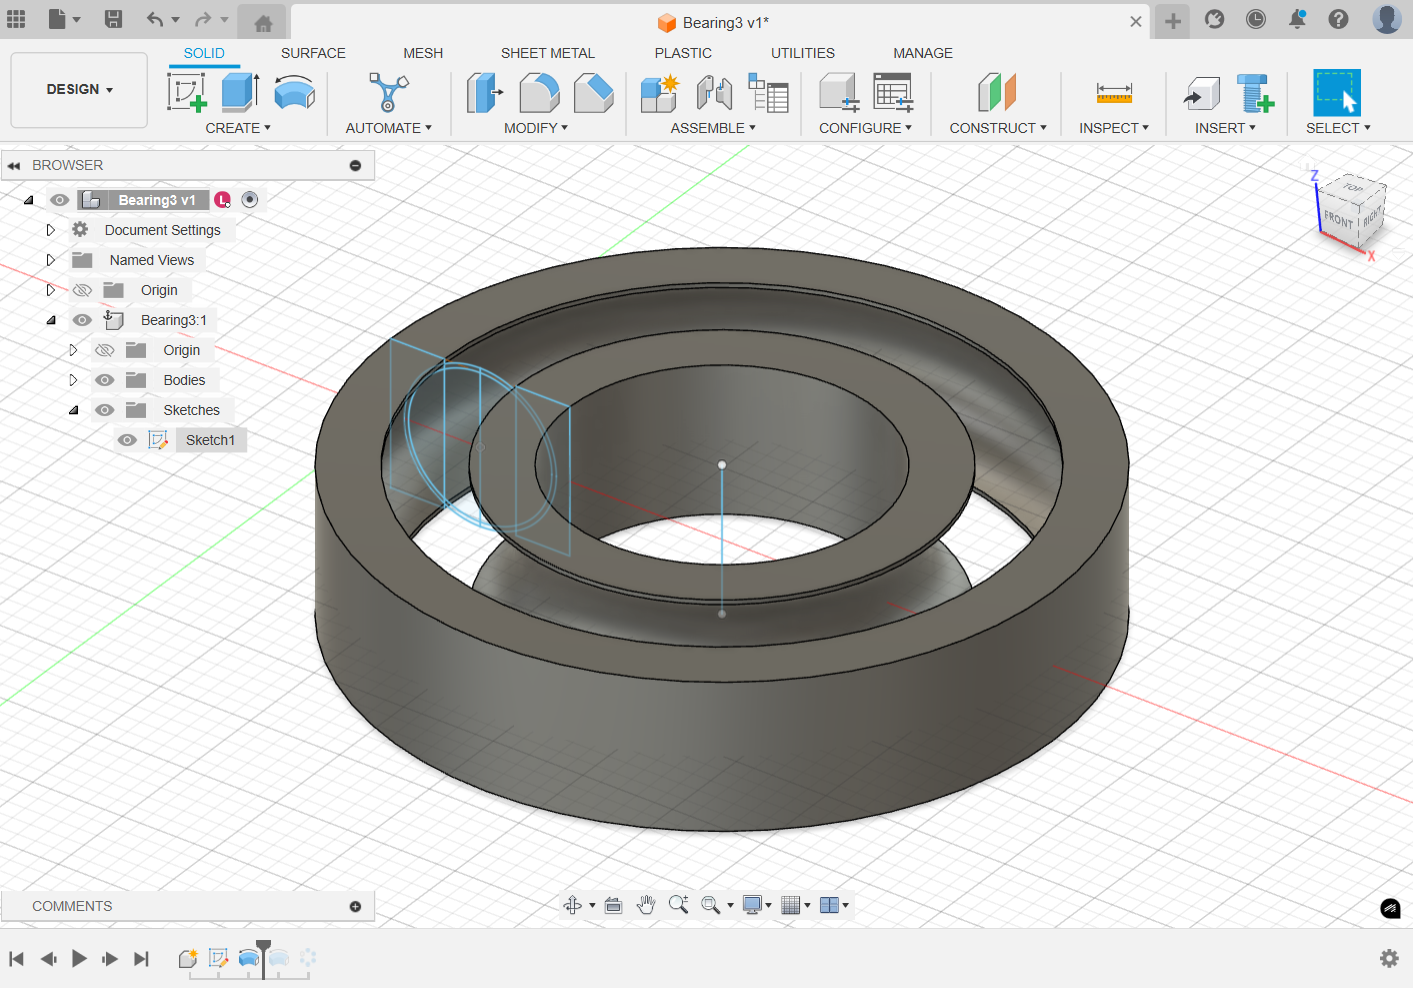
The first steps I took on learning how to model a bearing were to google Youtube videos and look at the process. After studying how different people made simple bearing designs, I went to make my own. The first step was the initial sketch. I started off with a tie-fighter-like shape, with a circle and two rectangles to either side. I then added a slightly smaller (0.05 cm gap) circle within the initial. Finally, I placed a line going down the middle of the circles and another like to the side of the sketch.
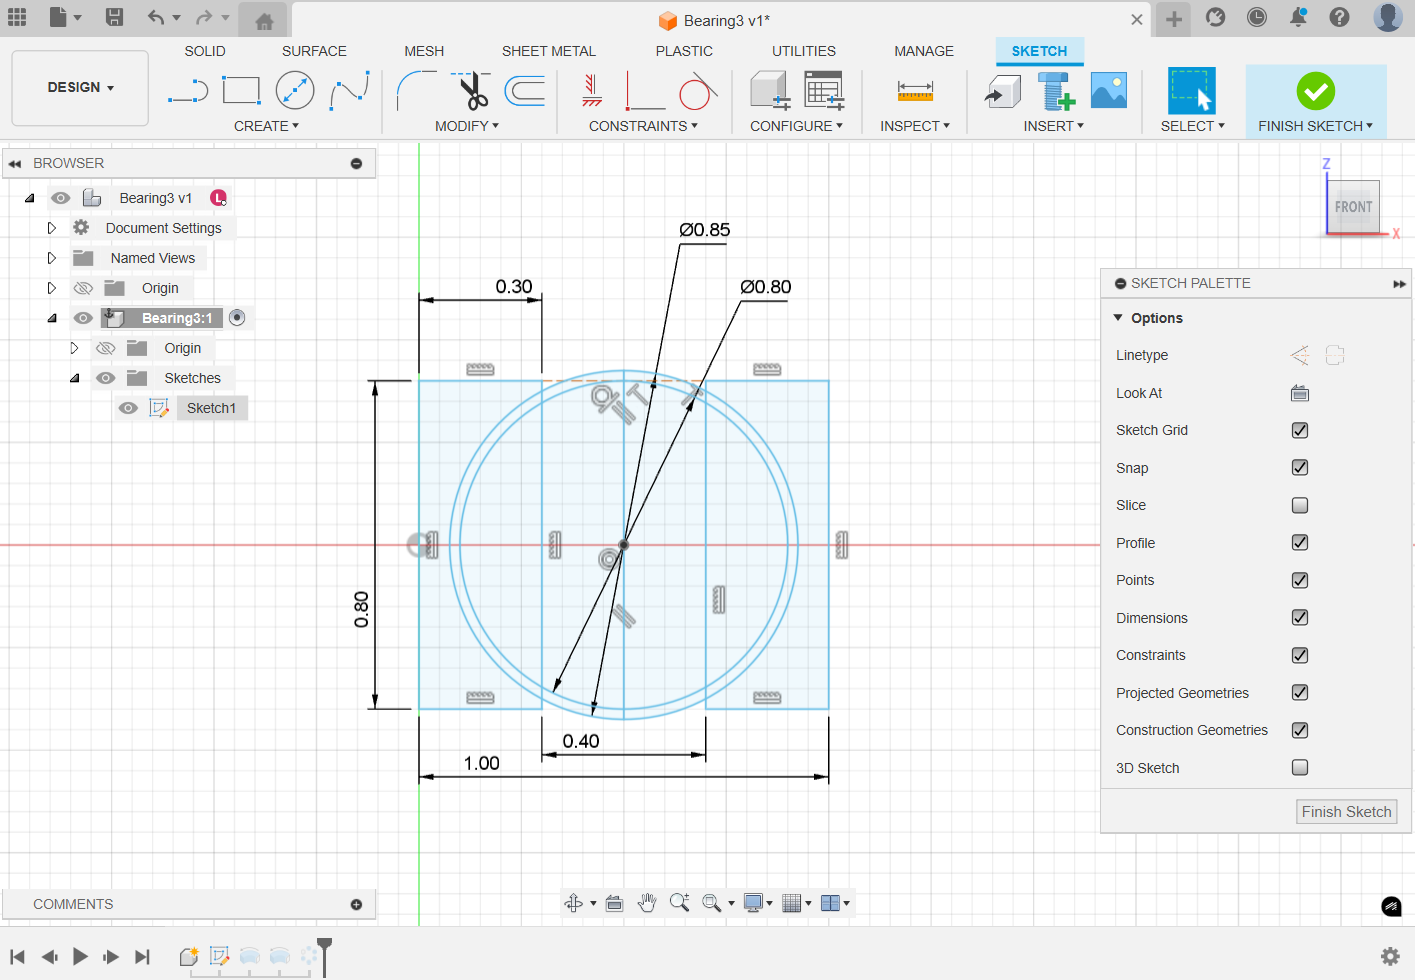
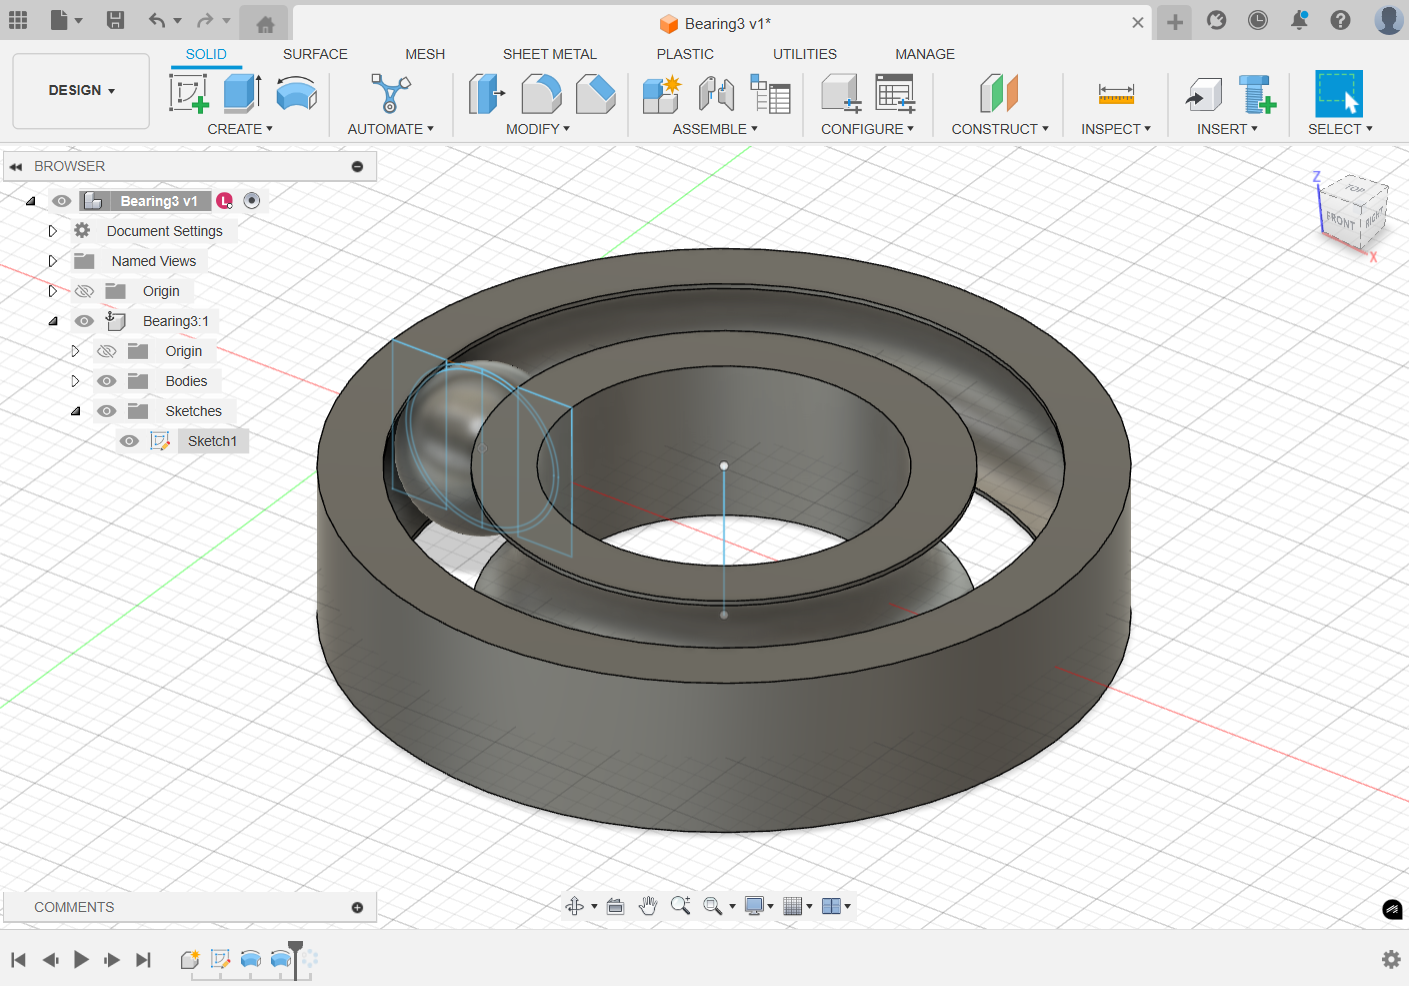
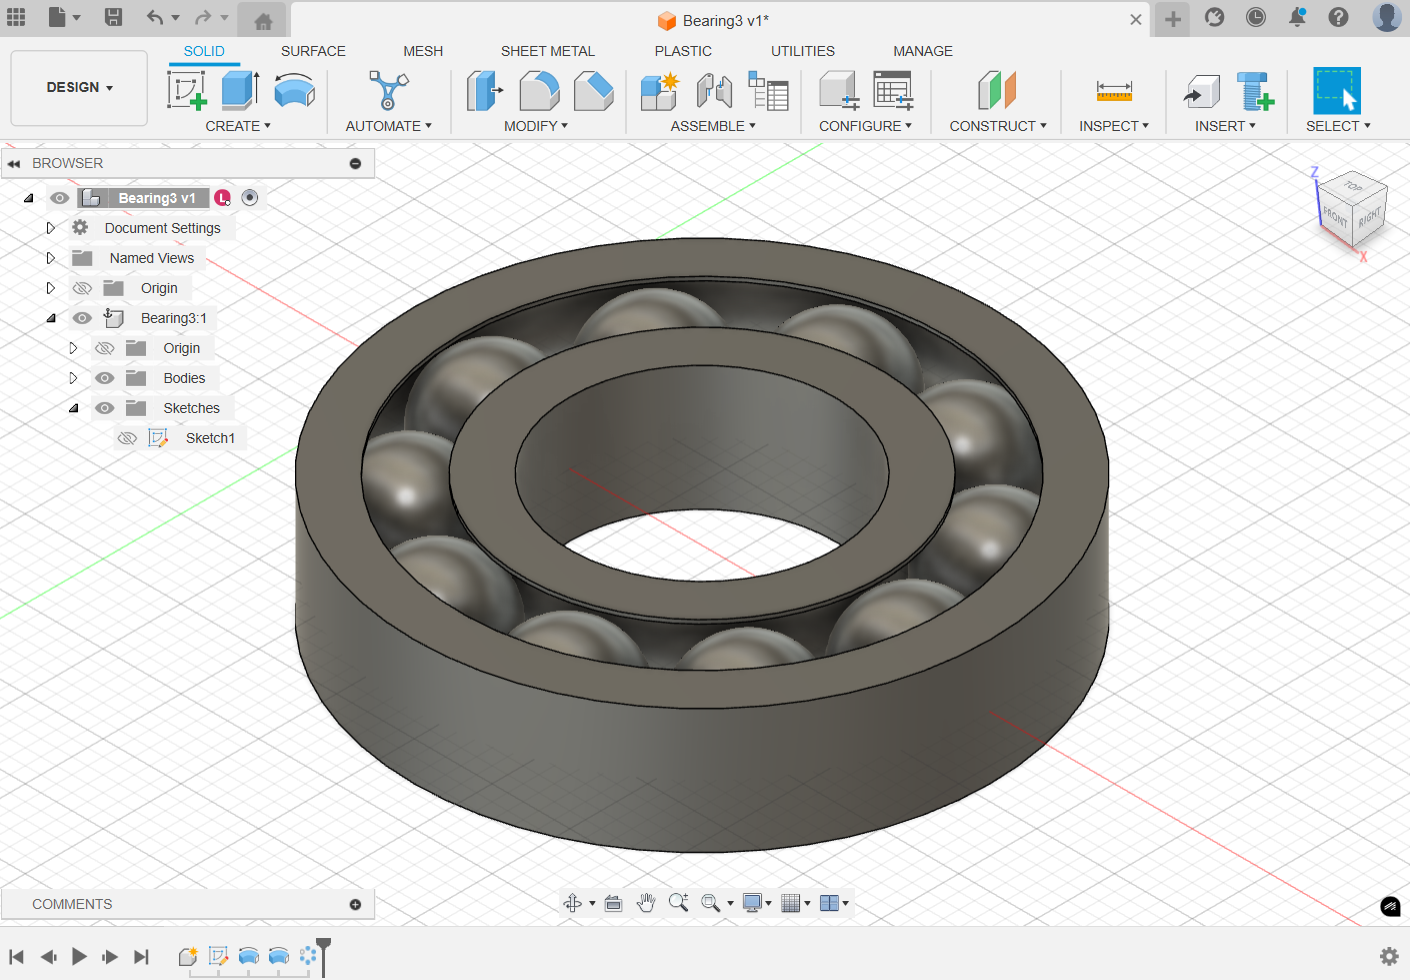
Heading out of the sketch, I selected the the two arc-shapes and revolved them around the line to the side of the sketch. This created the two "walls" of the bearing, the inside and the outside. Next, I selected half of the smaller circle and revolved it around the line down its middle to create a sphere. Finally. I selected the sphere and created a circular pattern with it, creating 10 spheres within the bearing.
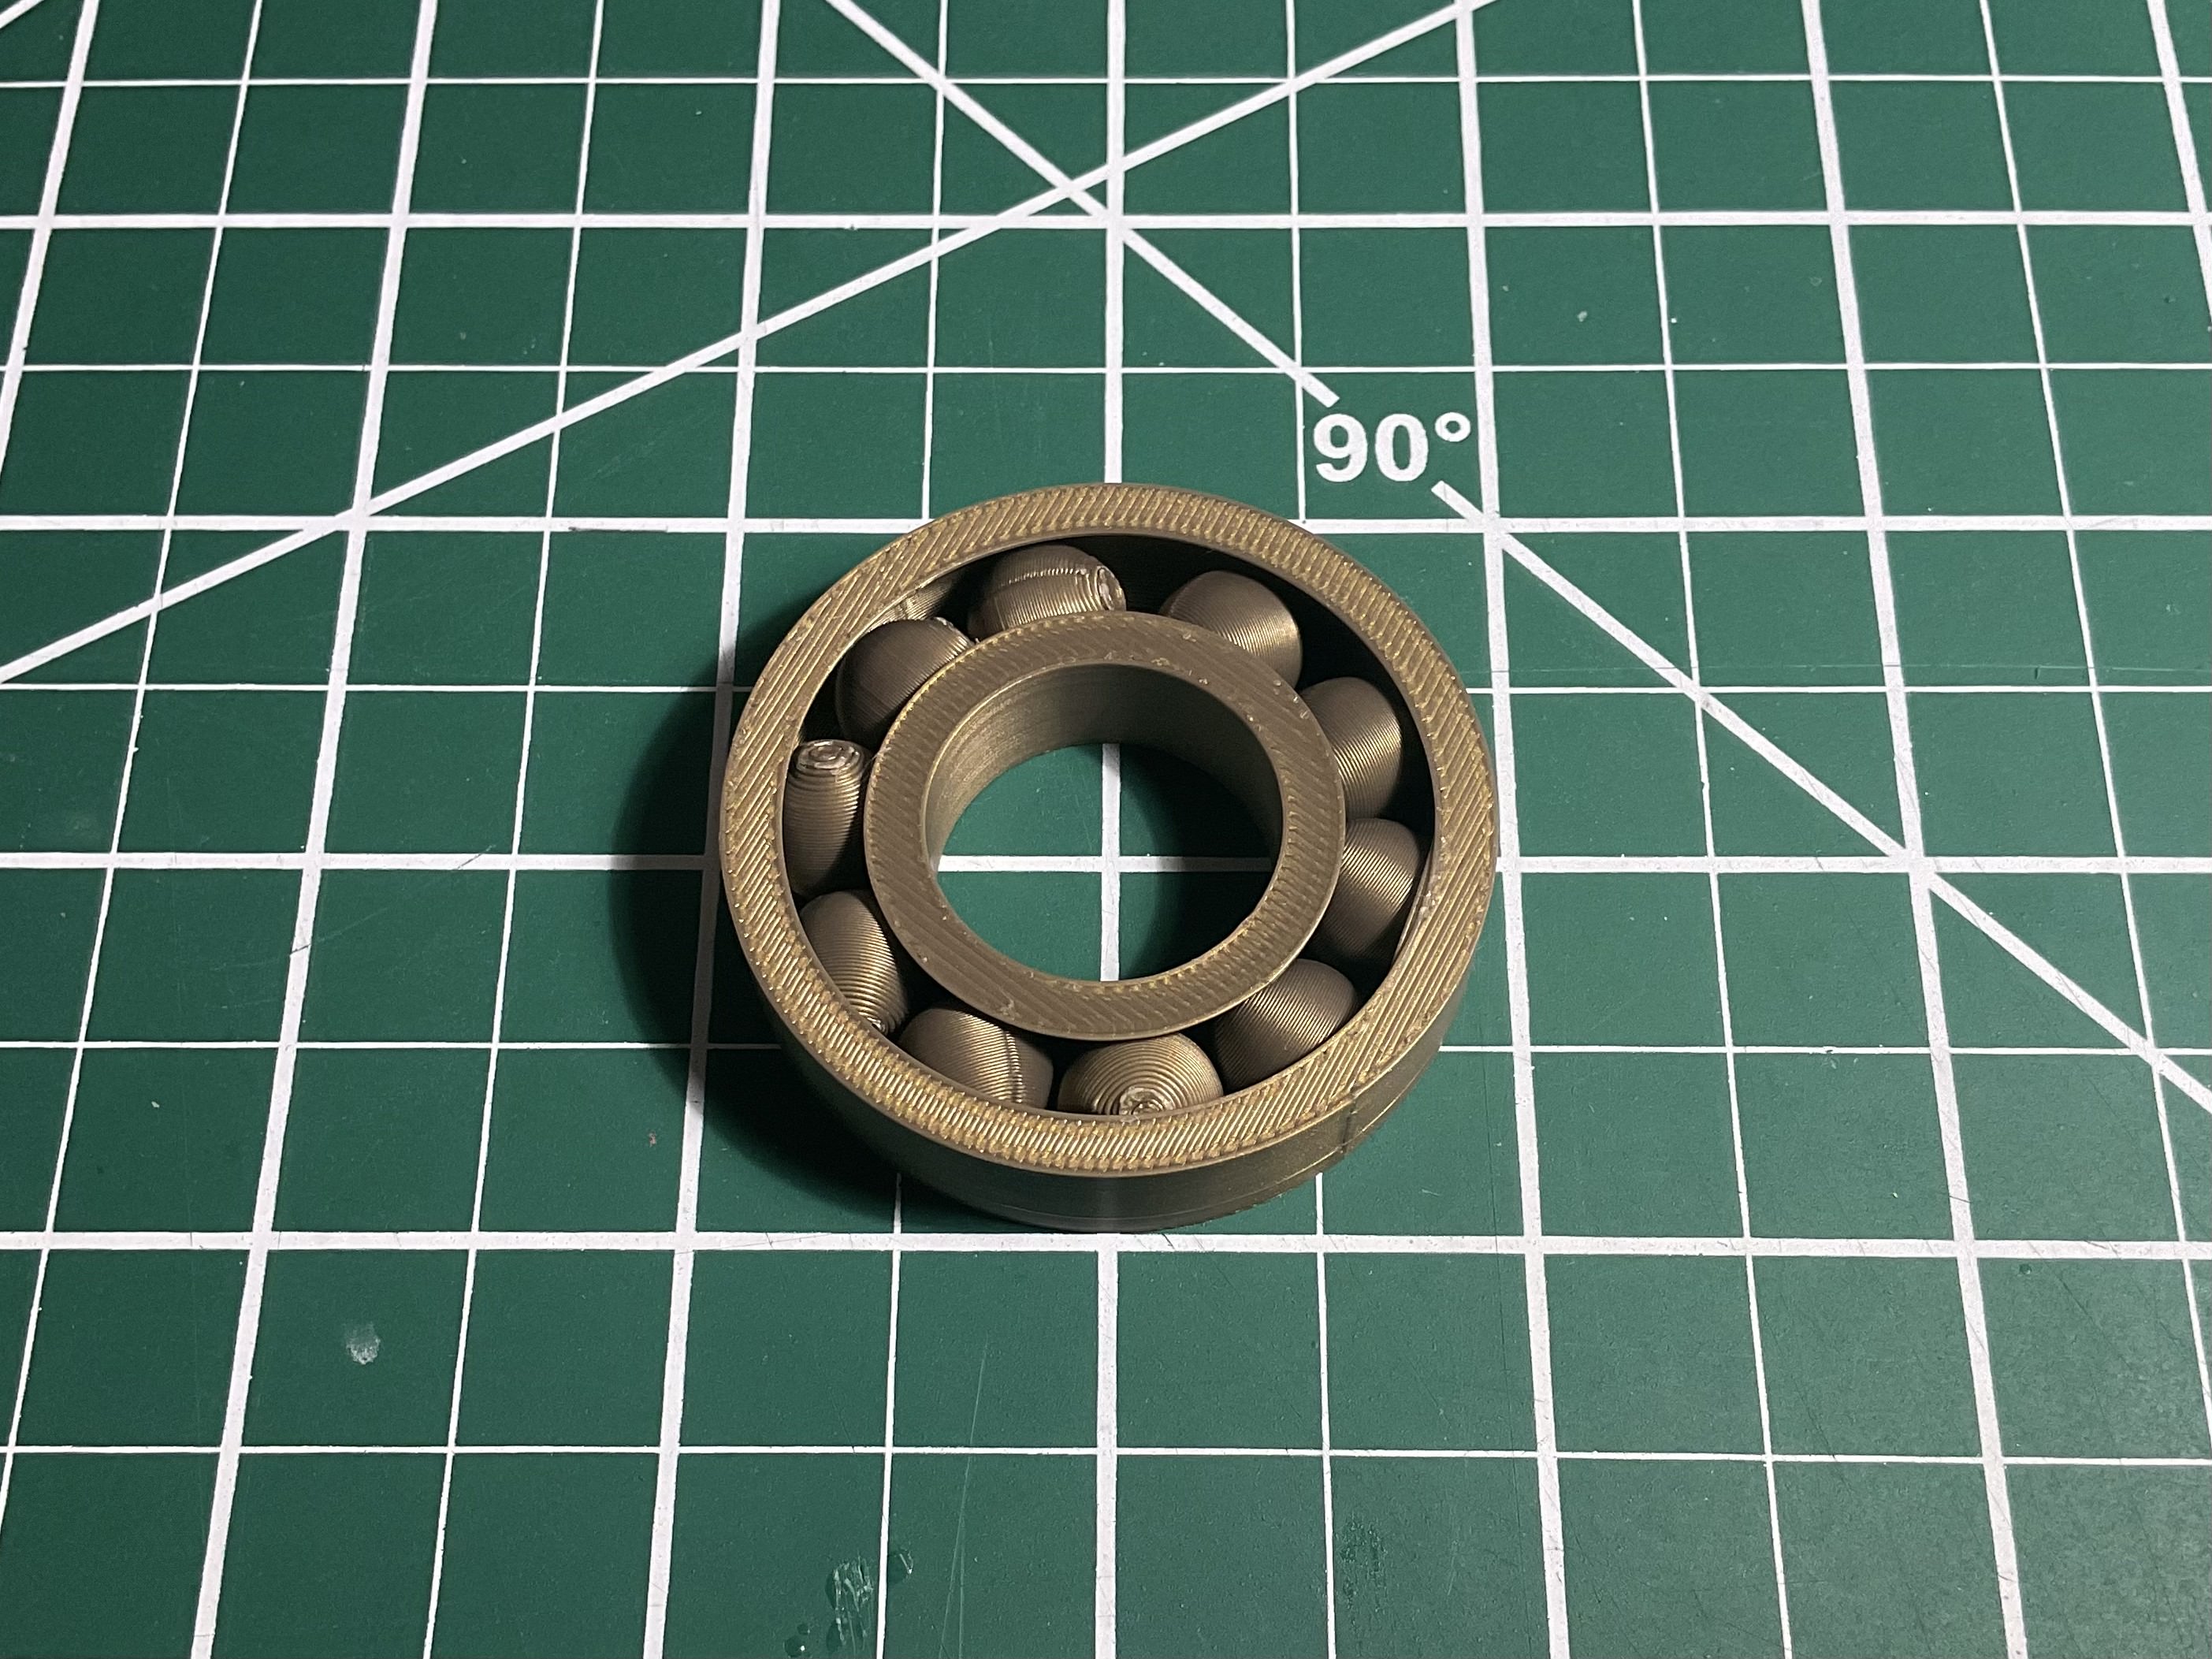
Here is the final printed bearing-
3D Scanning
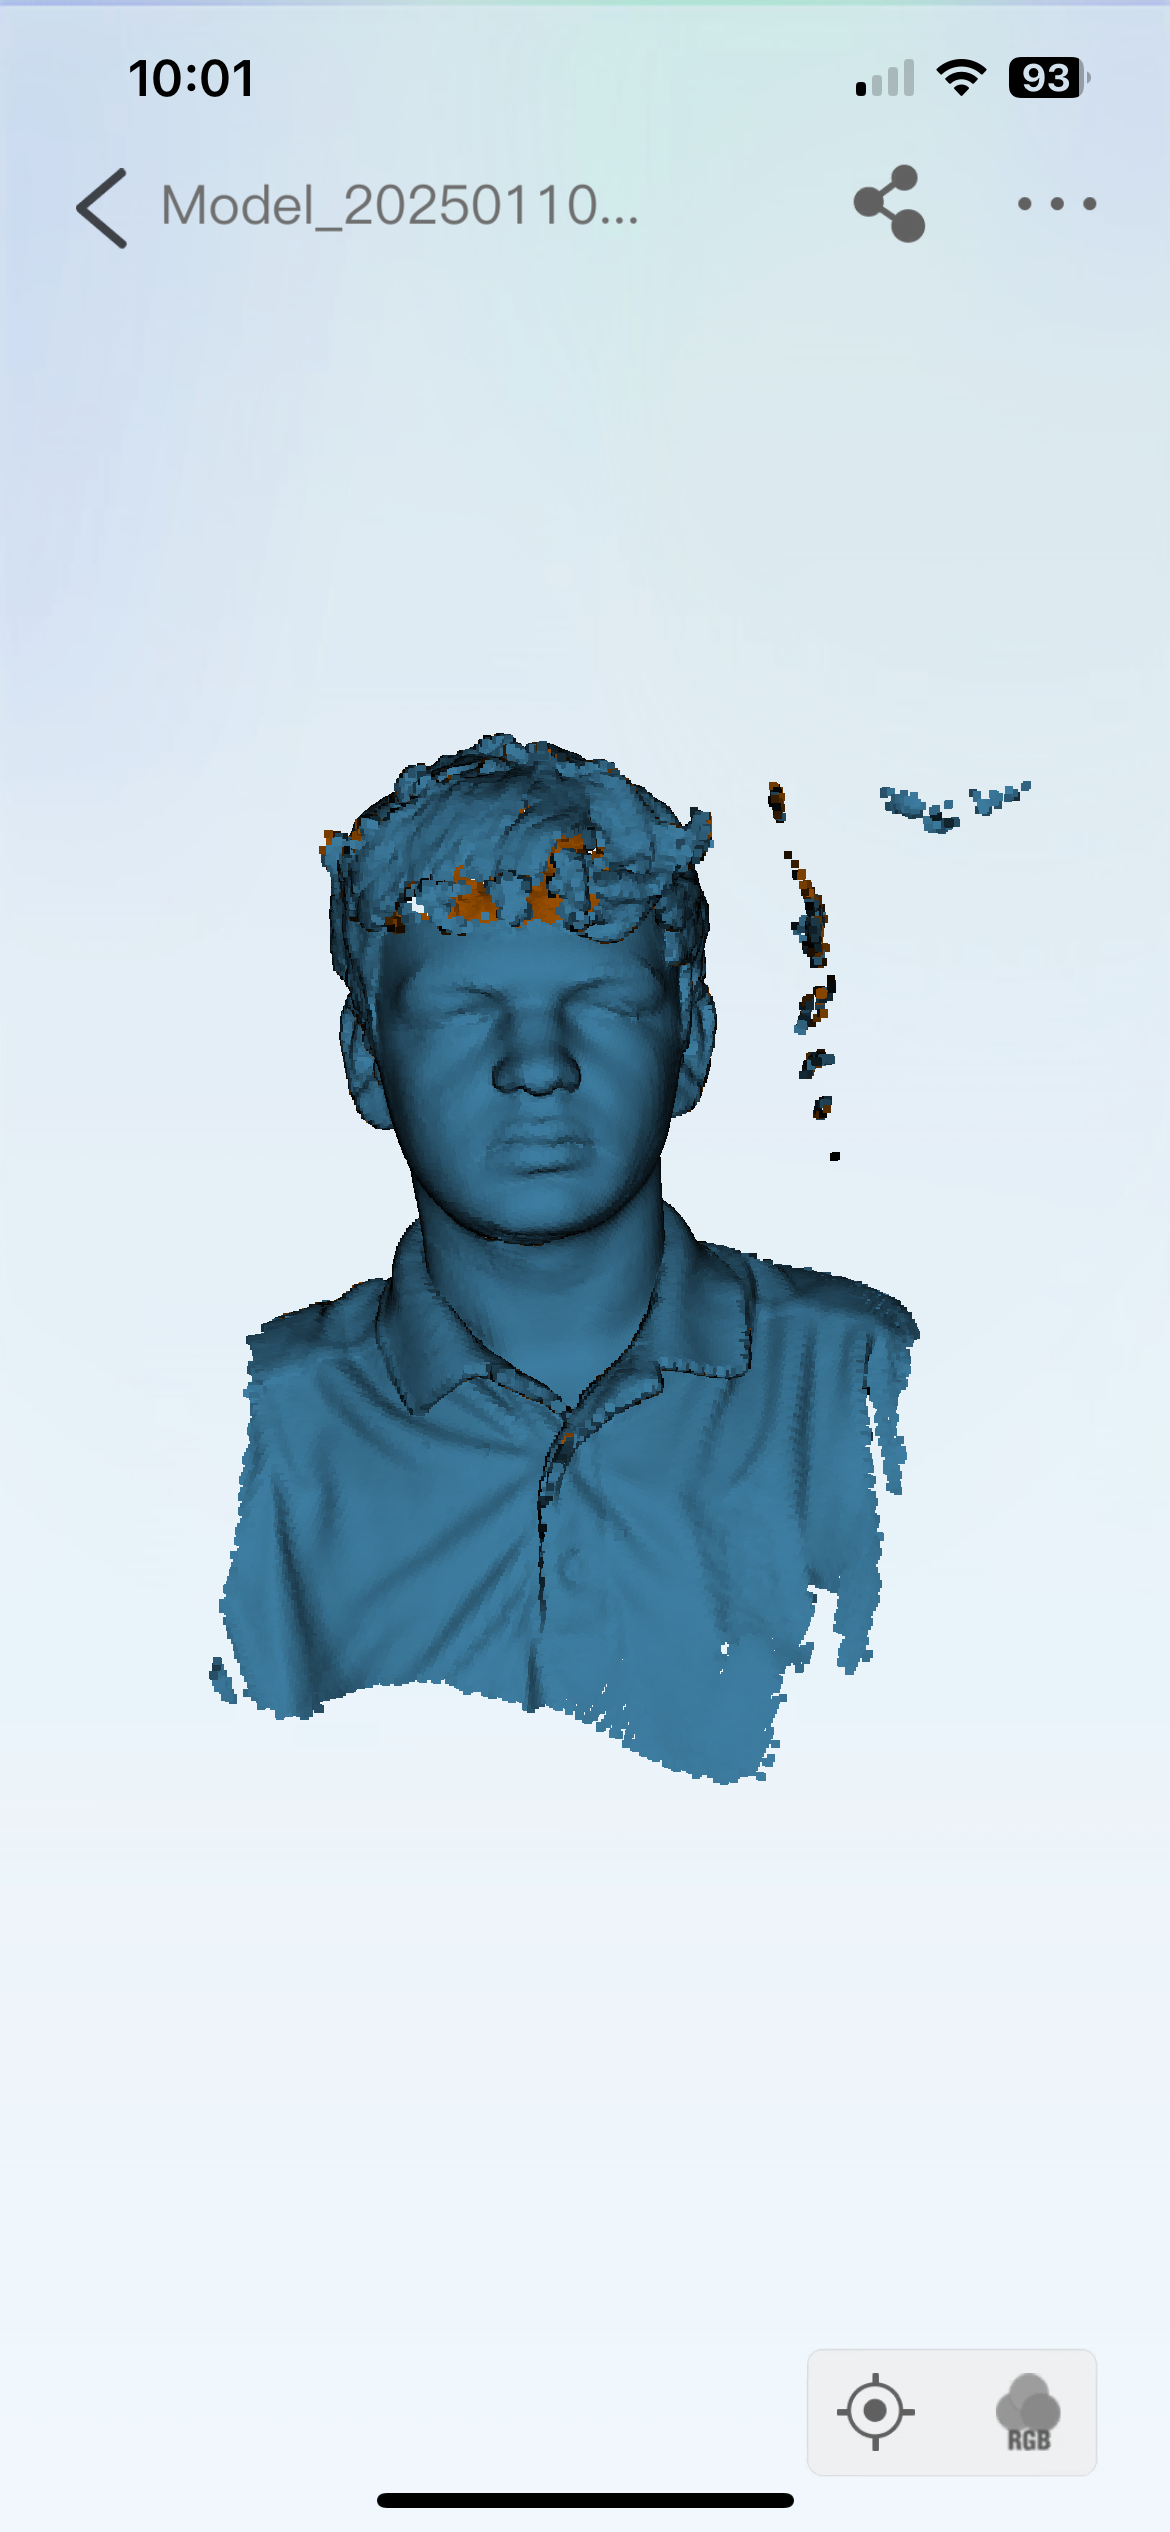
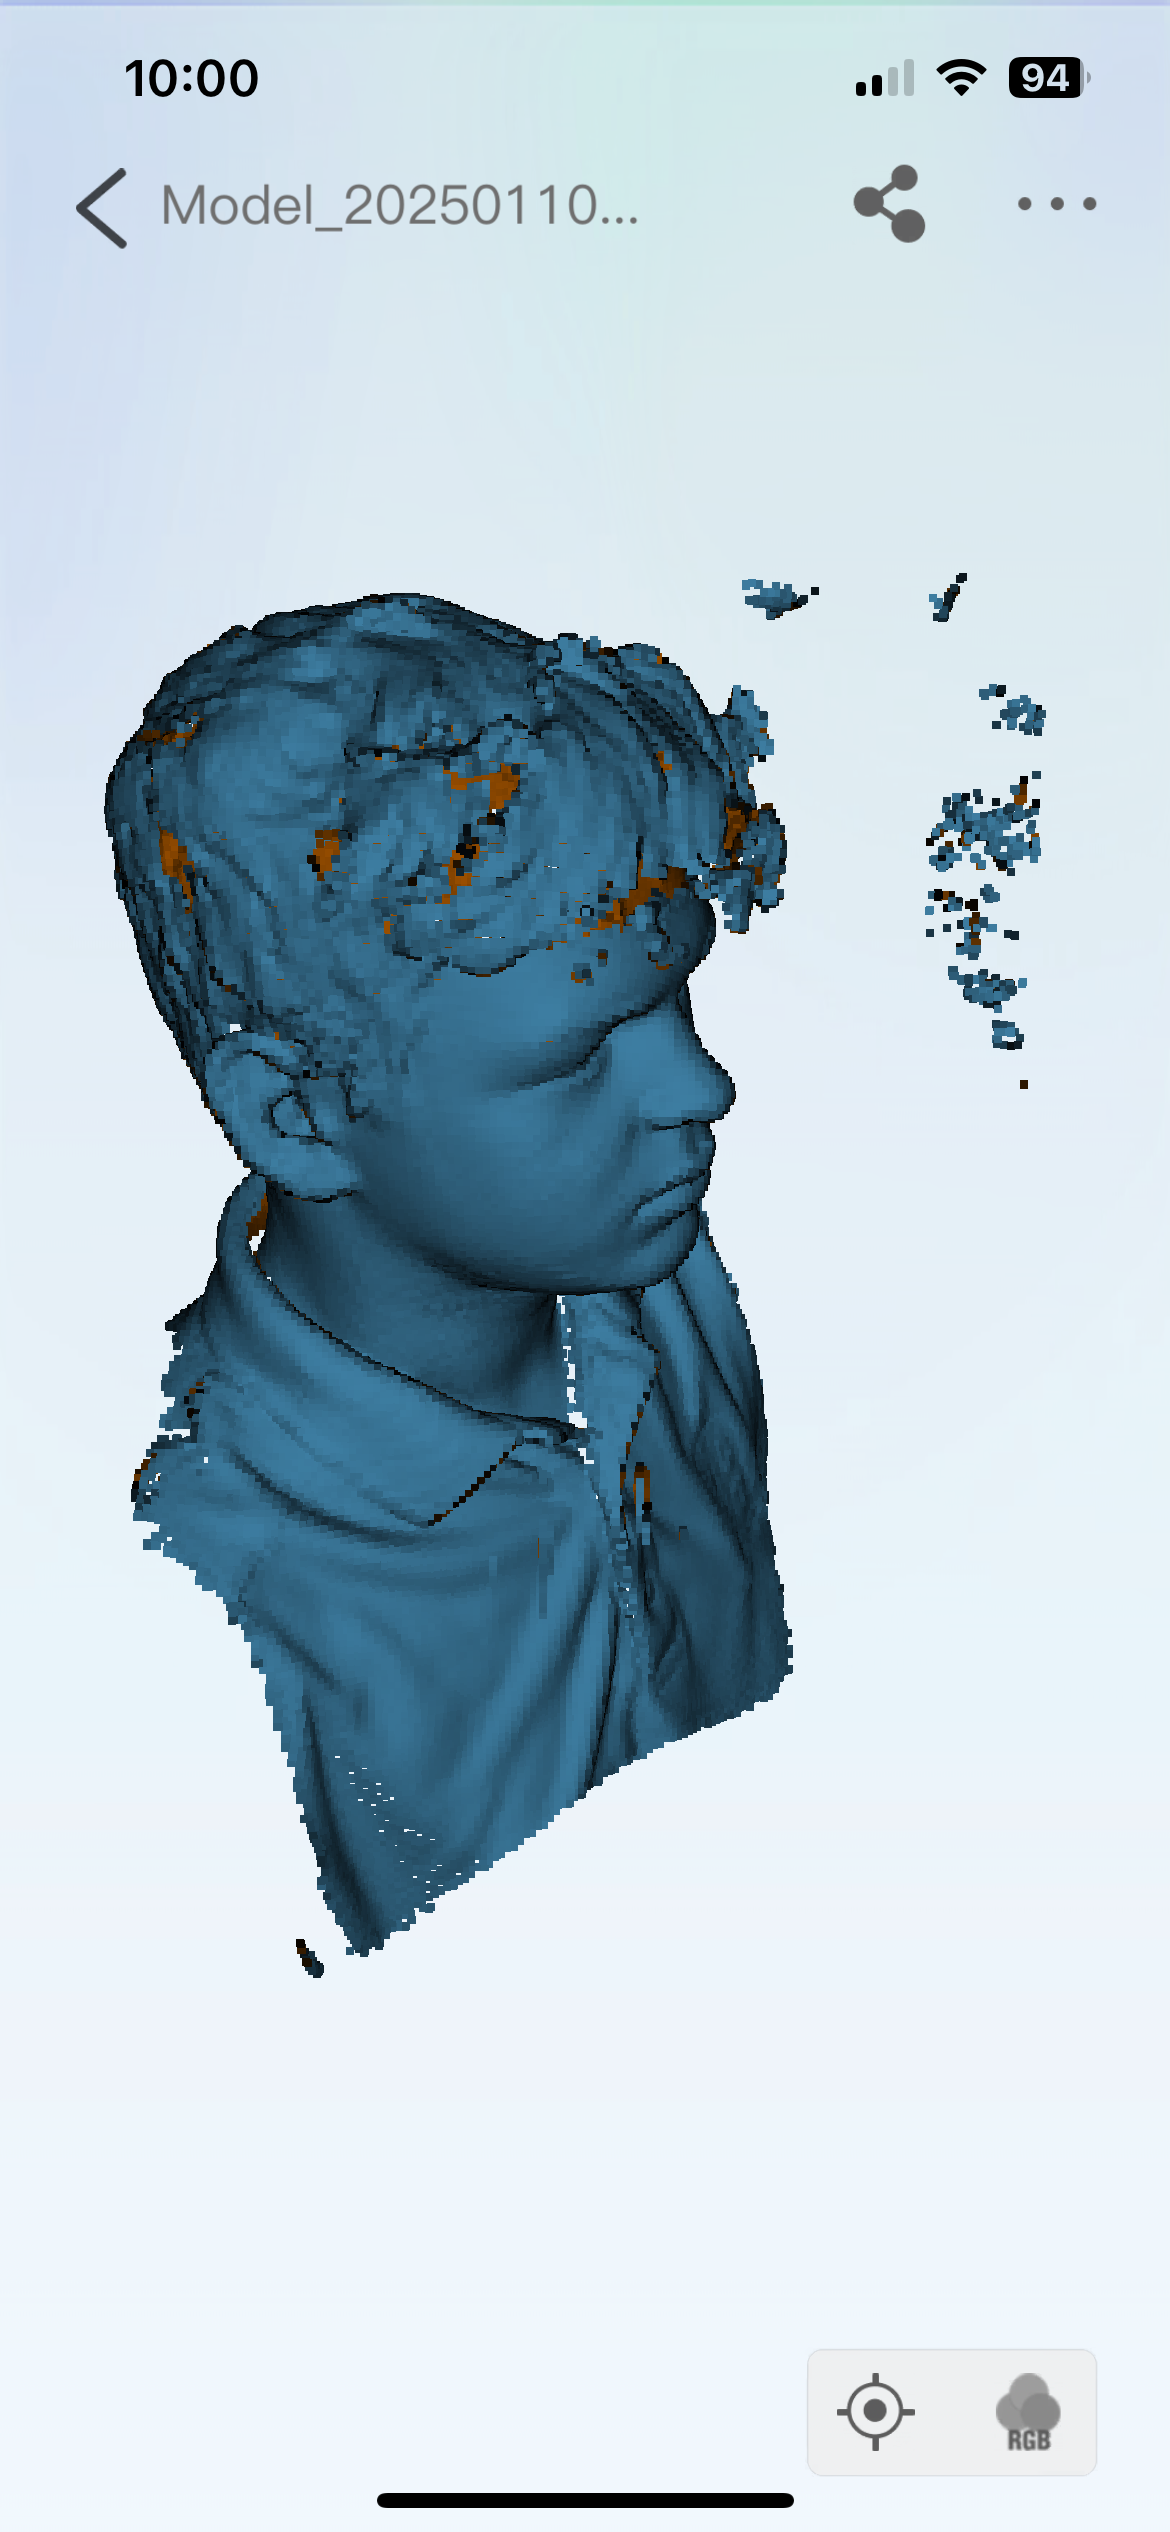
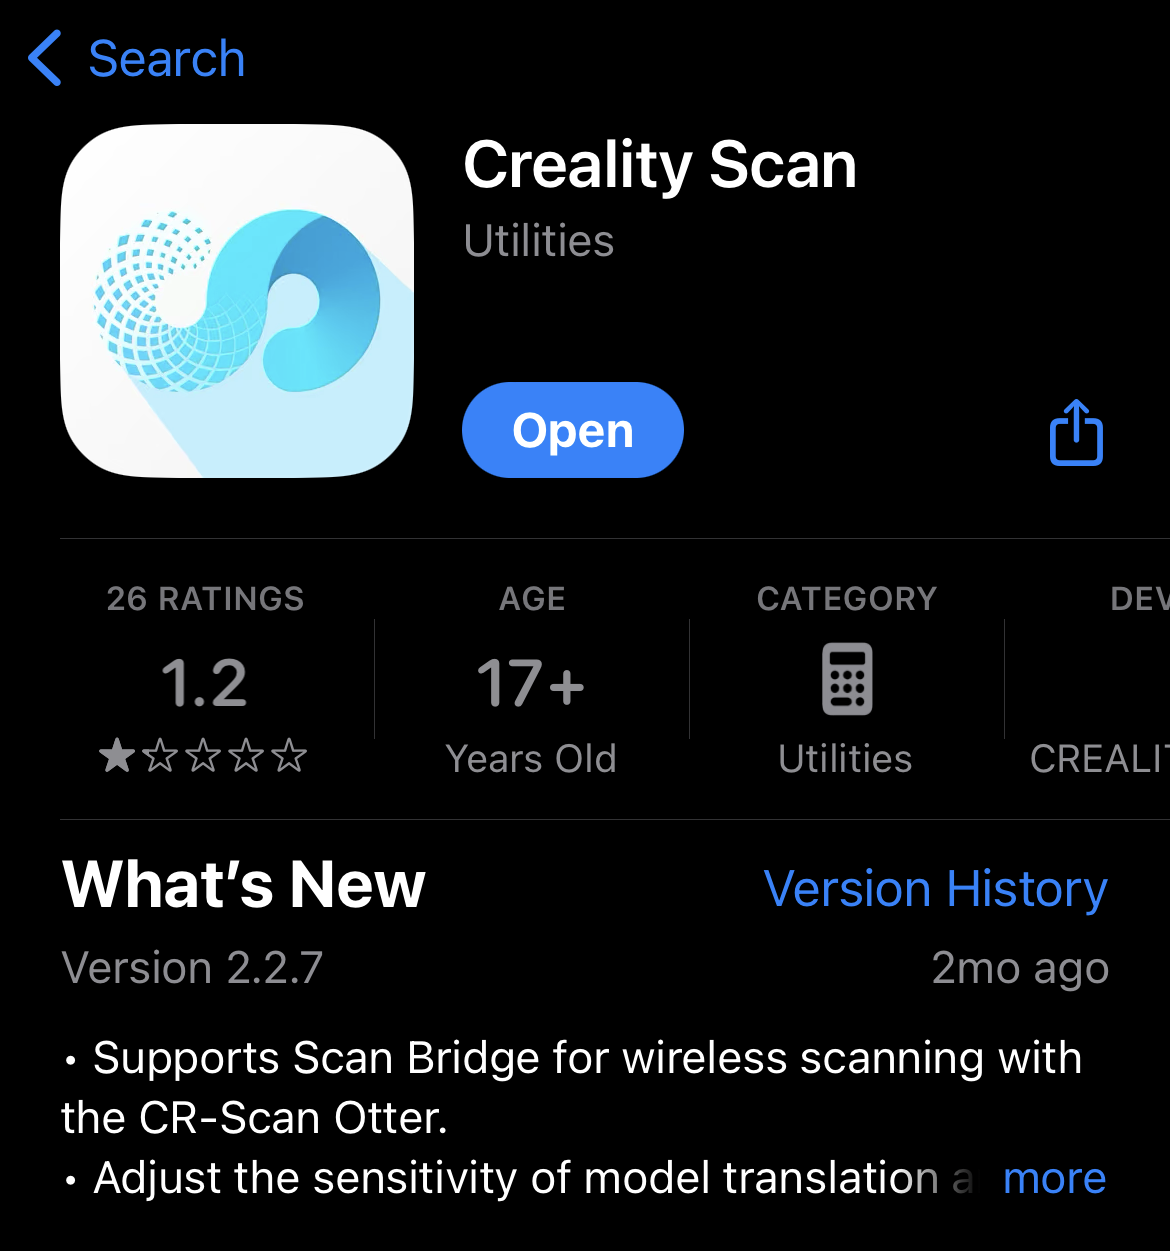
3D scanning is an ascpect of 3D modeling that I had never explored before. I decided to work together with my group mate Jack to 3D scan his face. We were initially going to use the app Scaniverse, however we switched over to specific 3D scanning equipment that linked to the app Creality Scan.
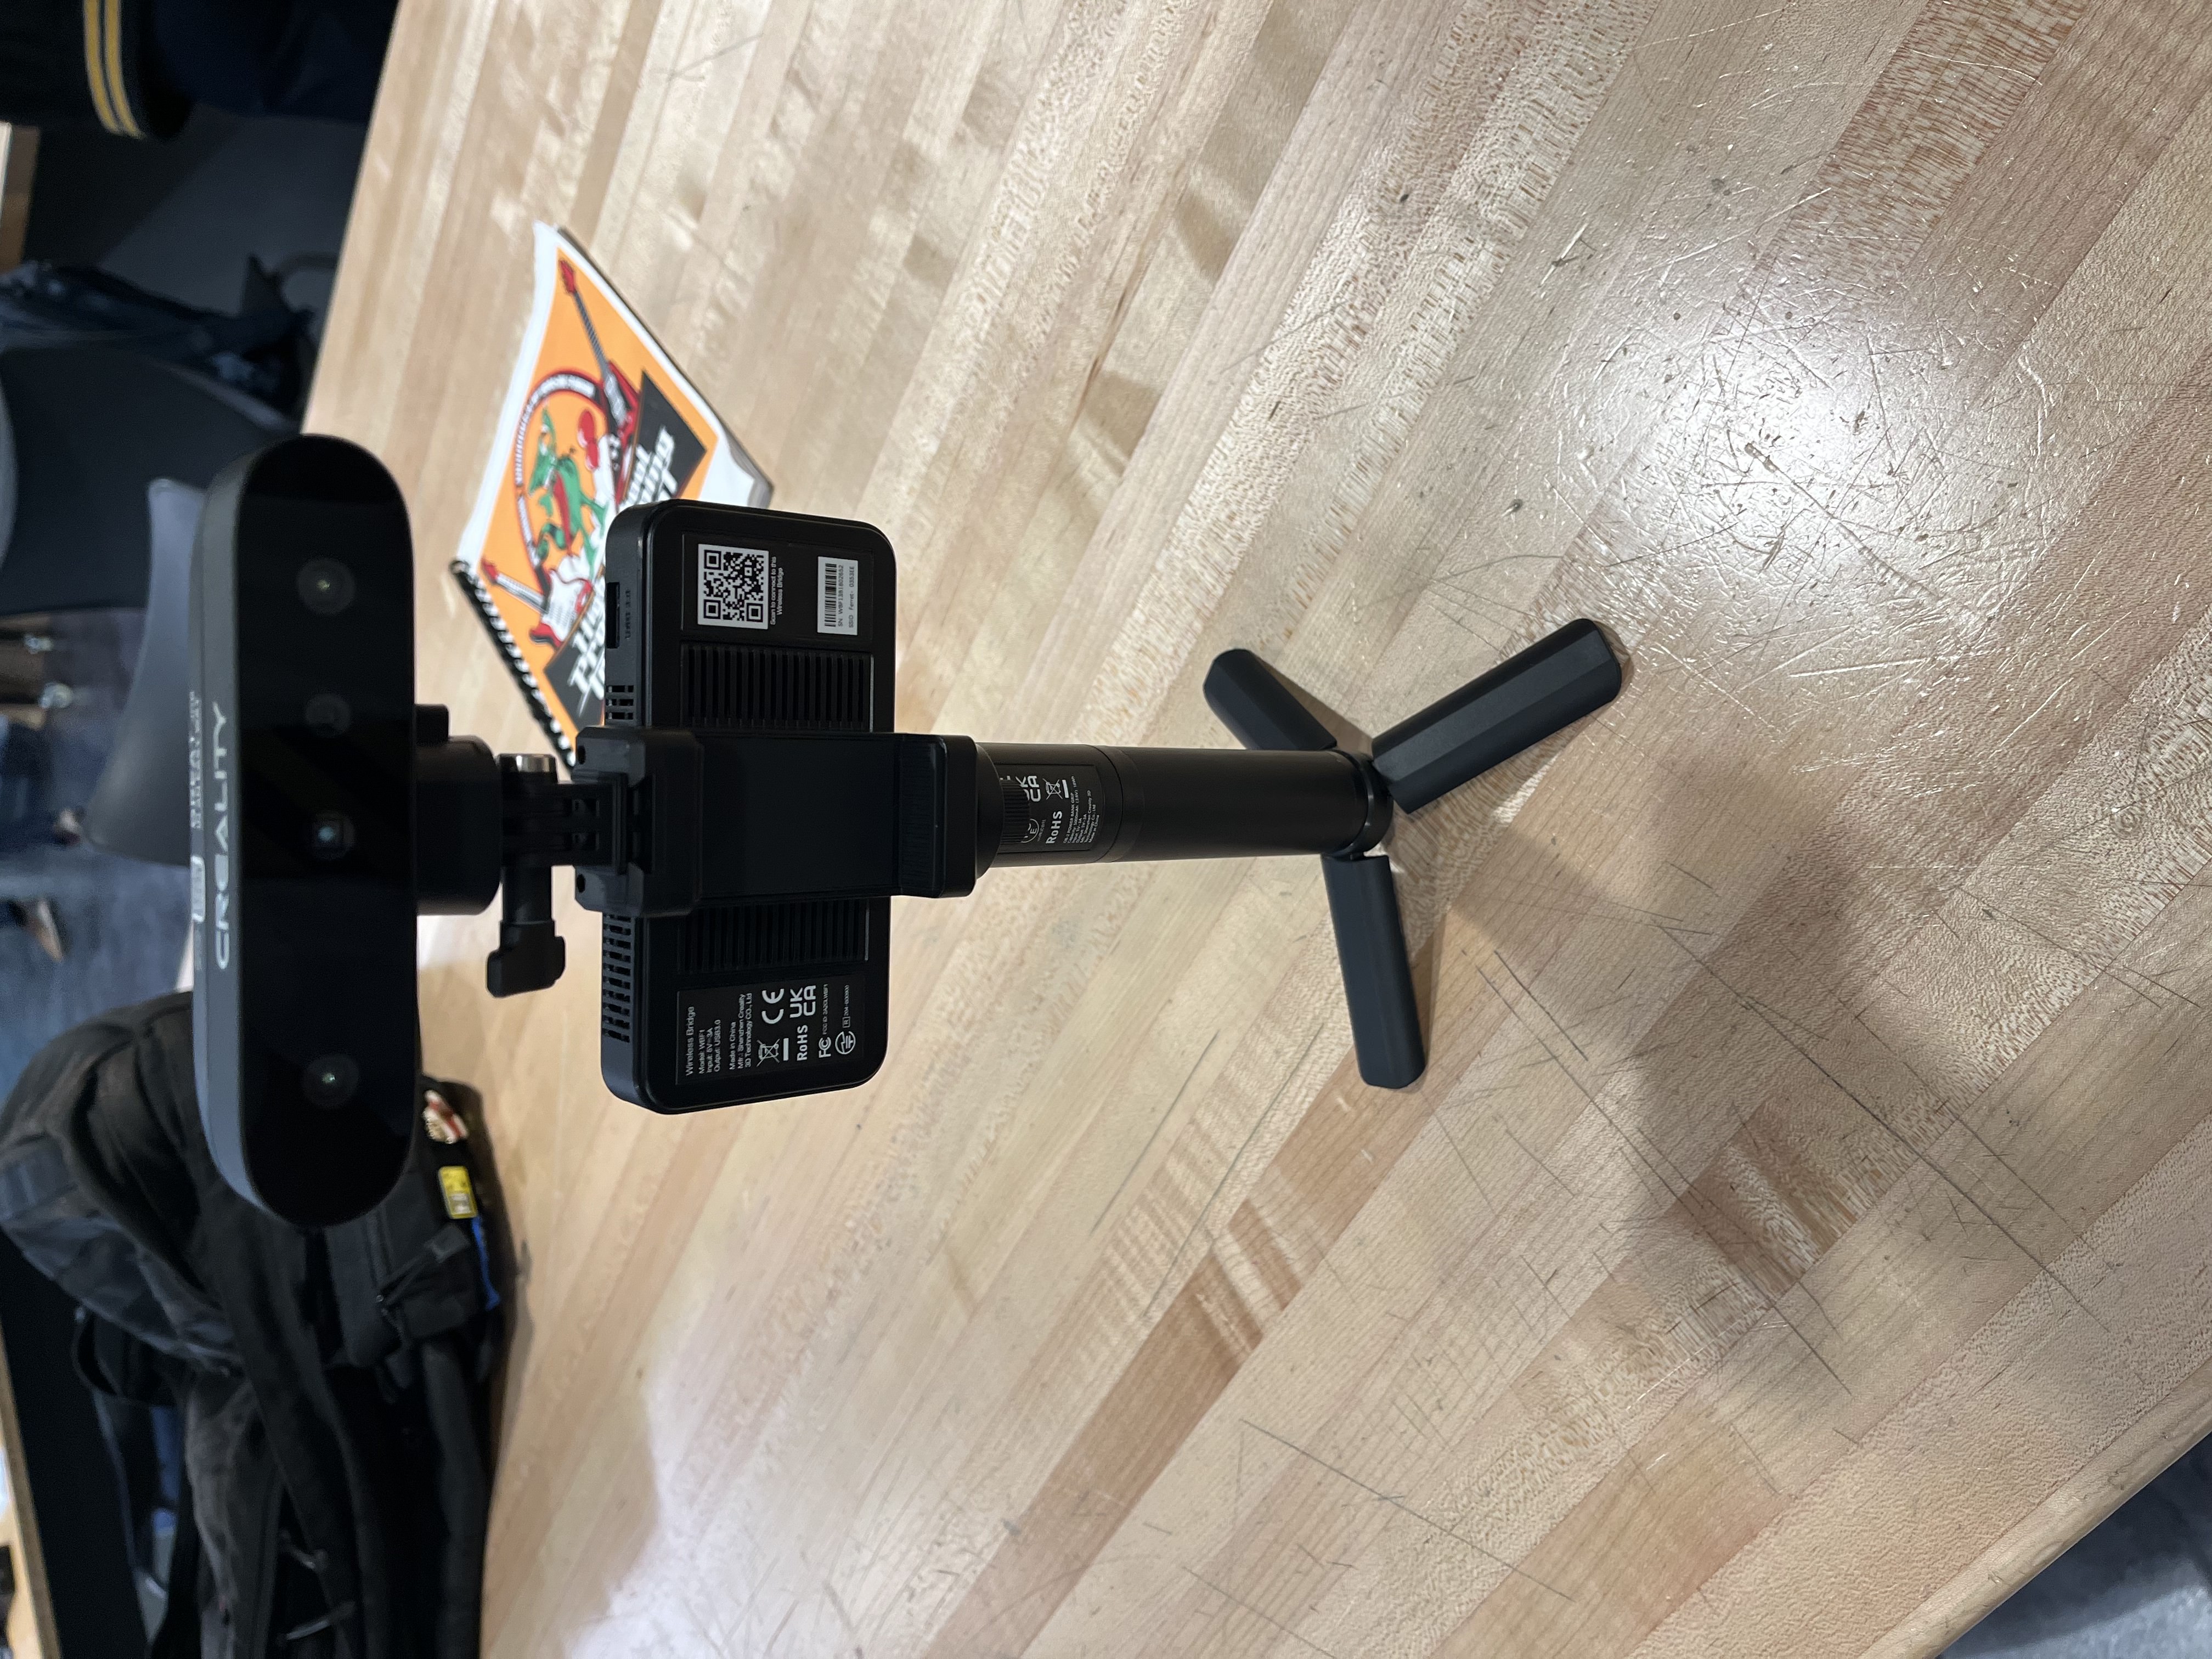
Jack and I set up the device and the app, and once they were connected to each other, I had Jack sit down on a chair while I moved the camera around his face. The model was slow to start but picked up speed once it already had some parts scanned. It would slowly fill up red dots on Jack's face which turned green once they were accepted as part of the object being scanned. One difficulty we had was scanning parts of Jack's hair. The shininess of his hair made it very difficult to skan, so parts of it didn't completely come out. Other than that, the scan went by smoothly, ending with a very good model of Jack's head.