Introduction
Our first mini project involves learning and practicing 2D and 3D computer aided design, CAD for short. I wanted to focus my designs on my main project: the building of a clinostat for Fairchild’s Growing Beyond Earth science program. For the 2D design I wanted to create a logo for my project, and the 3D design was to be some part that could be incorporated into the final design of the clinostat. The main focus here was simply to get some practice with computer aided design. Here’s how it went-
2D Computer Aided Design
My first order of business was to come up with a base design that I could begin working with. I first wanted to get some inspiration for the project, so I went over to the GBE website to see what they had. Here there was a header with their title and an image logo, which had purple lettering and a growing leaf of lettuce in front of the ISS and the Earth. I decided that I wanted to follow a similar color scheme with the greens and blues of the Earth and the purple used in the lettering. In hindsight, sketching out possible designs for my logo may have been a good idea for this step, however I ended up skipping this and just going straight into the 2D CAD software, thinking that I would figure it out along the way.

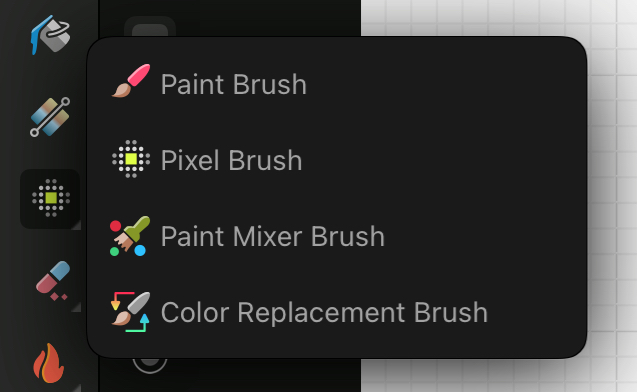
Next I needed to decide on what 2D software I was going to use. I wanted to create a pixel-art-style logo, as I was going for a pixelated theme on my website and wanted to keep everything the same, plus I’ve always been fond of this art style. I initially tried to use Affinity’s vector graphics editor, Designer 2, using a Canva educational license, however this presented an issue. While I was able to change the grid size down to the scale I wanted to work with, I was unable to find a pixel brush that would work with the style I wanted. While looking online for where the brush could be, I found that Affinity’s image editing software, Photo 2, had an easily accessible pixel brush, so I switched over to this application to start my design.
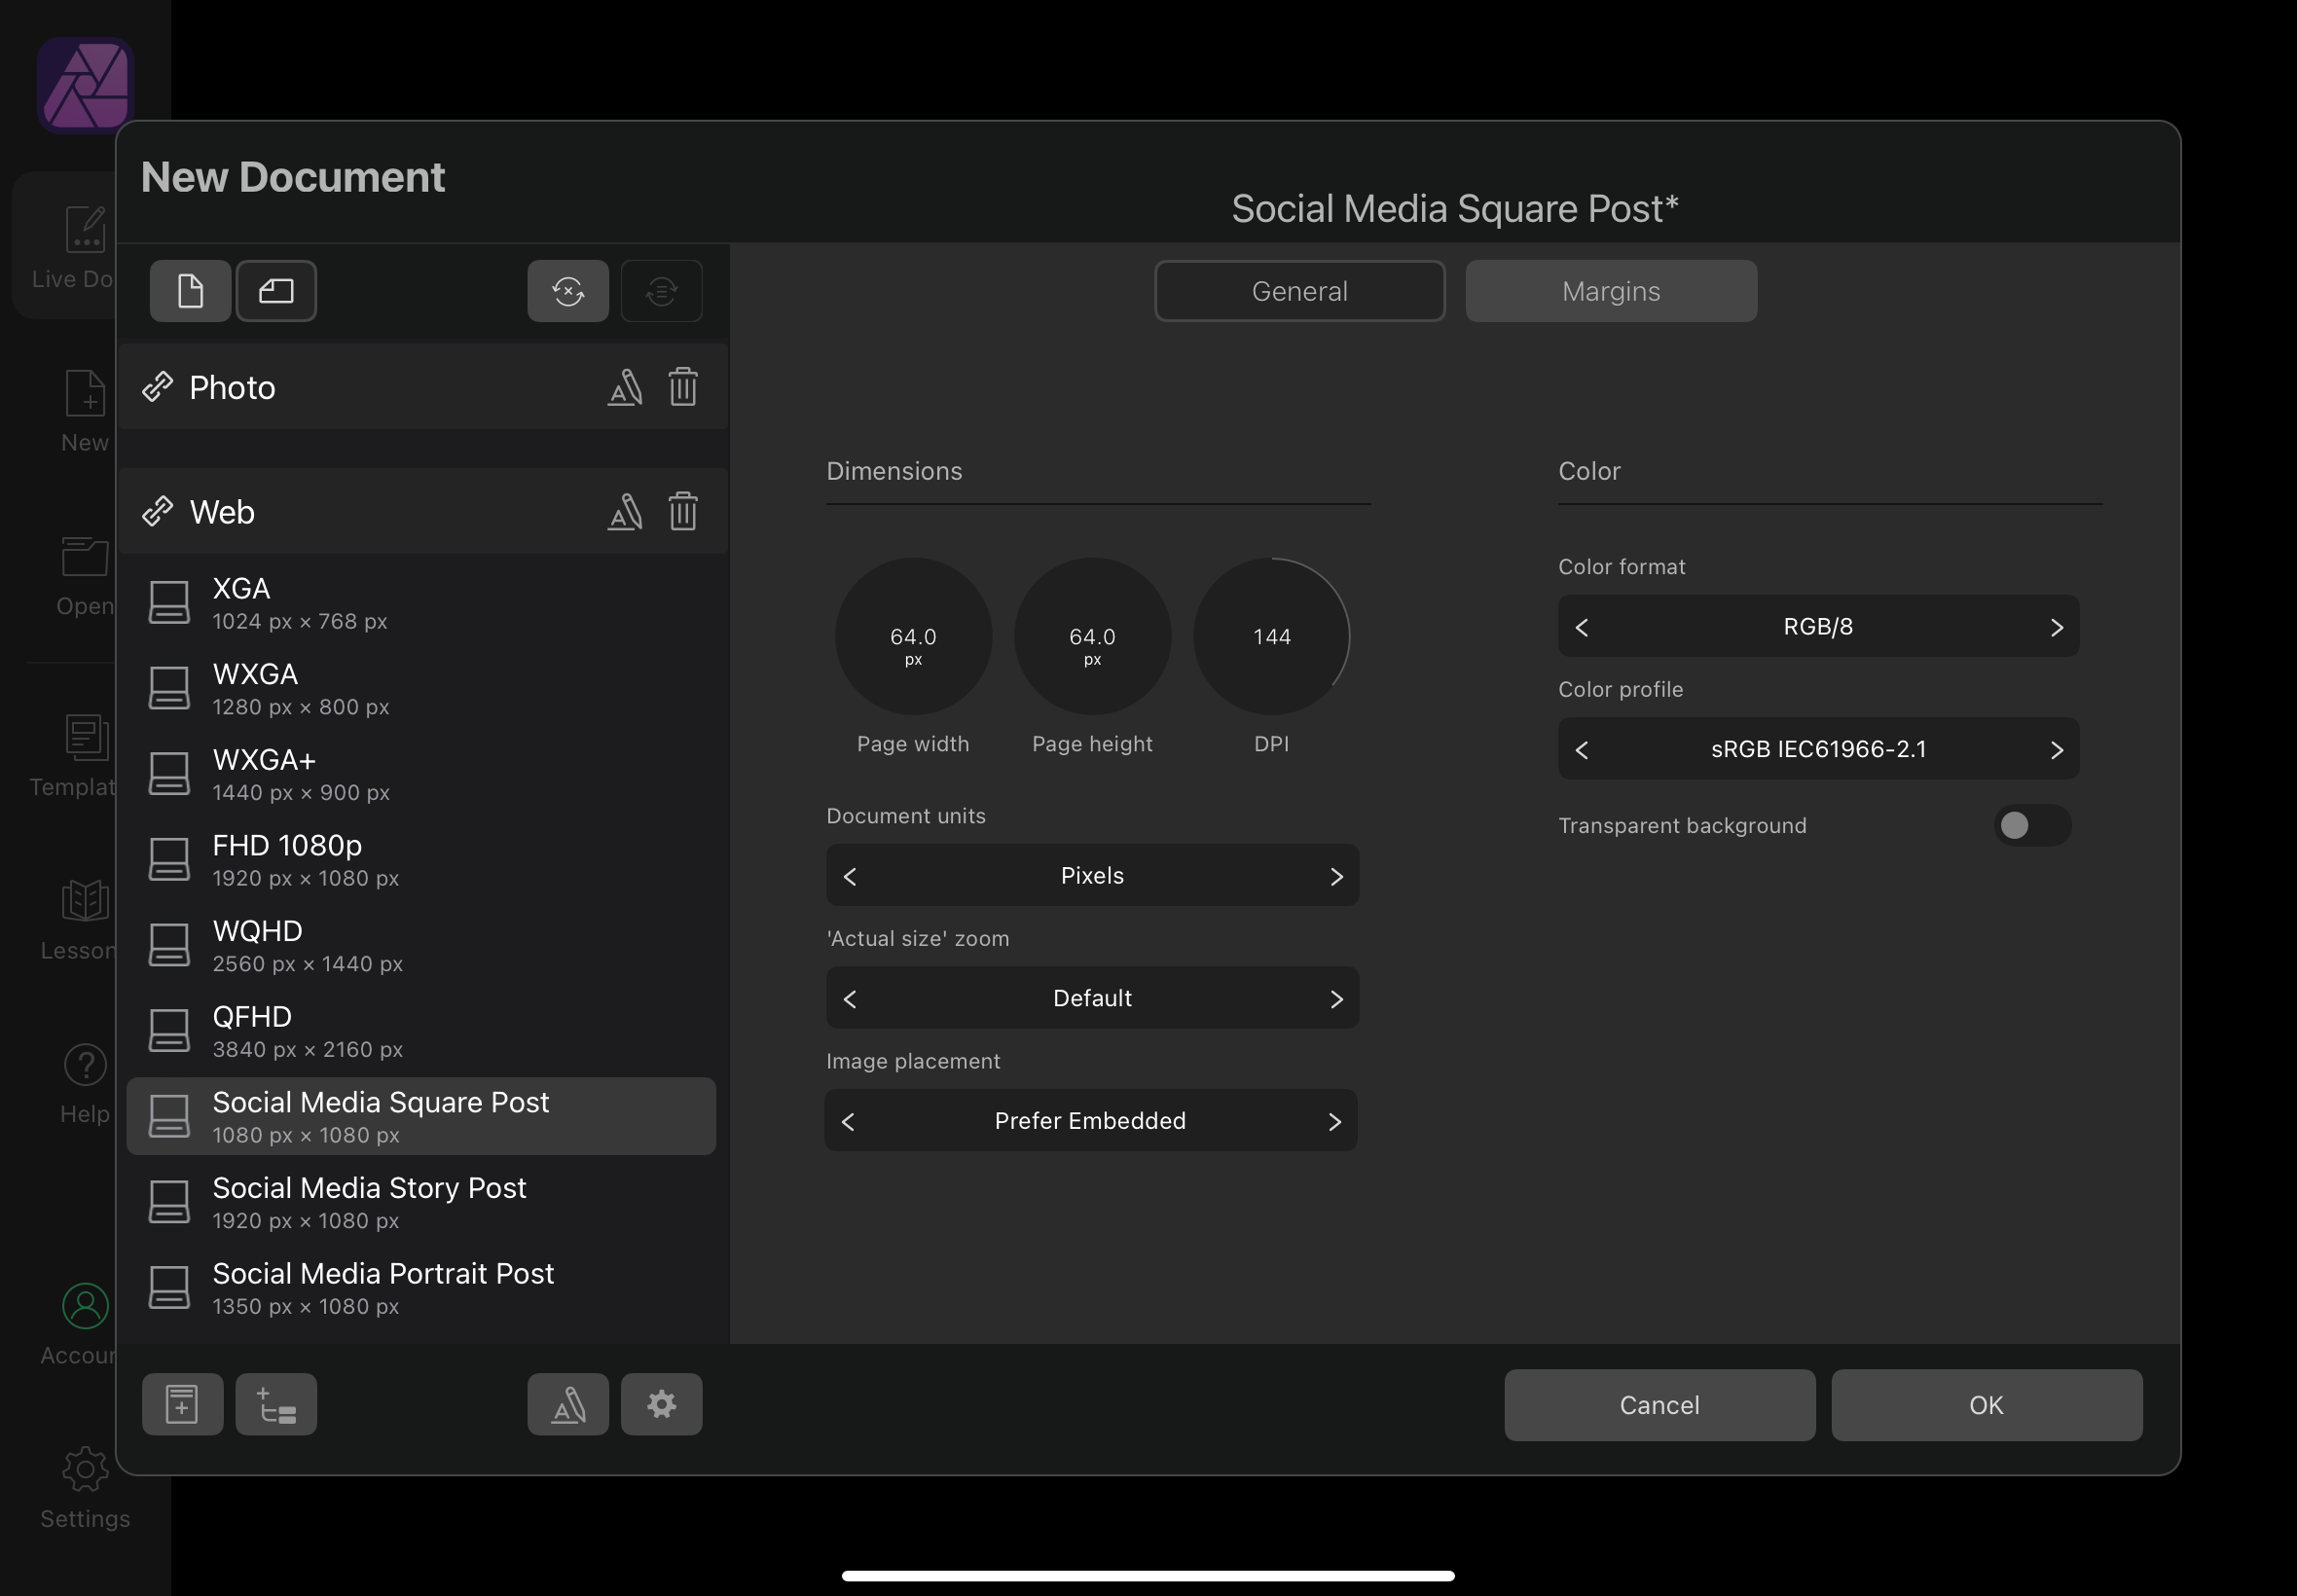
To begin my project, I had to select the size of my canvas. I wanted to go with a square shape, so I selected the “Social Media Square Post” option. After that, I lowered the pixel size to 64 px by 64 px. While this did mean I would have to learn how to change the sizing later to export the image, this sizing allowed me to work on the design with the pixel size that I wanted.
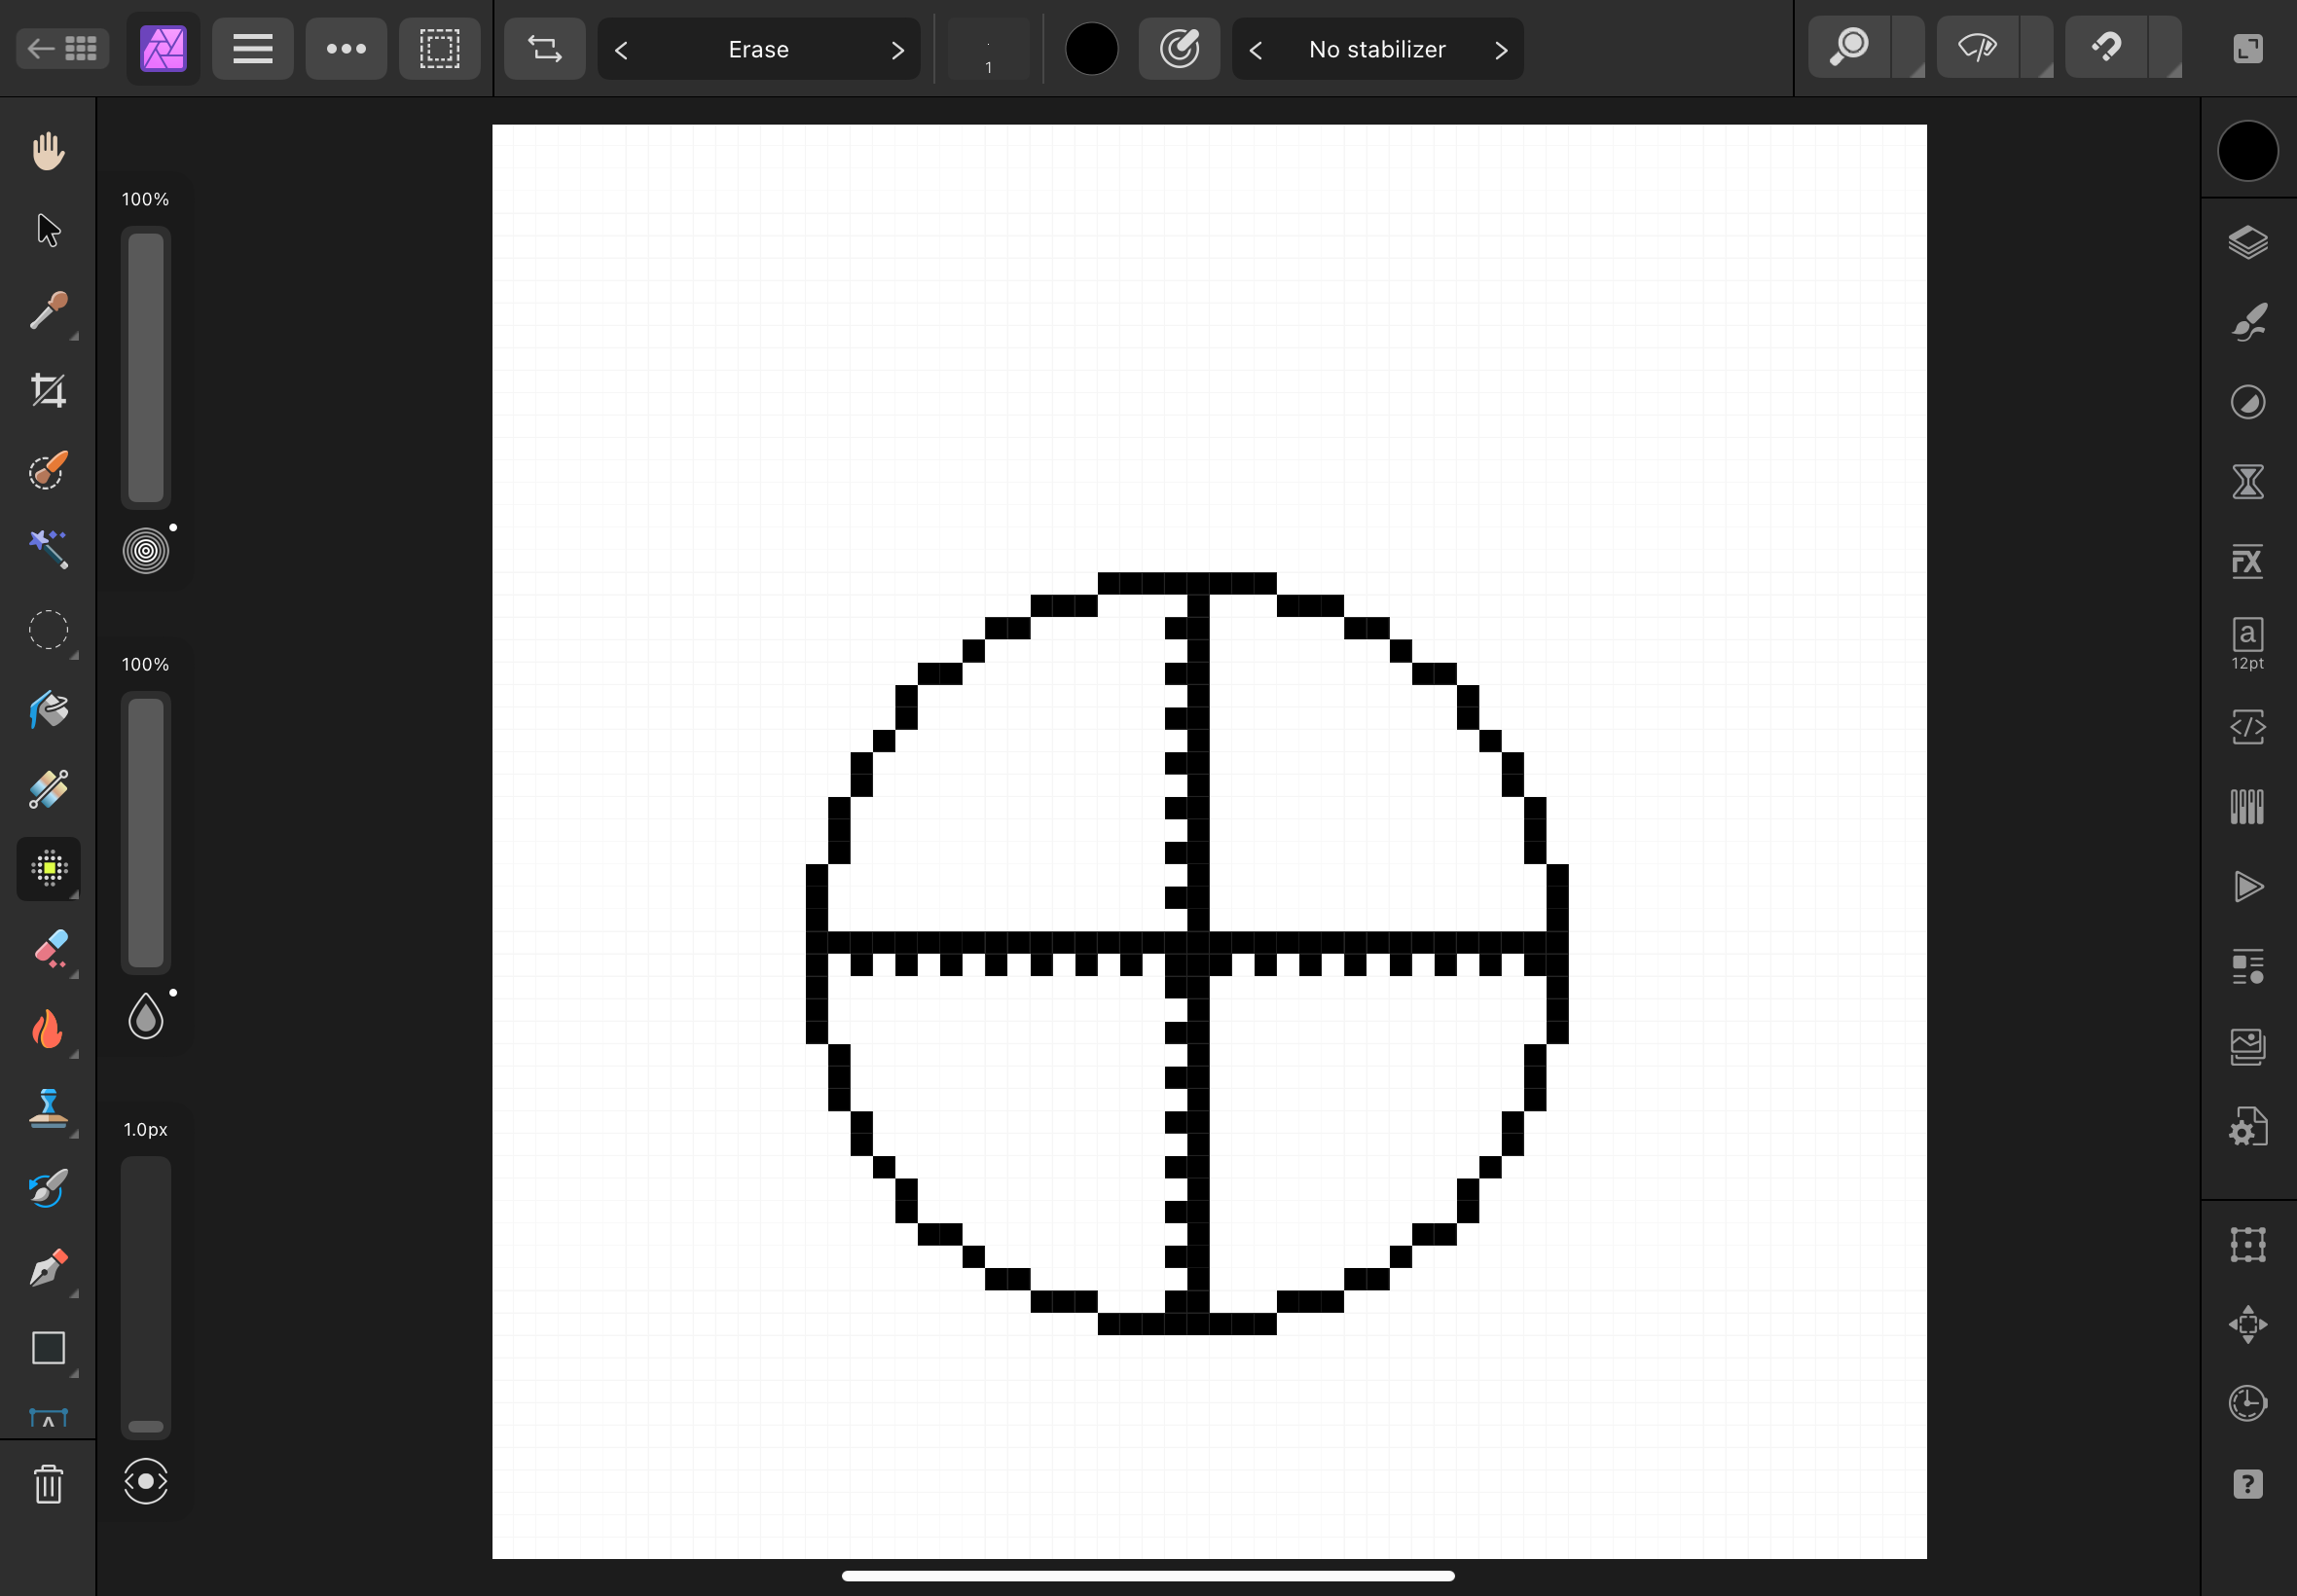
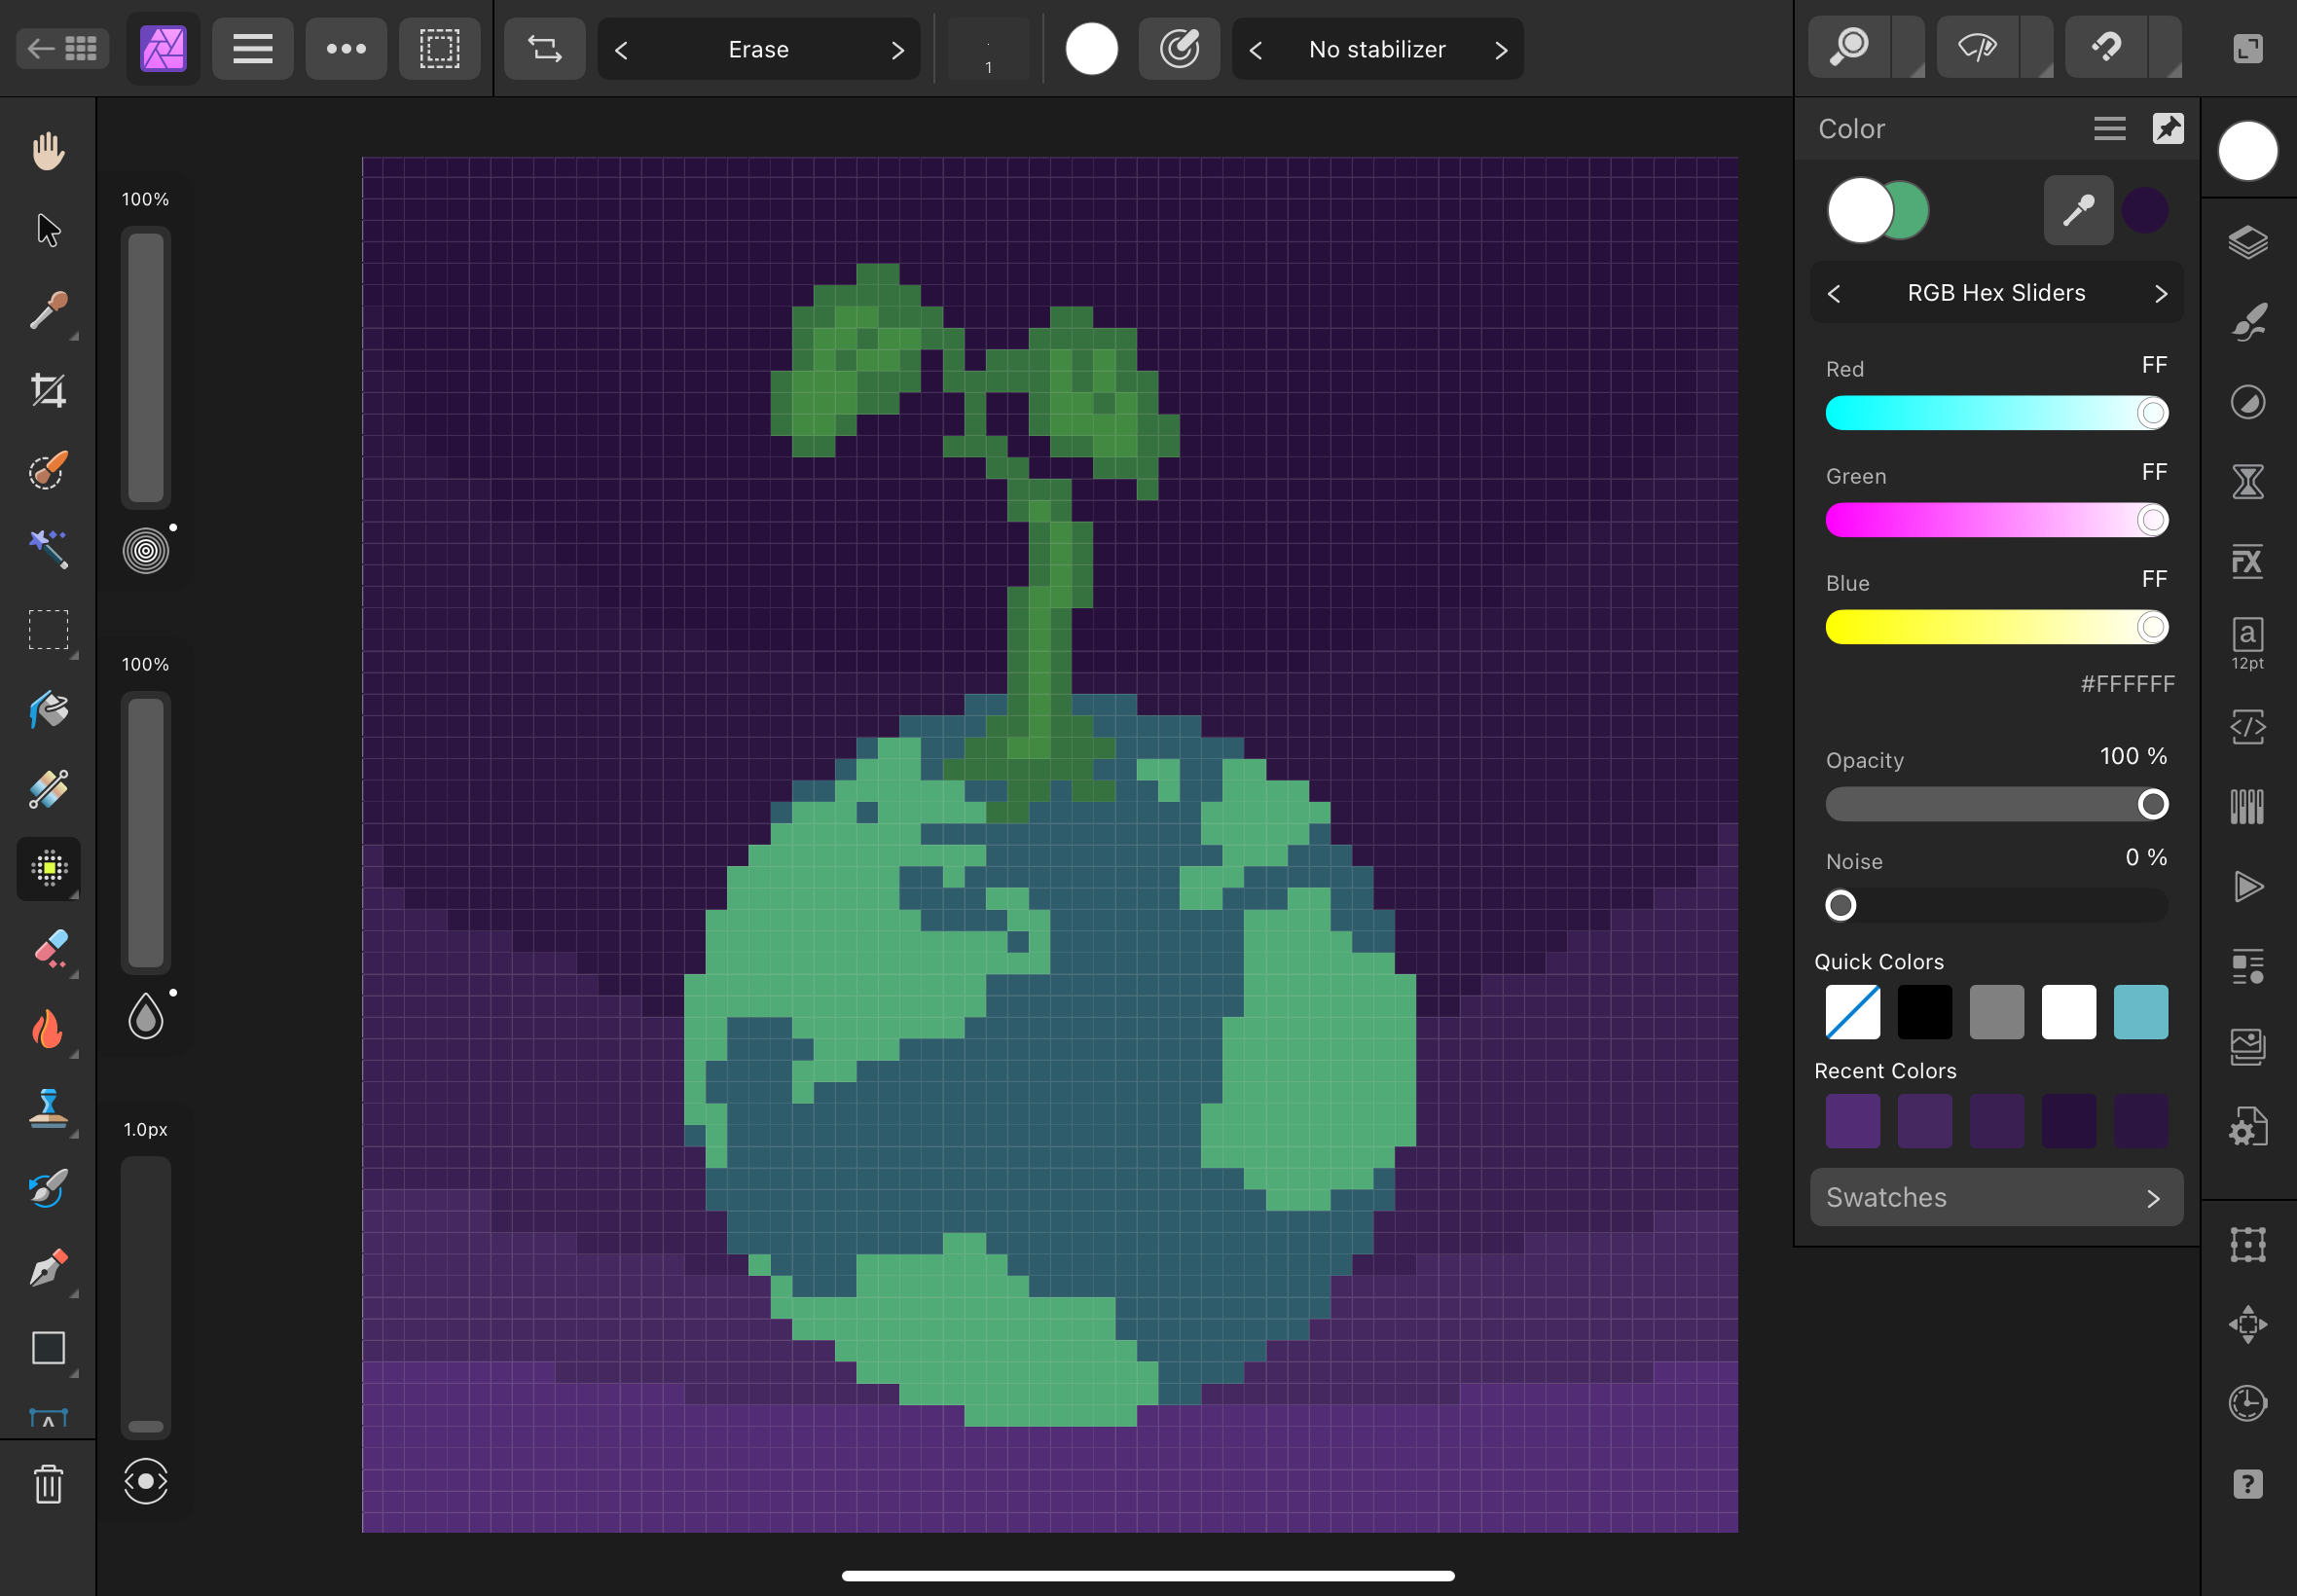
I had already been brainstorming what my design was going to be: an image of the Earth floating in space with a plant sprout growing up and out at the top. I first began by drawing out a circle, creating a 34 px by 34 px cross and following a 3-3-2-1-2 pattern to create the roundness of the circle.
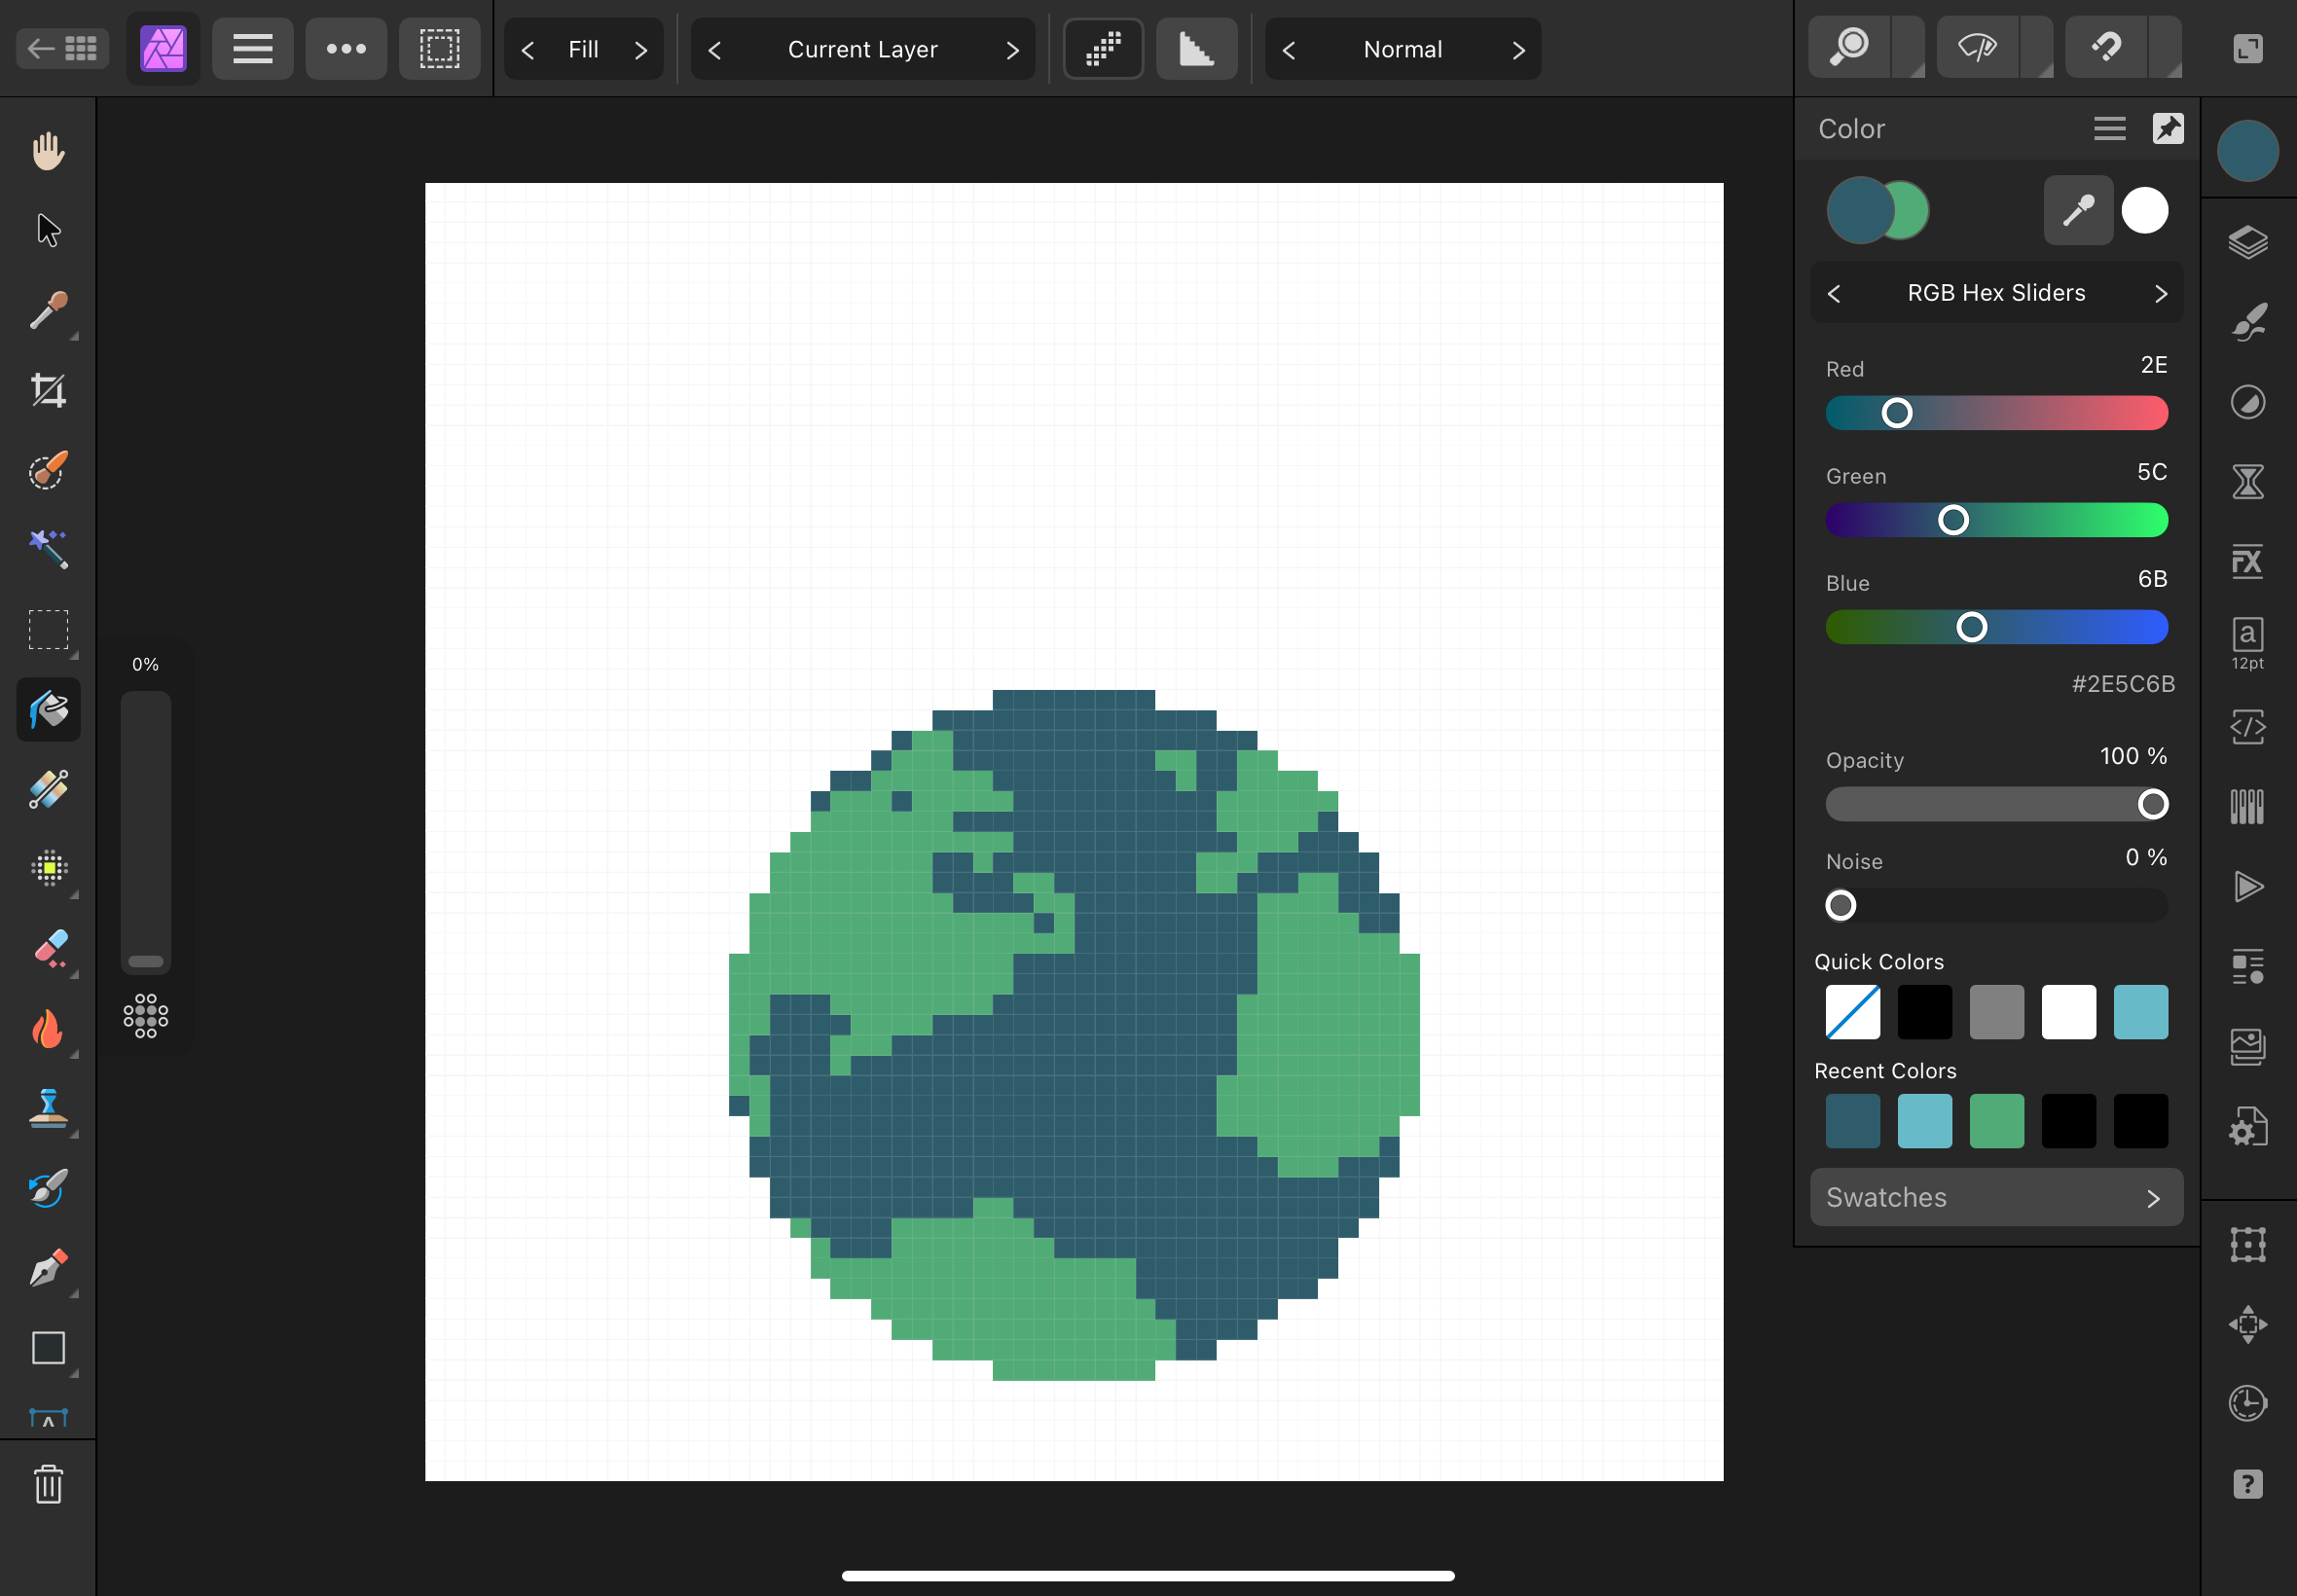
Next I filled in the circle with a teal color known as Skobeloff. I also draw in different continents while centering on the Atlantic Ocean, namely sections of North America, South America, Europe, and Africa, using a forest green color. Lastly, I repositioned the Earth to be centered horizontally, but be placed on the lower half of the canvas vertically.
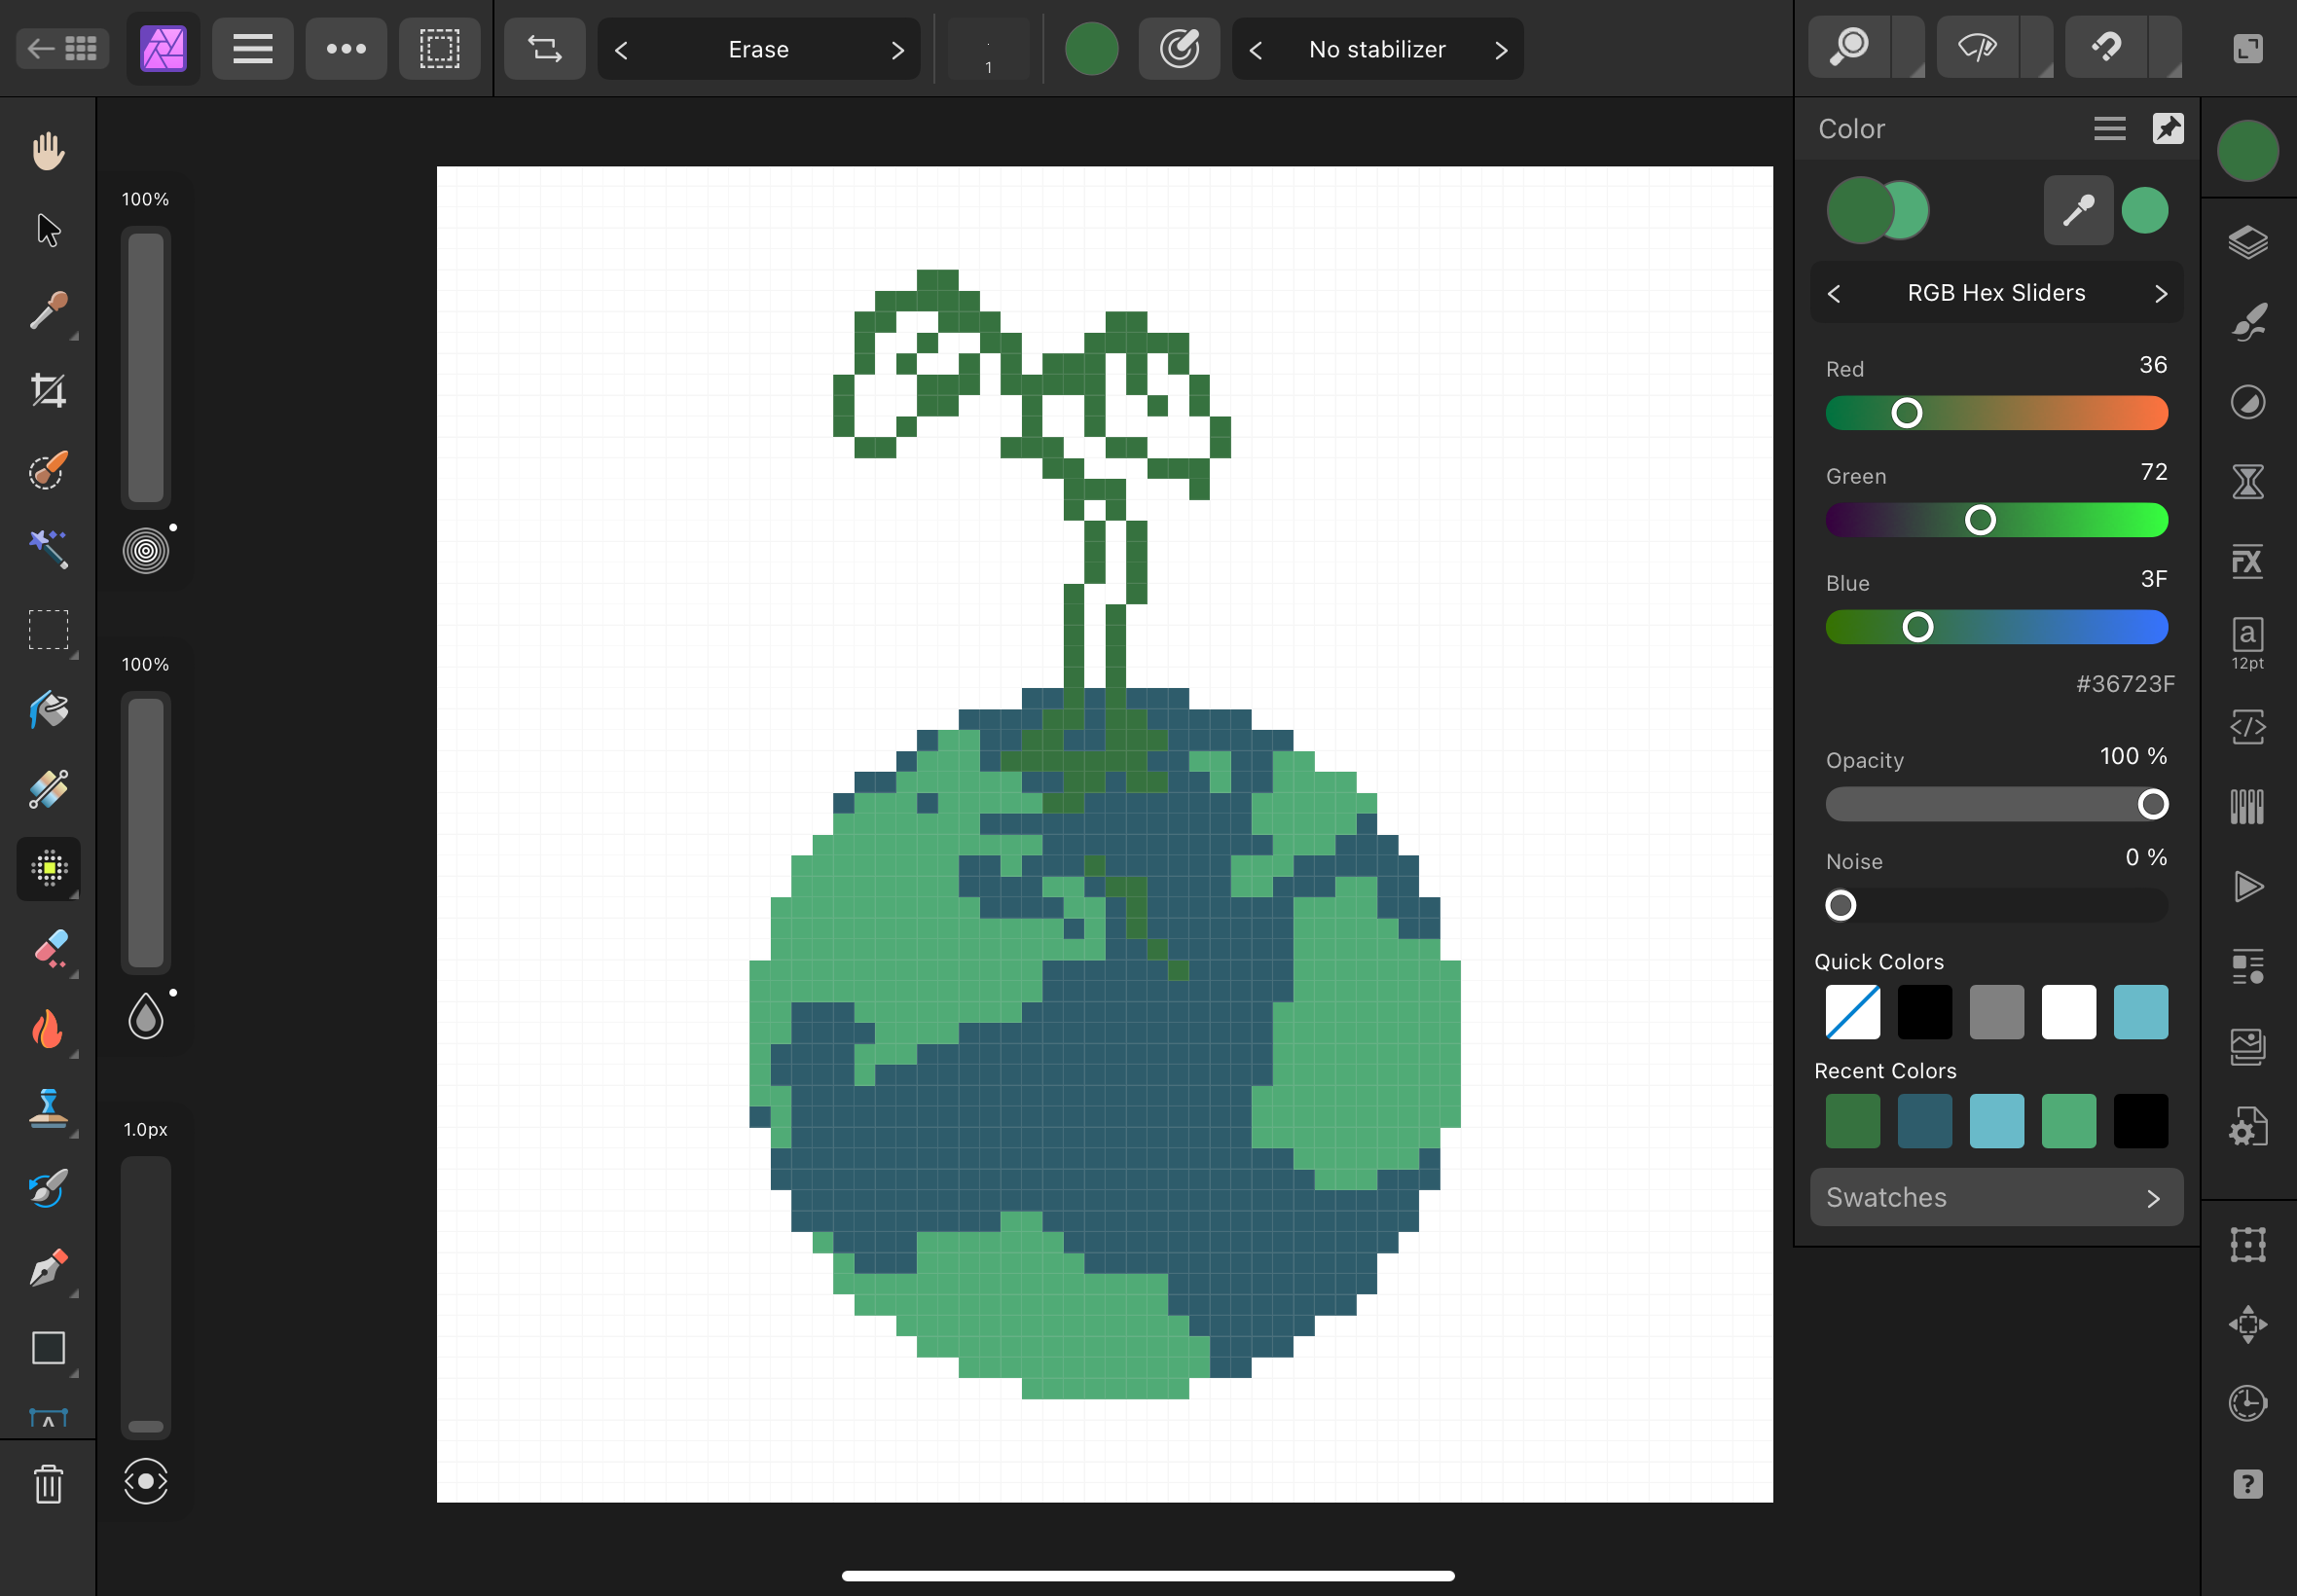
Next I drew in the outline of the growing sprout in a darker shade of green (japanese laurel), making sure to give the plant an organic feel using light curves and an asymmetrical design.
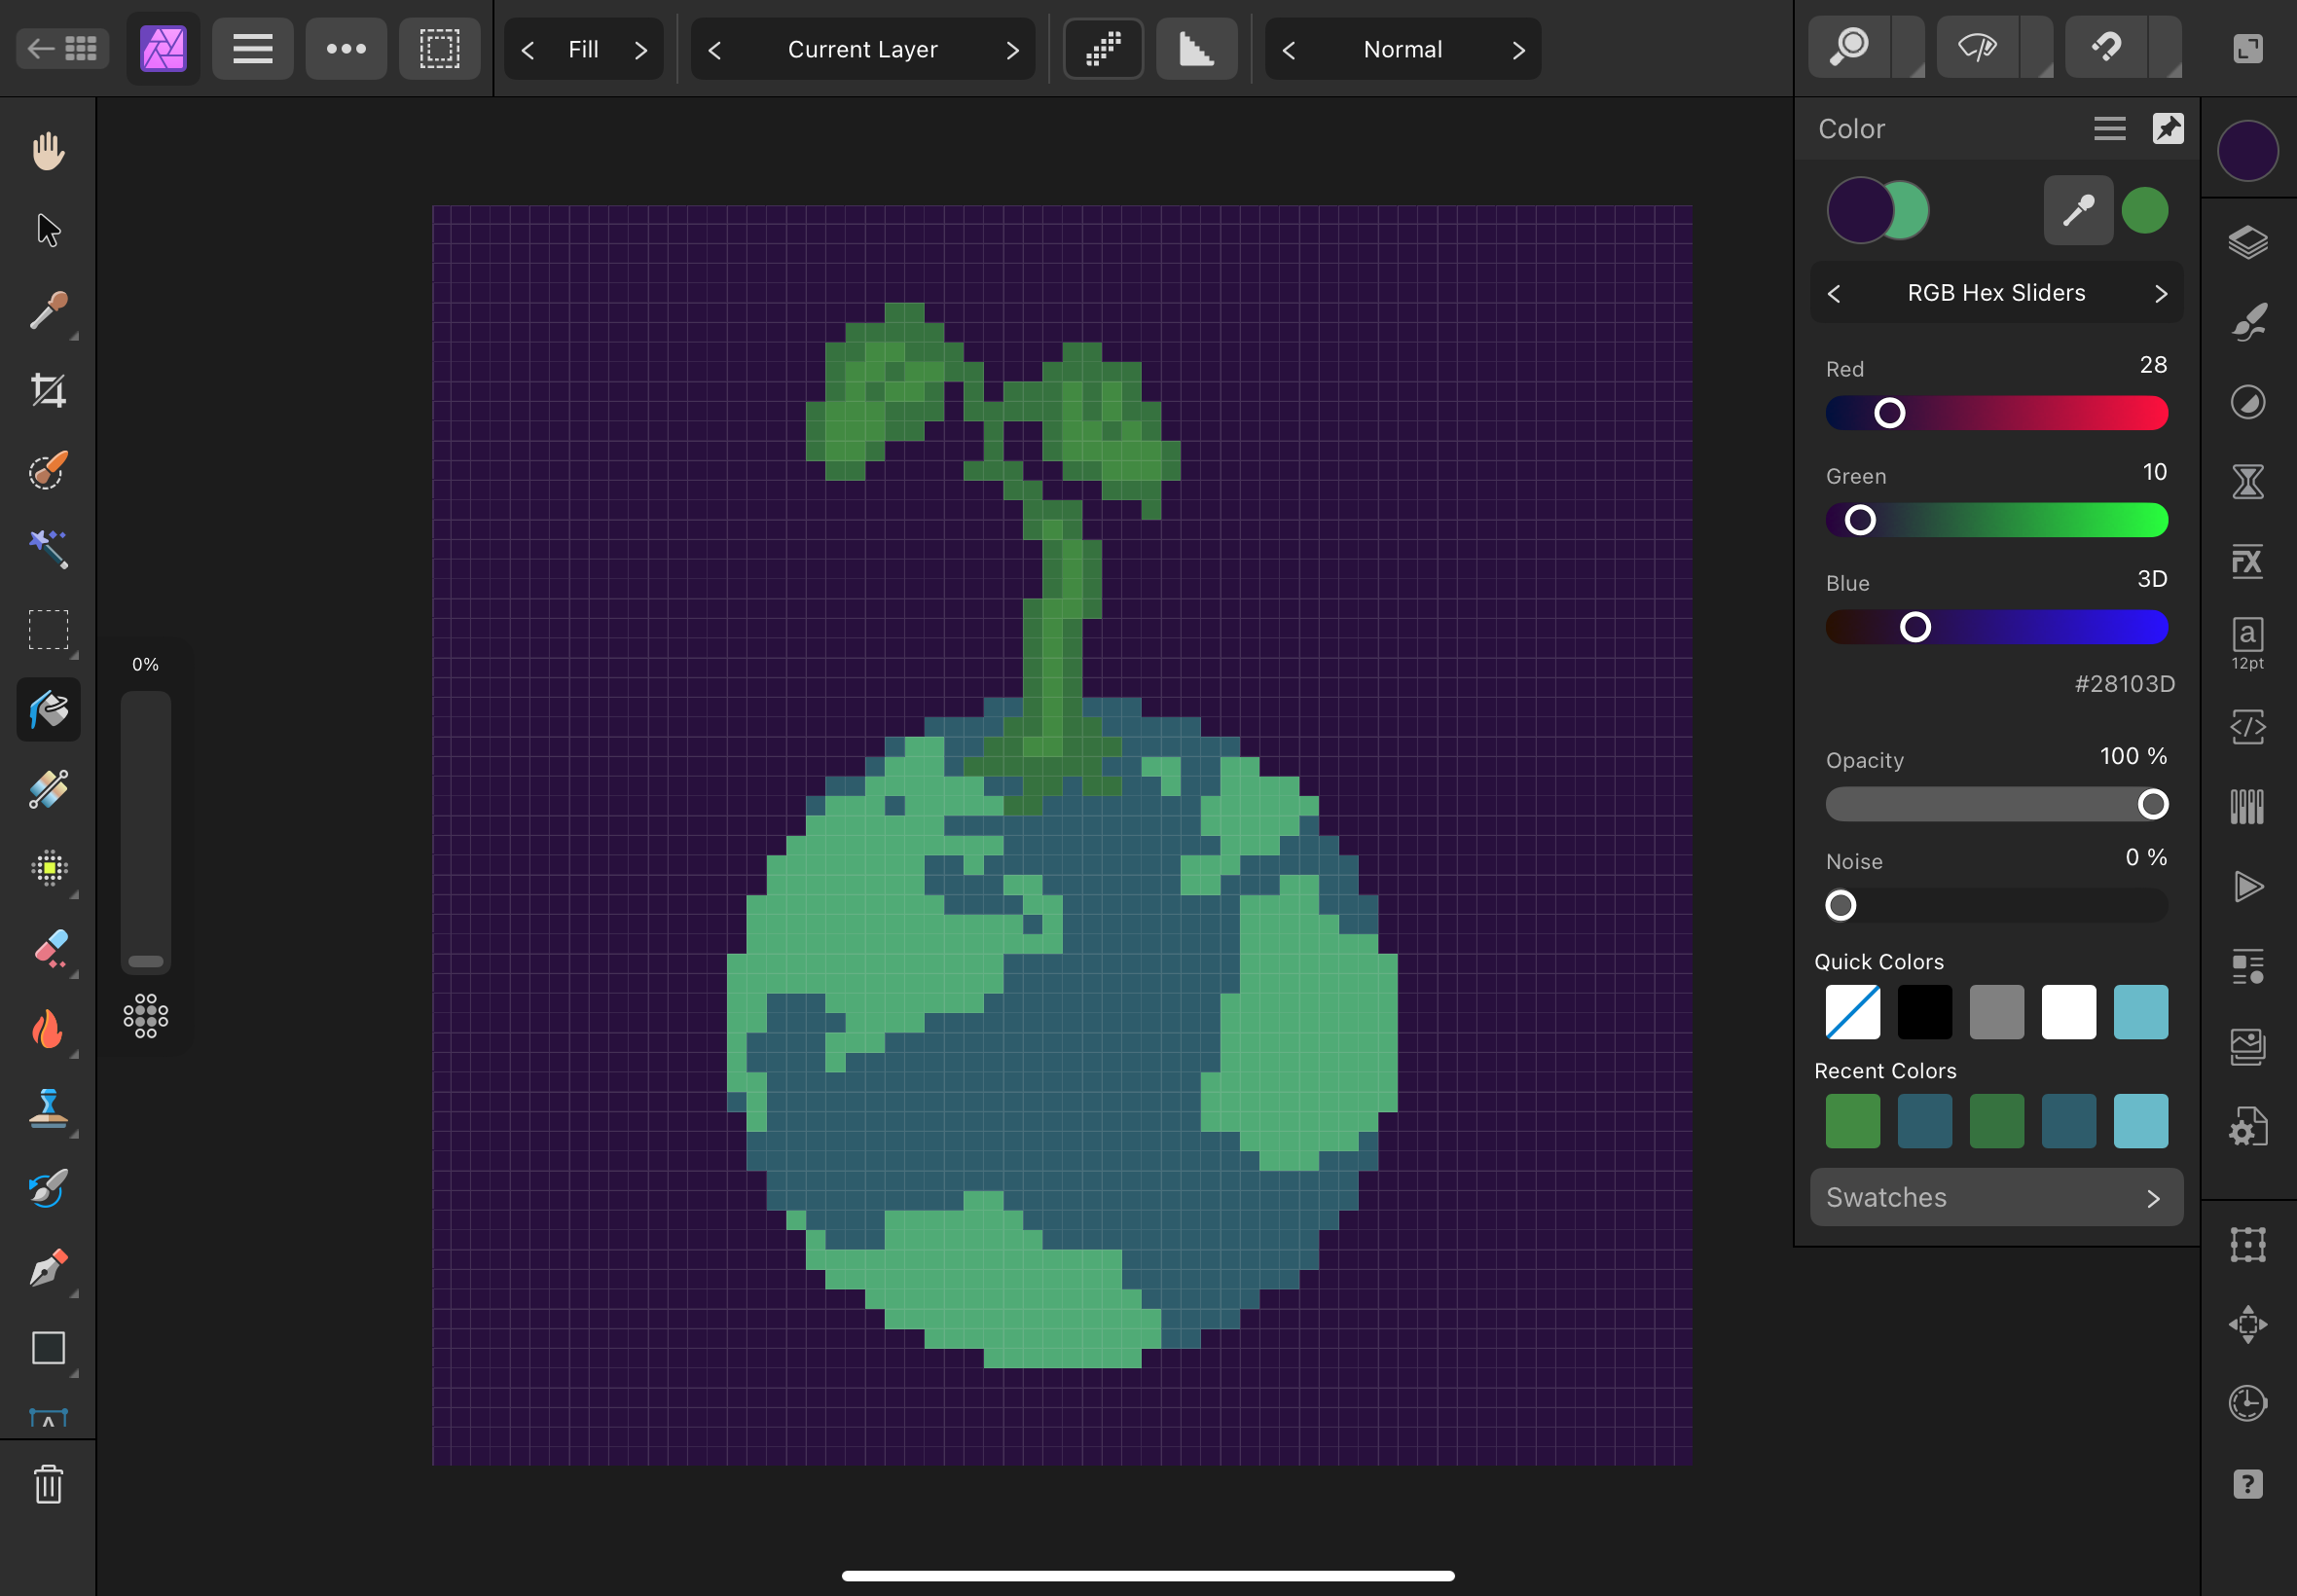
Here I colored in the plant using a different, now lighter shade of green (may green) and finally added a background, using dark purple to depict space and follow along with the color palette that I had chosen before beginning.
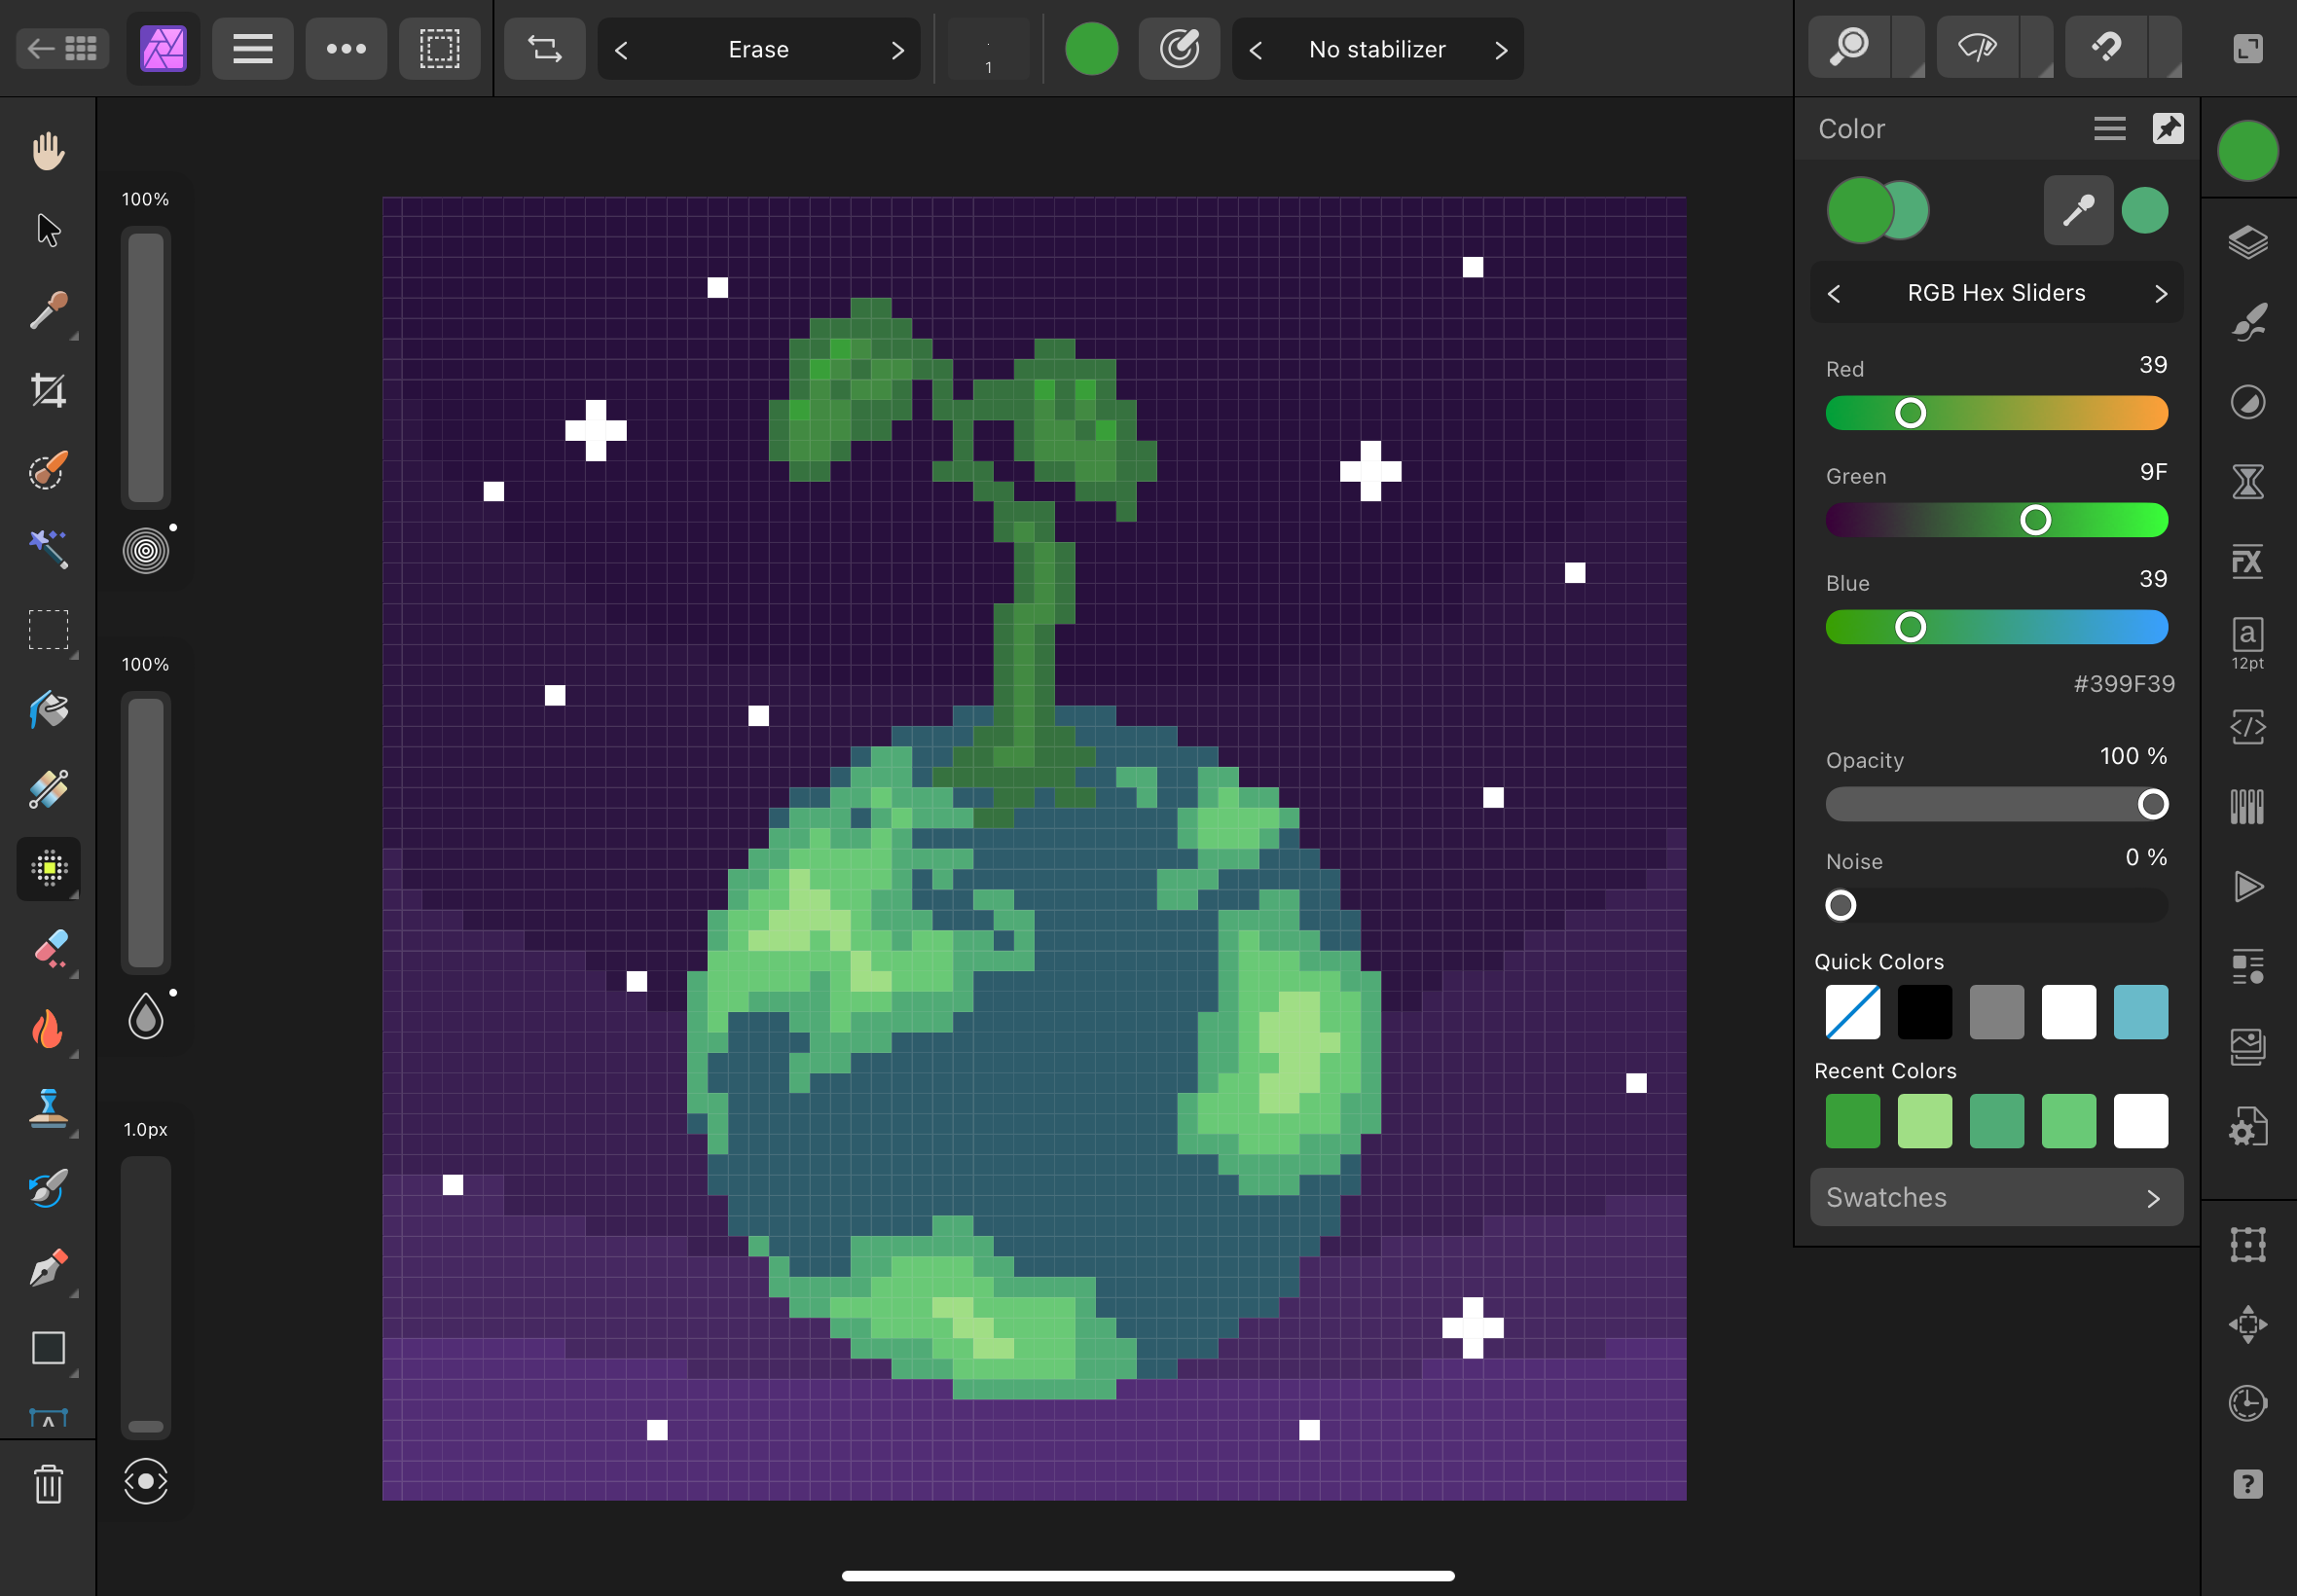
I thought the dark purple background was too plain, so I decided to create a small gradient, going from a dark purple at the top to a light regalia purple at the bottom.
Now all that was left was to add details. I began with adding white stars in the background, using mostly single-pixels but also drawing a few small crosses for bigger stars. I also added two levels of shading to the continents, going from darker on the outside to lighter in the center, to add some more color and vibrancy to the Earth.
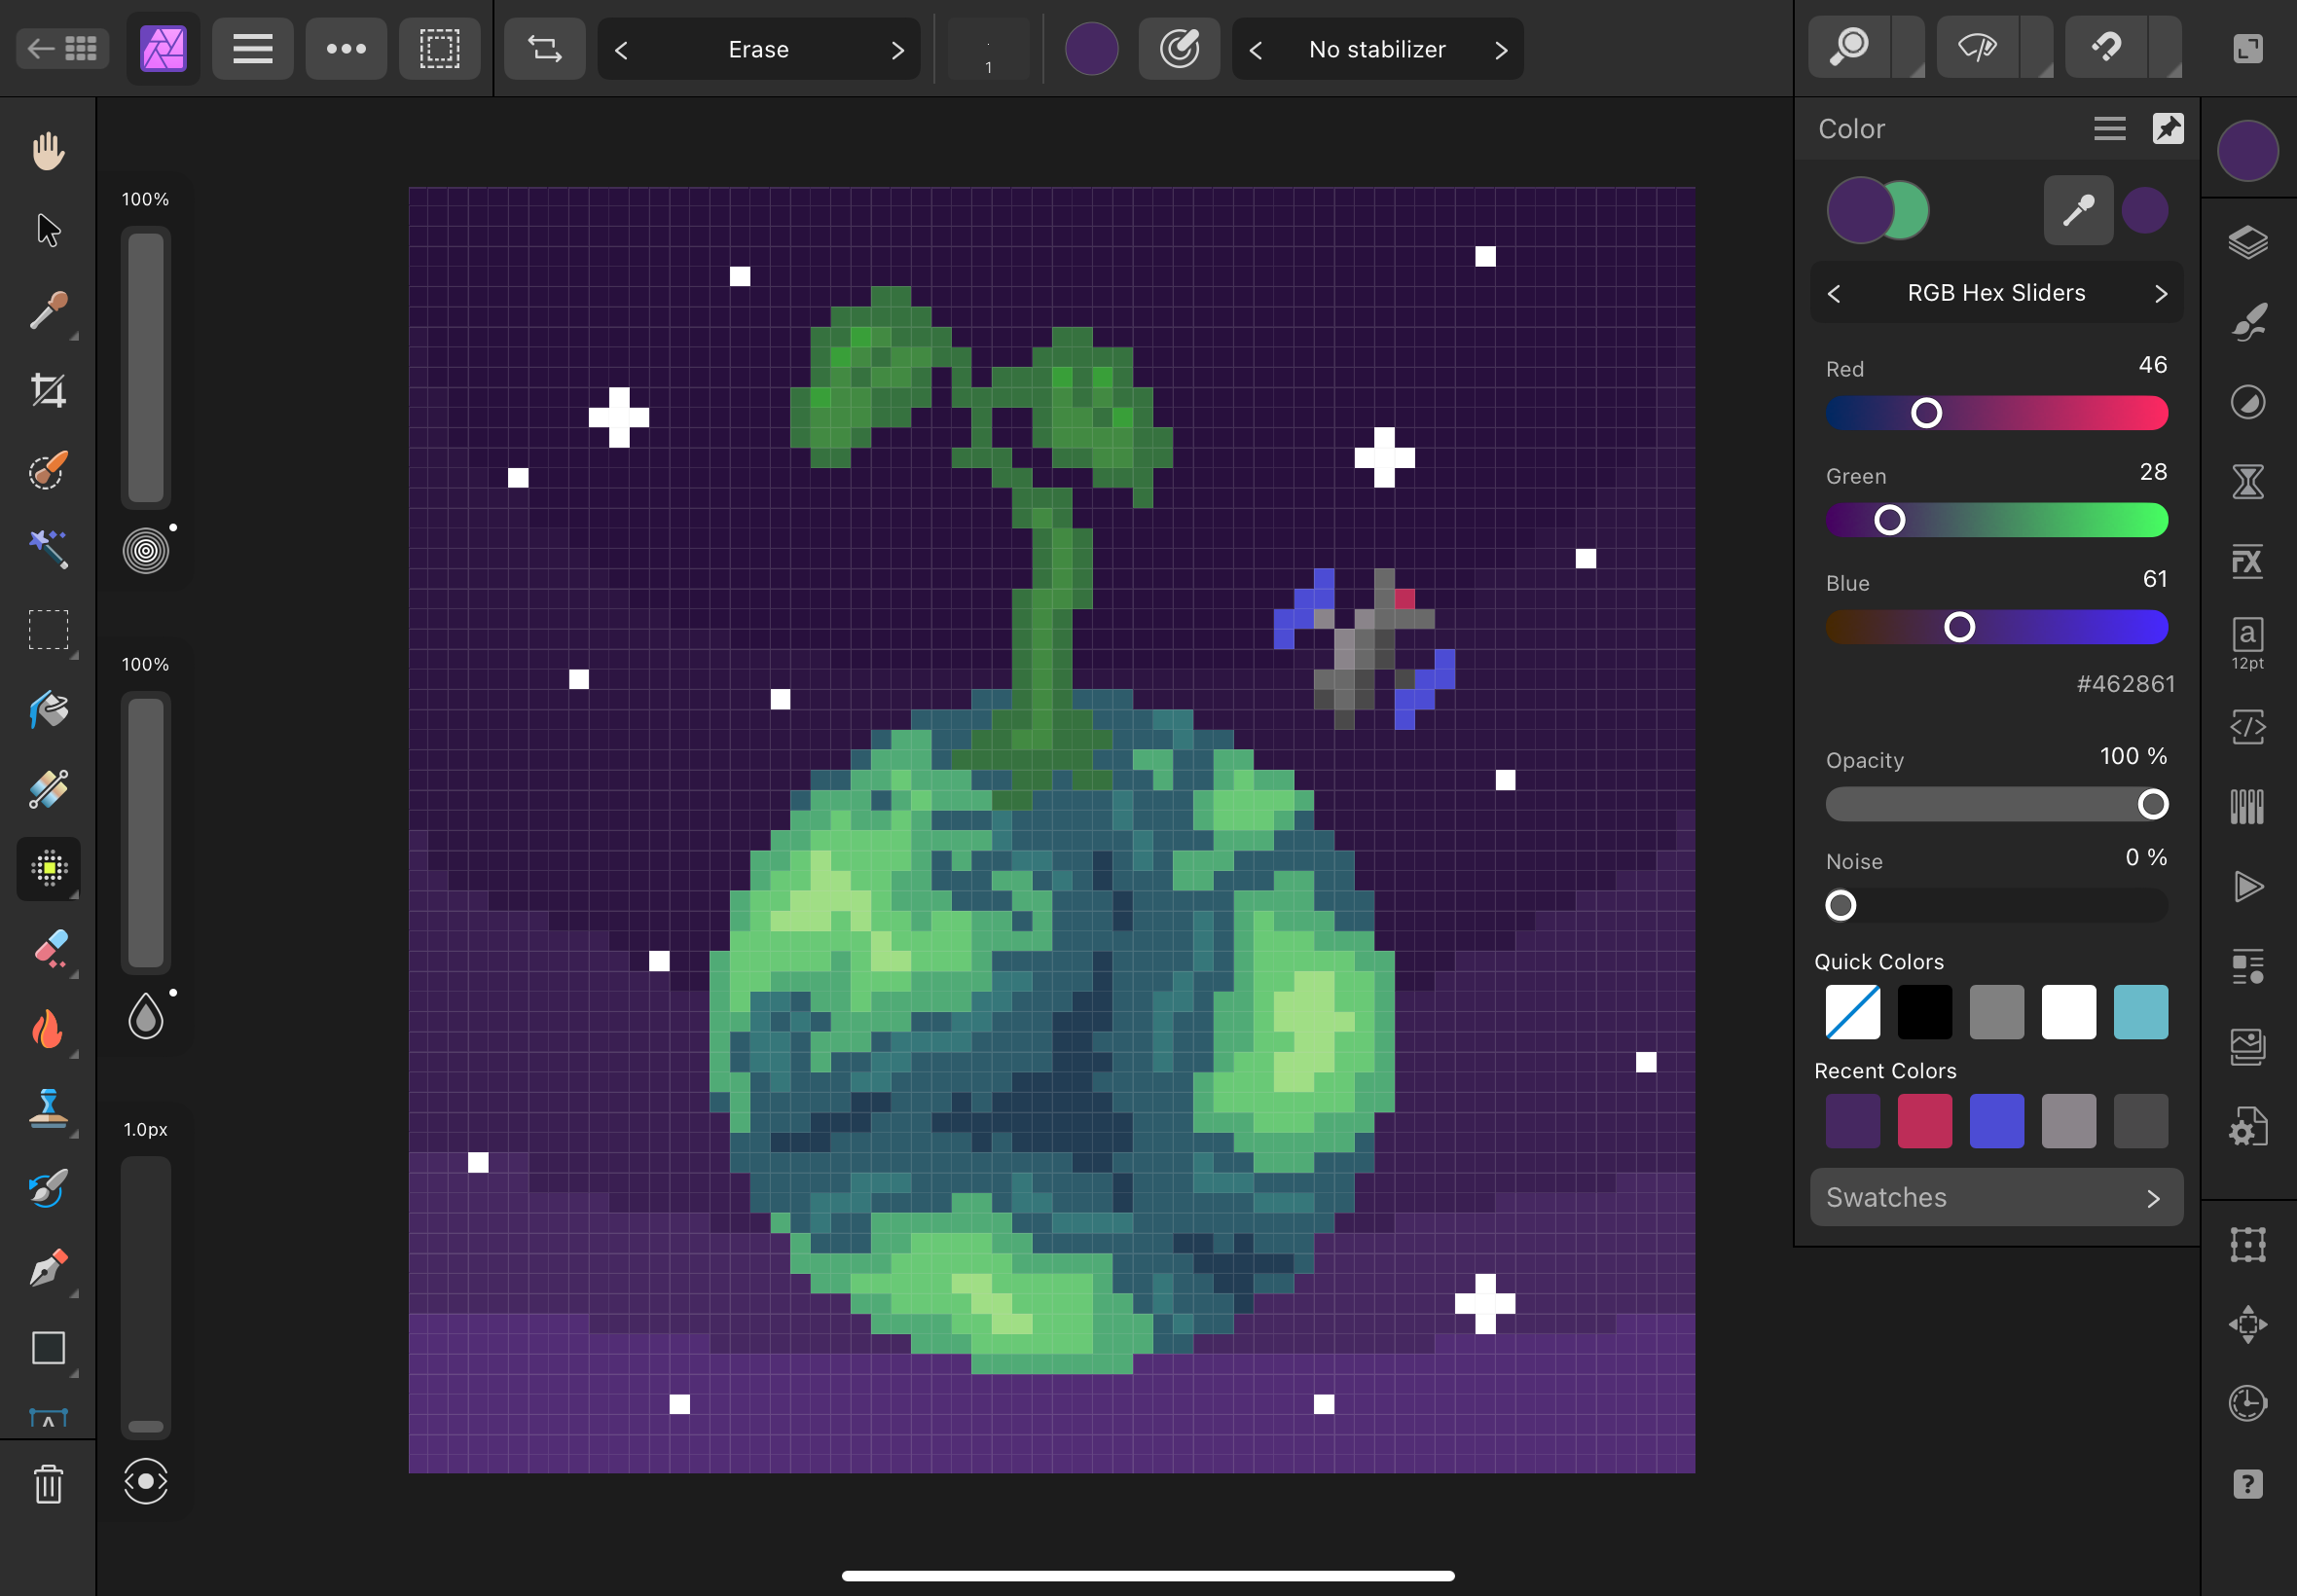
Lastly, I added some different shades of blue to the water, using a lighter shade of blue around the coasts while using a darker shade in the ocean areas further from land. I also added a small satellite orbiting the Earth as a tiny extra detail.
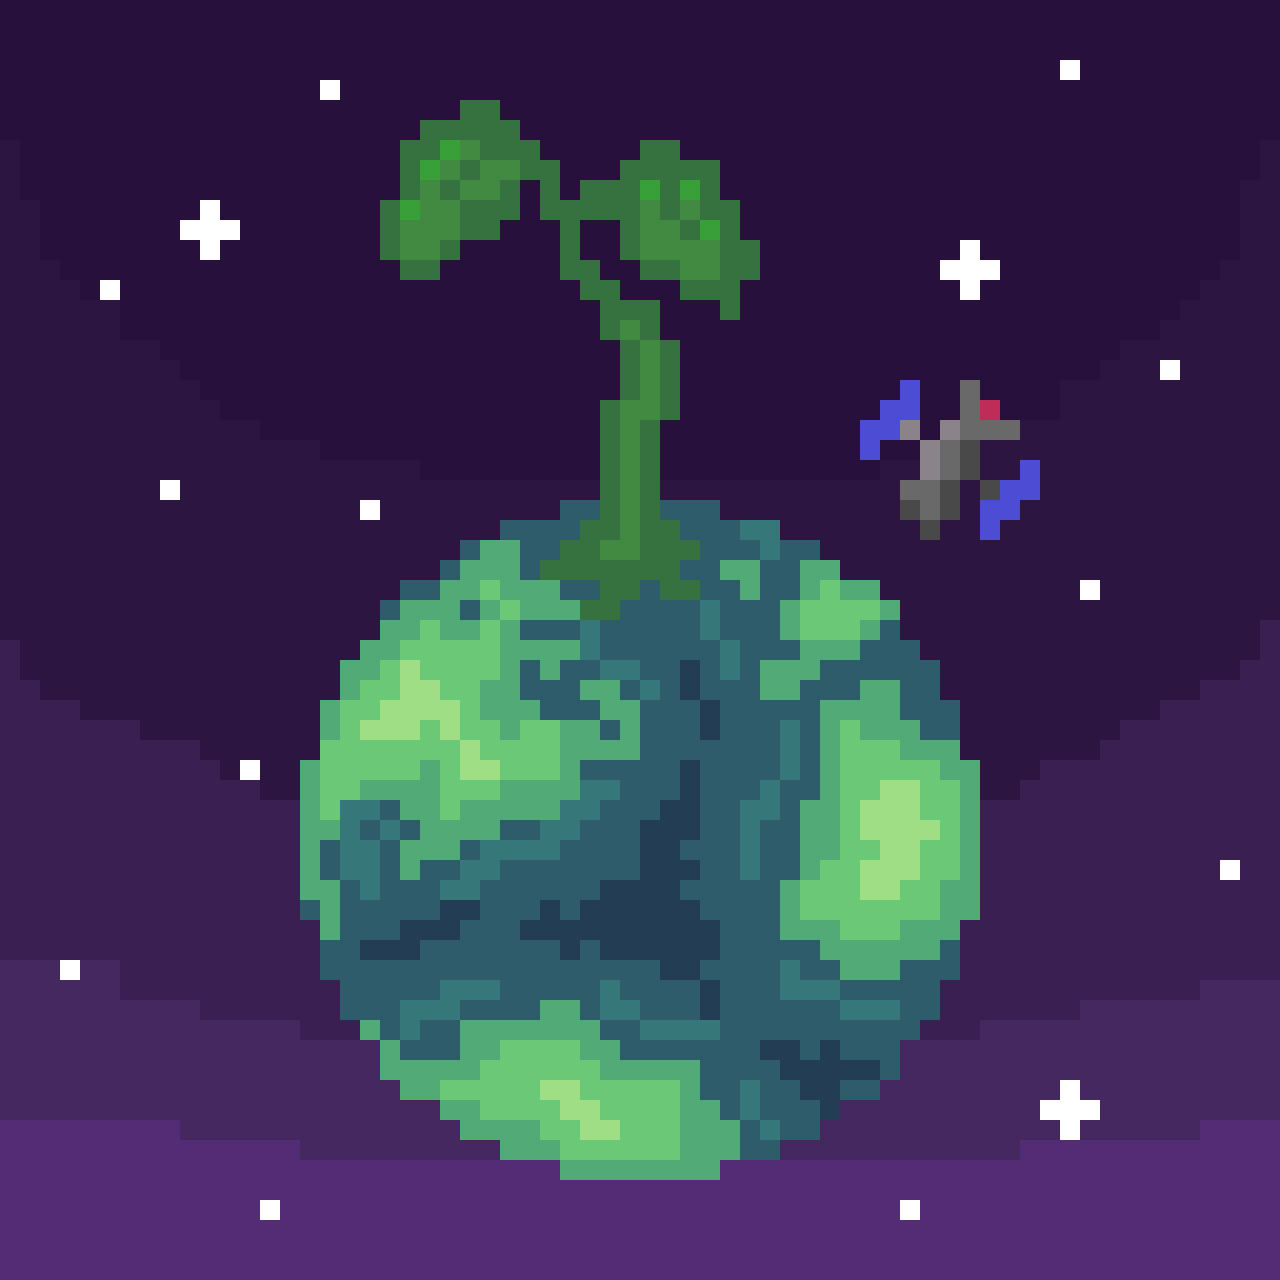
Exporting the image was a small challenge as I had to figure out how to scale the image up without having the resolution drop. After changing one setting I was able to do this no issue and send it over to Google Drive. Here is the final product:
3D Computer Aided Design
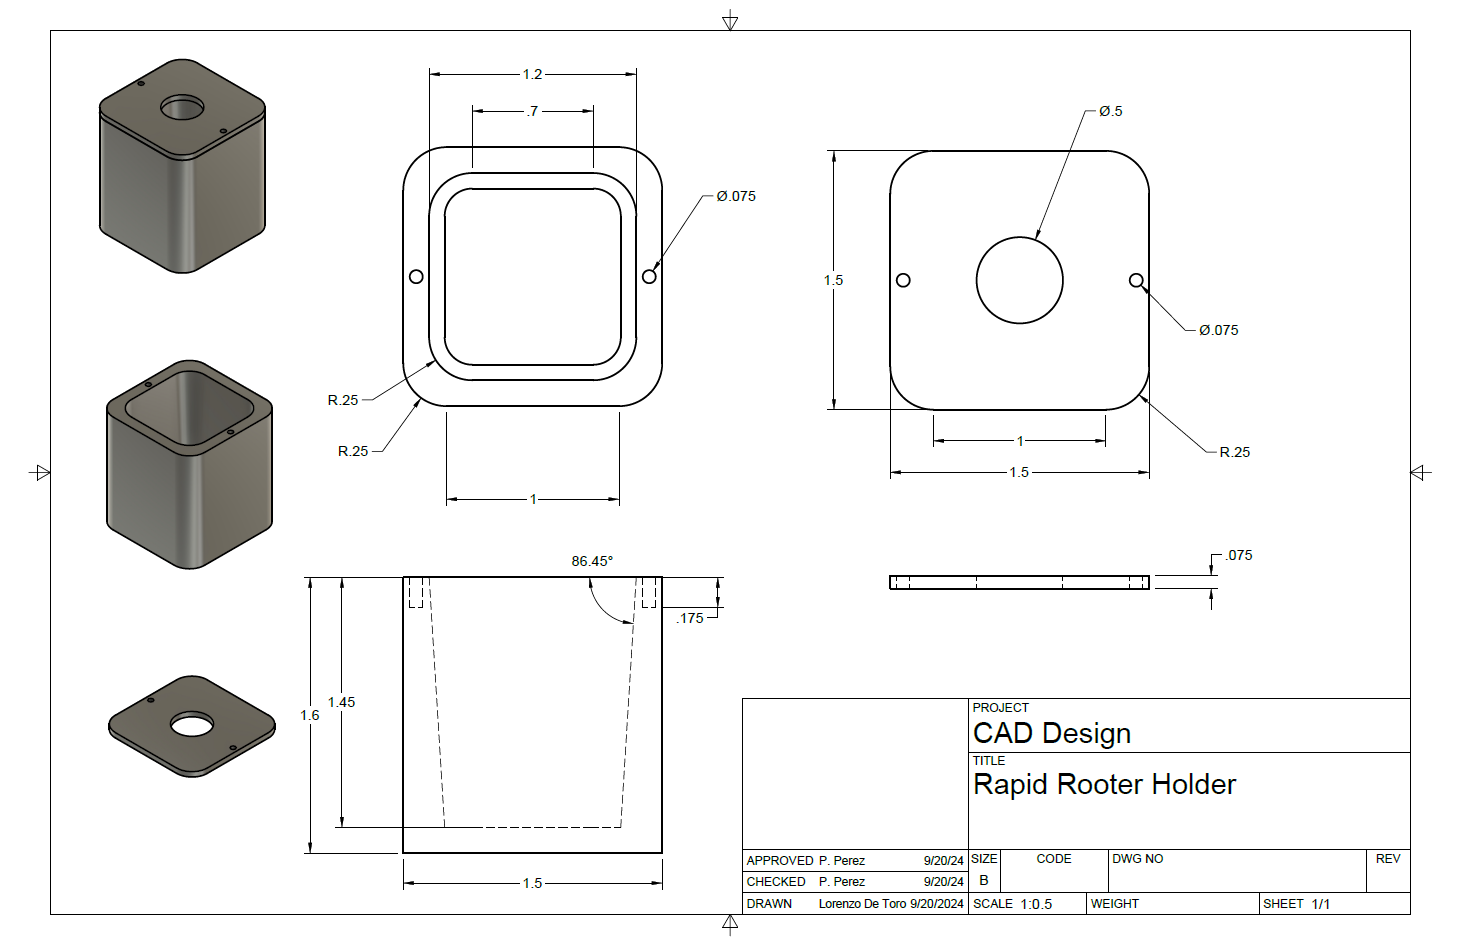
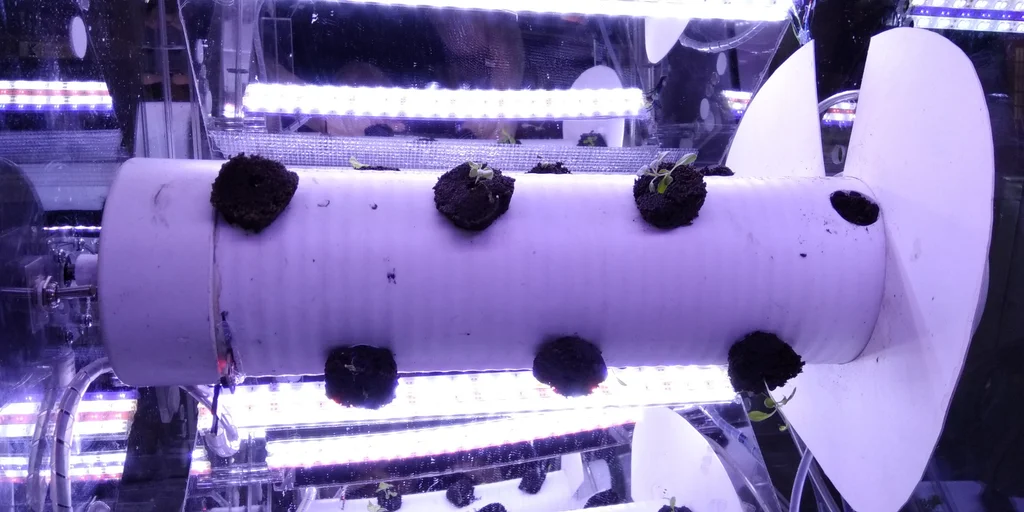
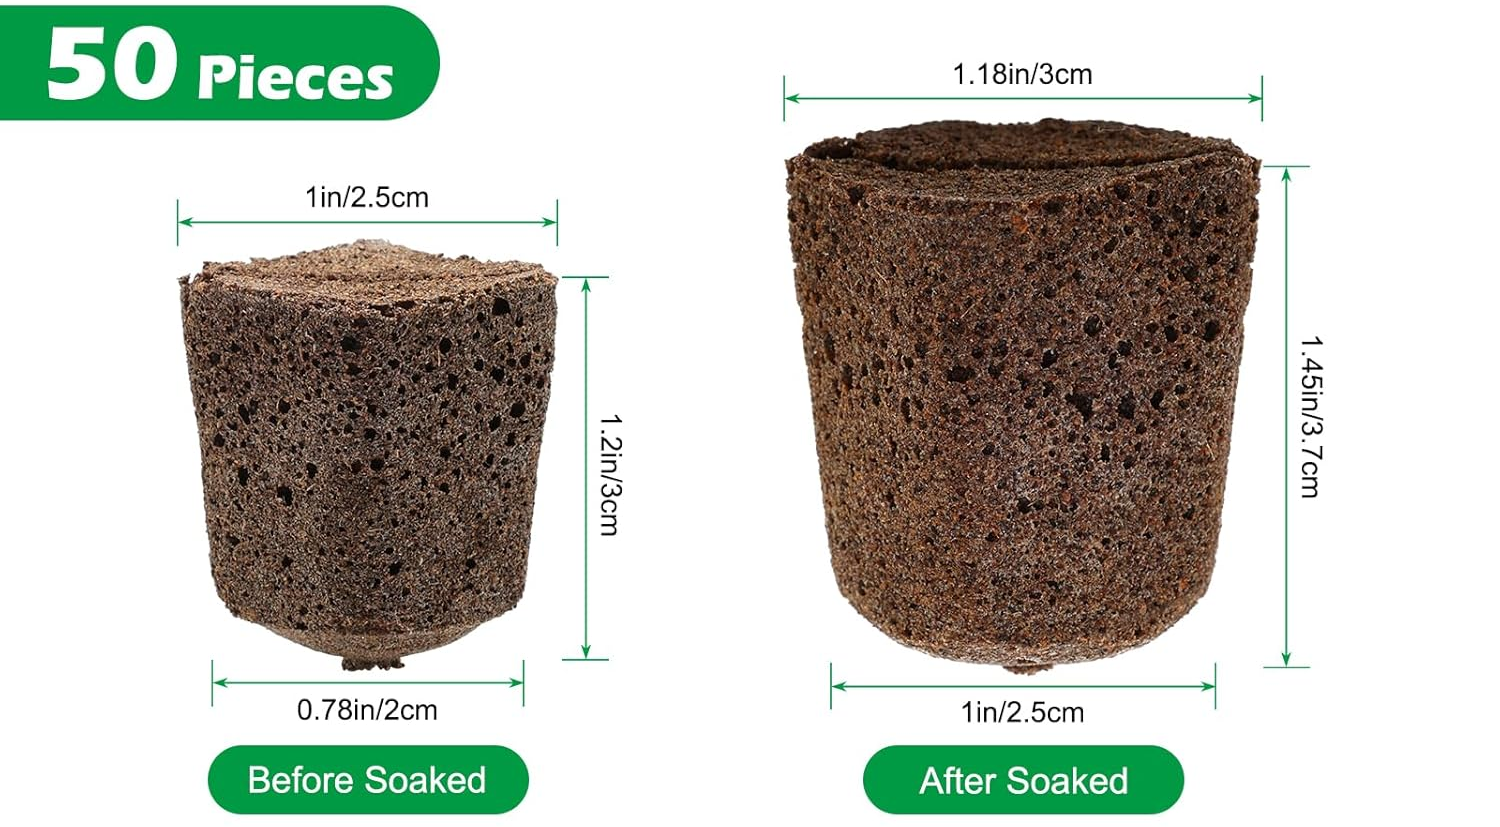
For my 3D design, I wanted to model some sort of casing for where the plant would grow. There are several different options for what medium the plant would grow in, however I decided that rapid rooter plug would be an easy option to model for. These were used in a zero gravity grow box, which was one of the resources our RFP provided us. The rapid rooter plugs provide a good place for the plants to grow as they provide several necessary nutrients and don’t fall apart like regular planting soil, instead staying put together. Here I try to make an all-encapsulating case for the plug so that it can sit in the clinostat. The image on the right provided me with the necessary measurements for the model, where I used the measurements when soaked. This is not the definitive solution for how the plant will sit in the clinostat, nor is it a complete design, but rather a possible solution and a way to practice my 3D modeling skills.
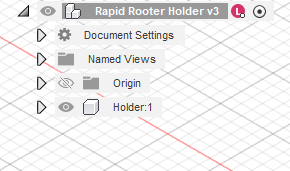
I chose to work with Fusion 360, as I am familiar with and have experience using the program.

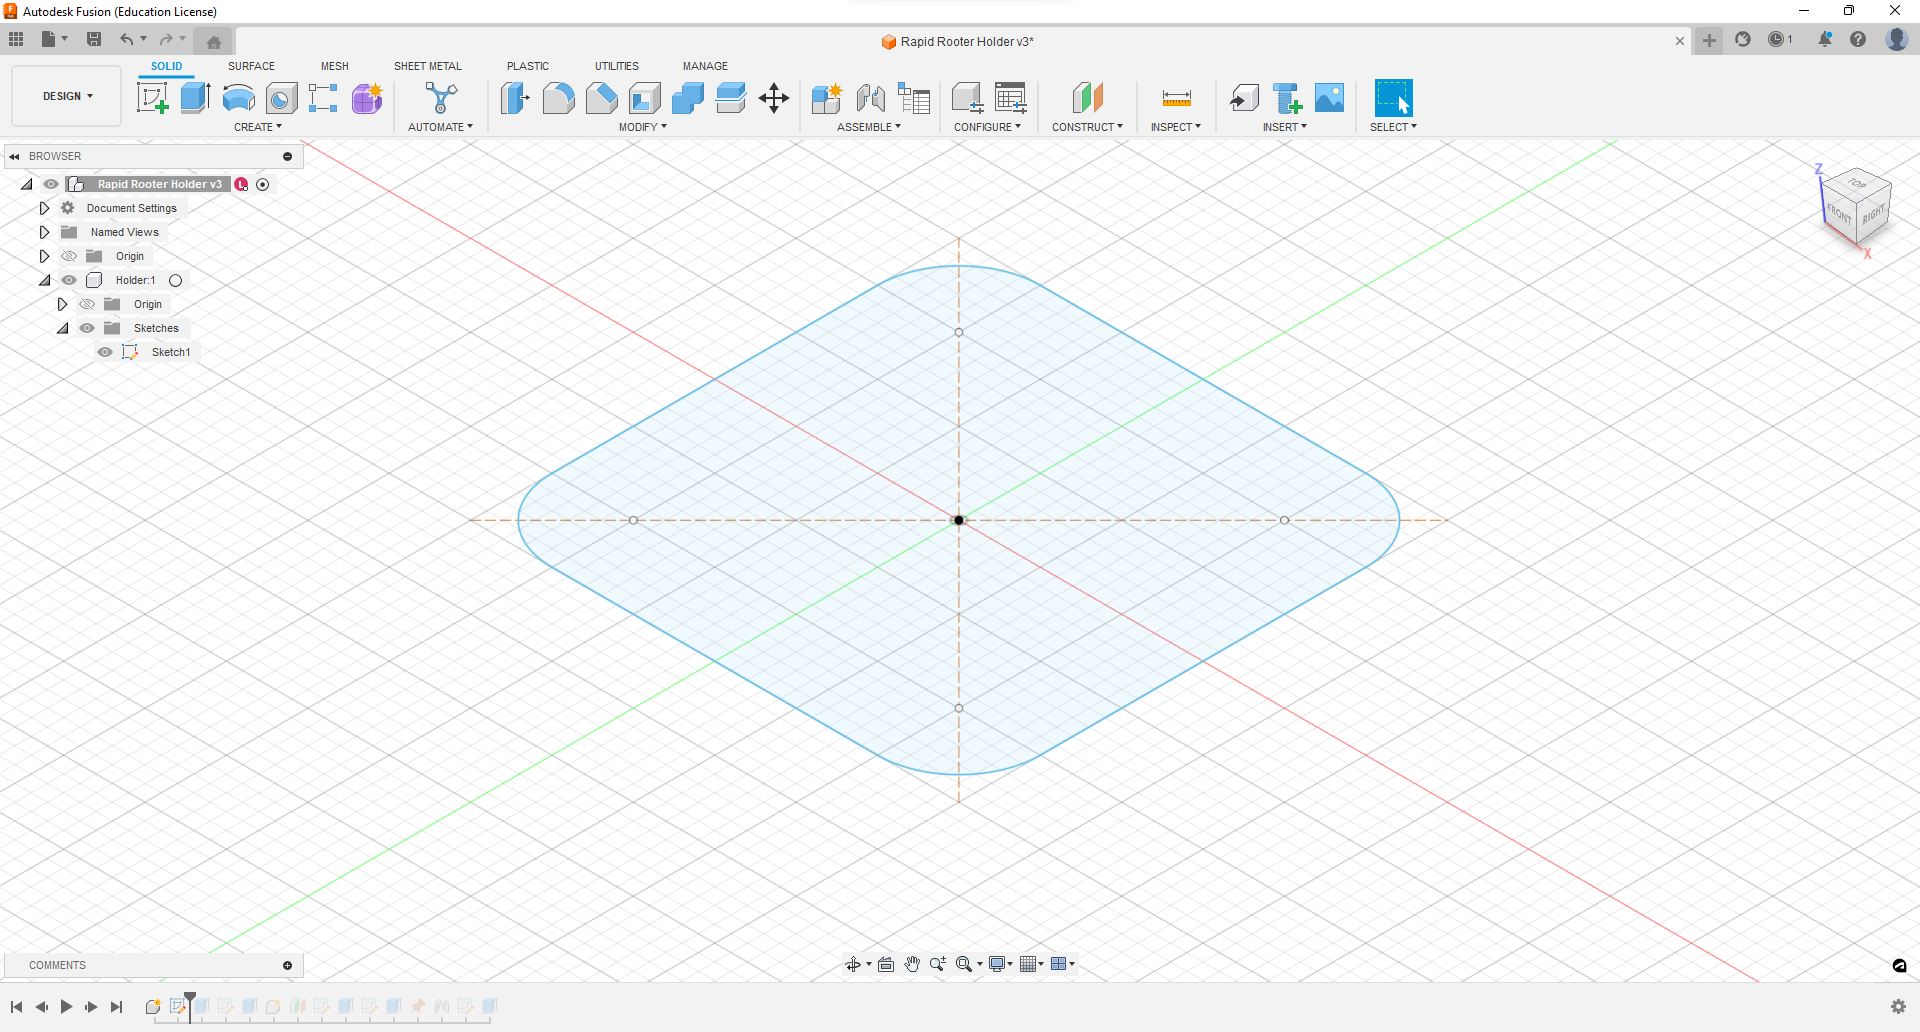
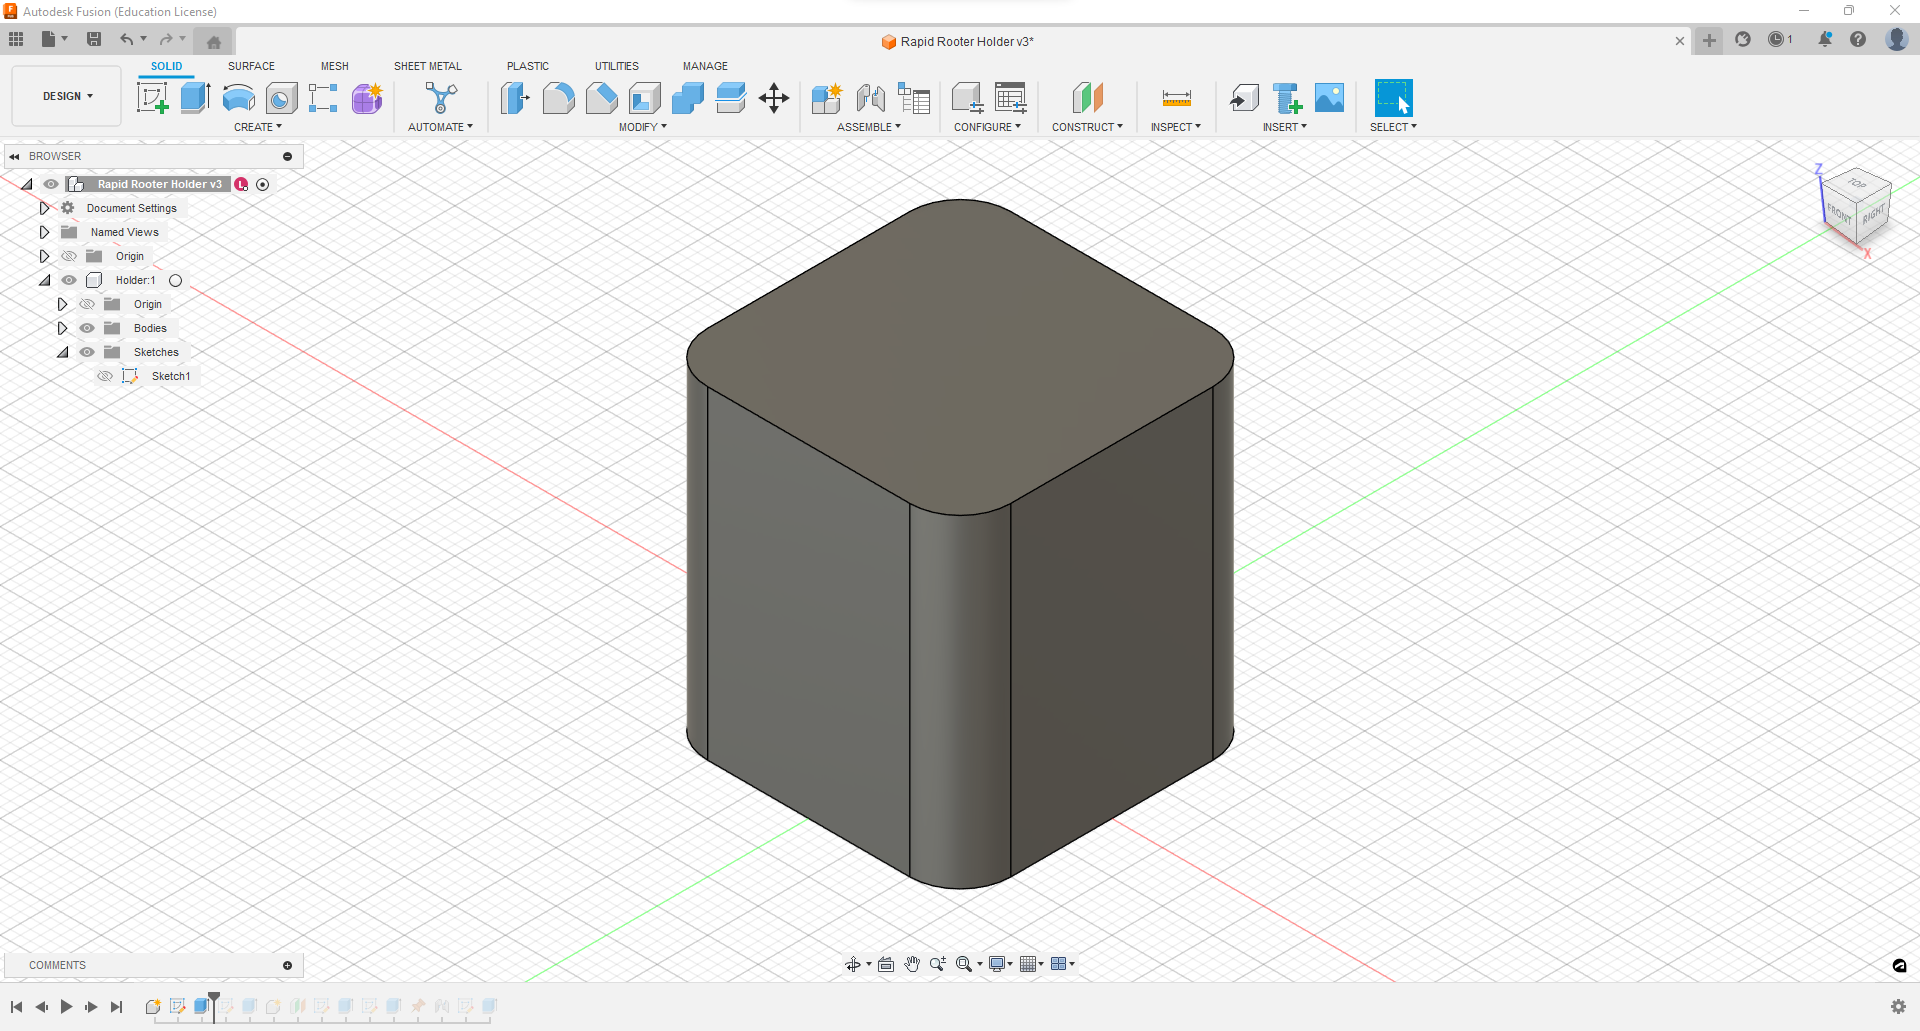
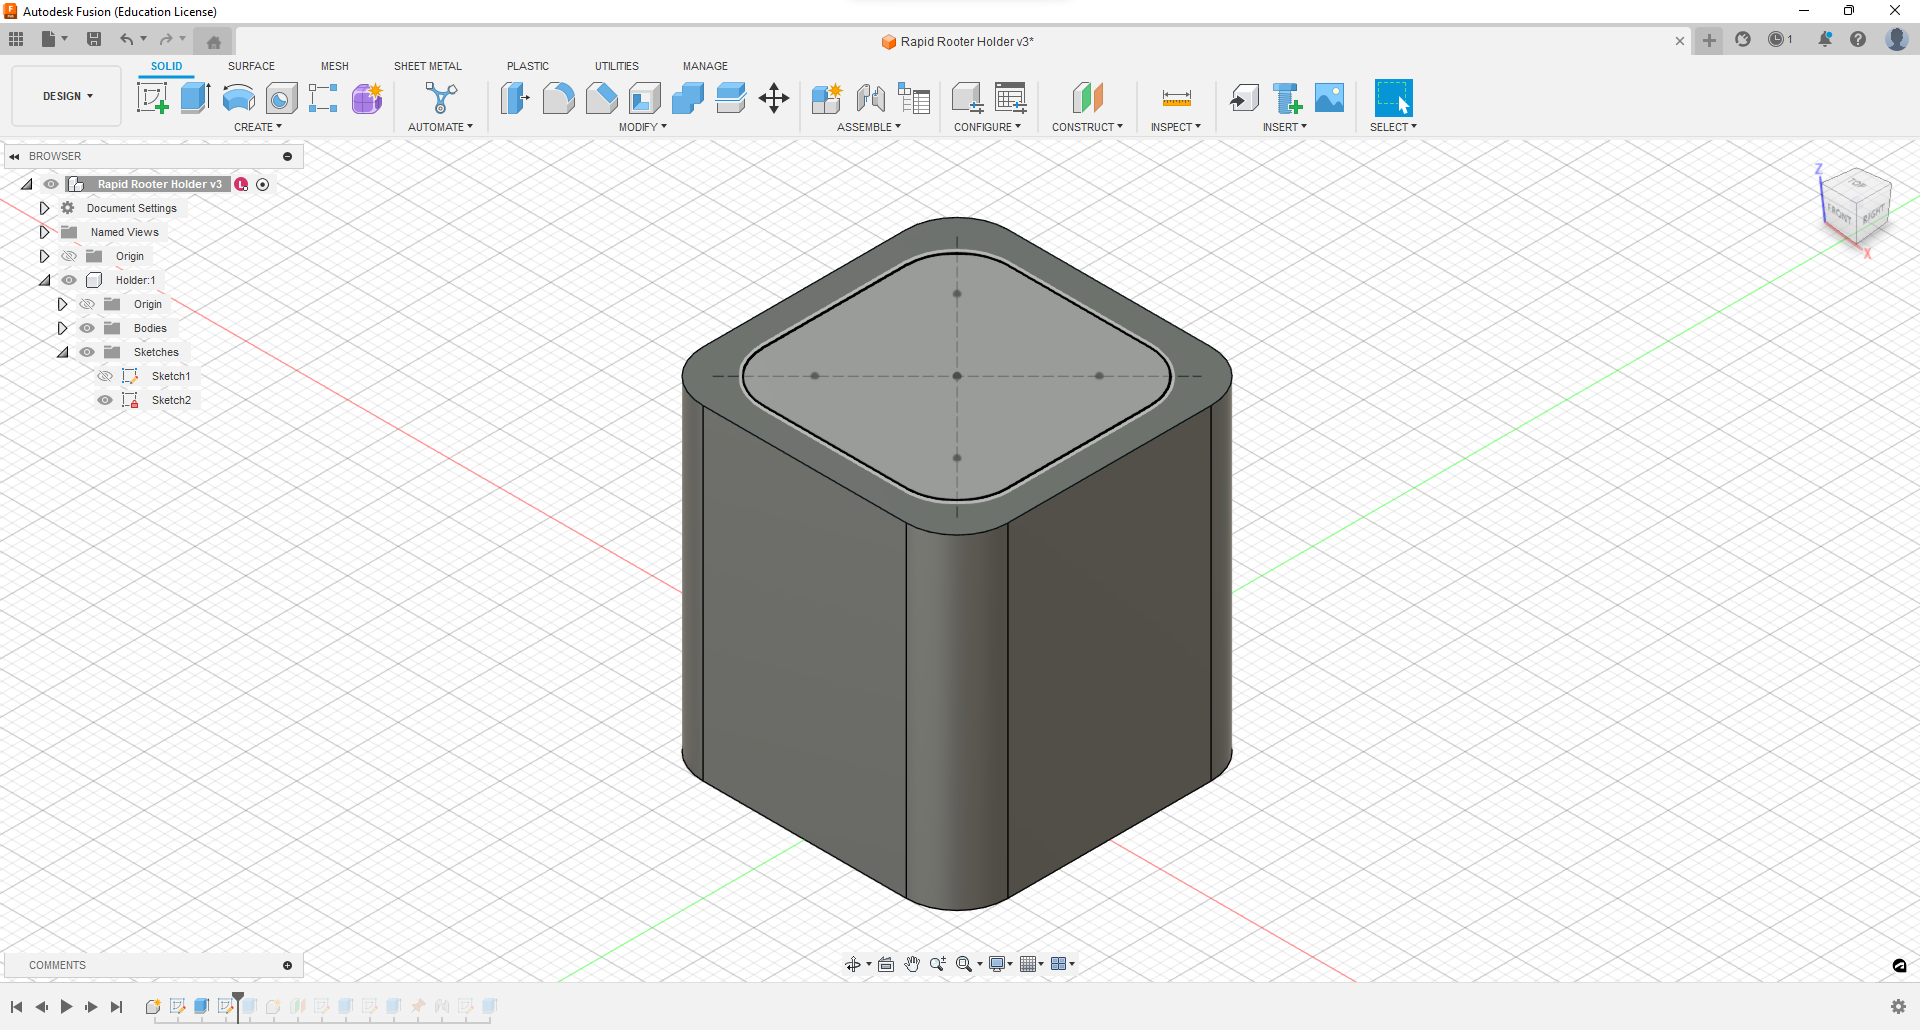
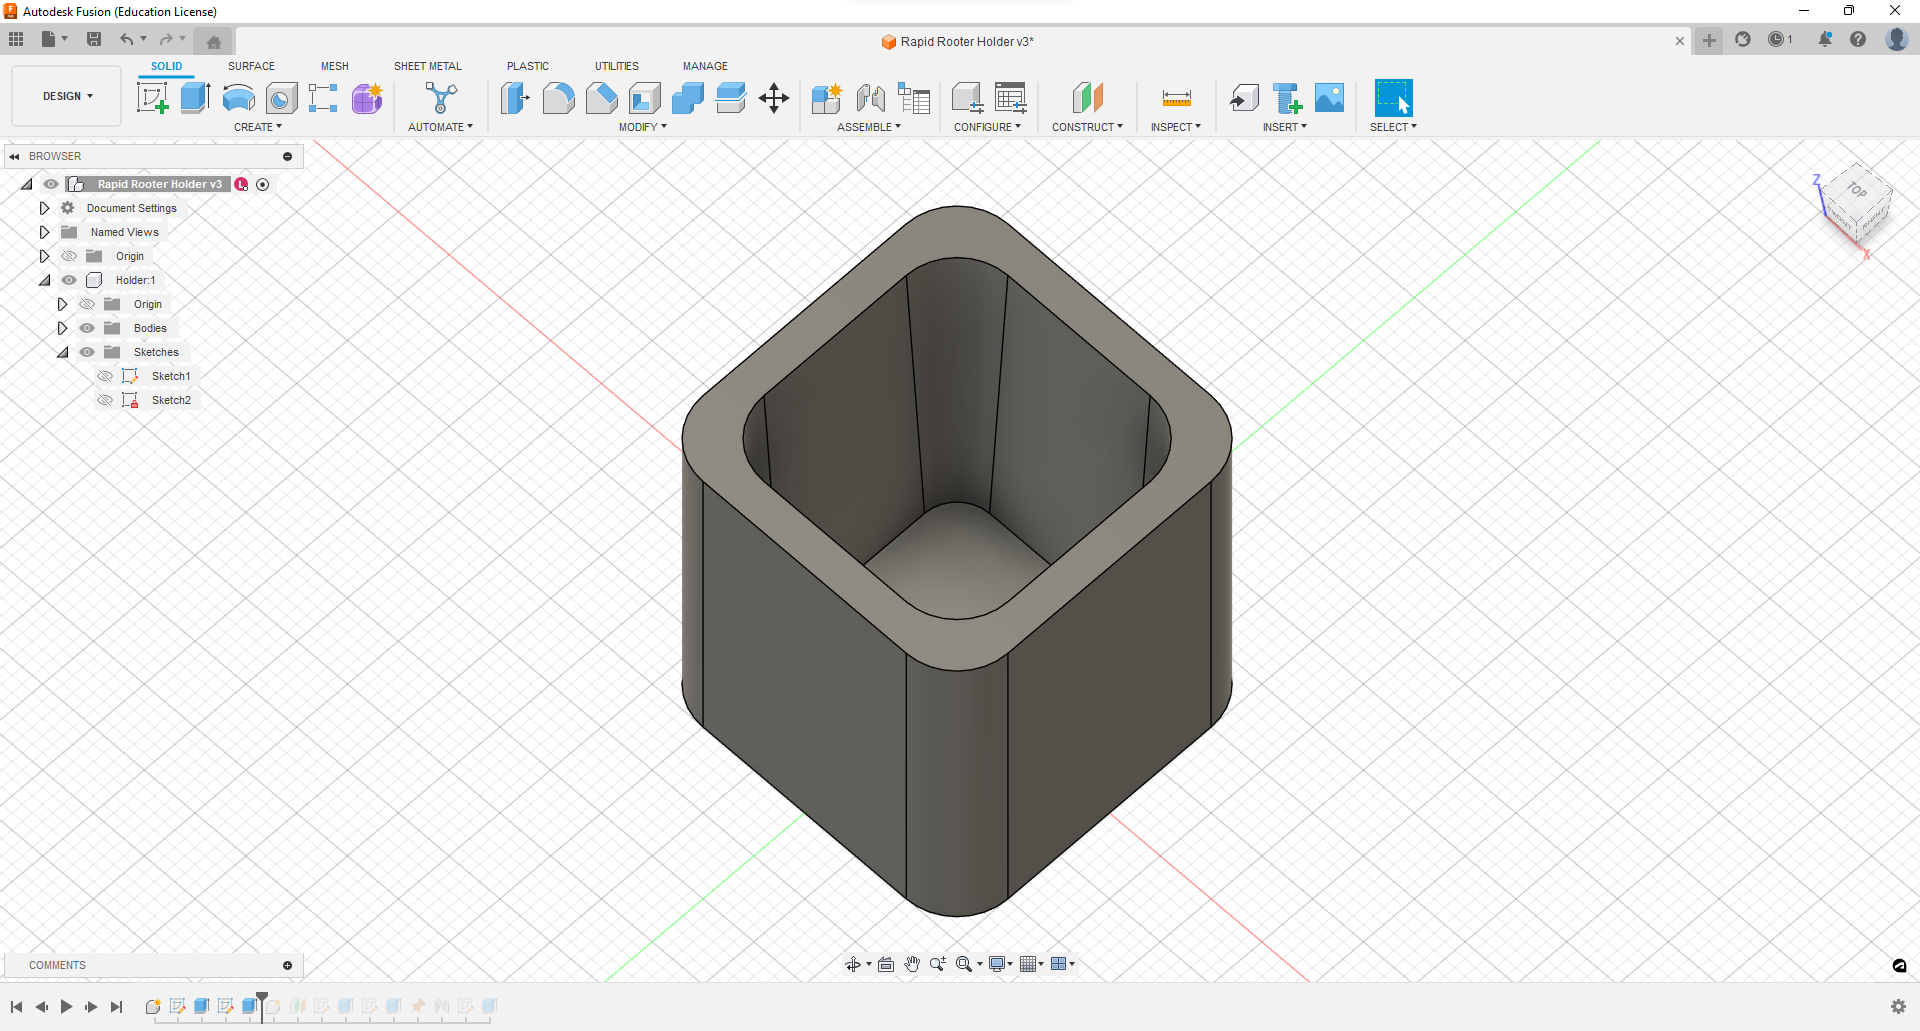
I started off by creating a new component for the main holder, titled ‘Holder”. In this component I created a sketch of a 1.5 in square with the fillet tool applied to the corners with a 0.25 in radius. Finally, I extruded the sketch up 1.6 in to create the base shape of the holder. After creating the main body, I created a new sketch on the top face of the shape, this time creating a 1.2 in square, again with the fillet tool applied to the corners with a 0.25 in radius. This sketch was then extruded down into the shape with a -3° angle, creating a hole tapering inward. This creates the slot where the rapid rooter plug can sit inside, even at the max size while wet.
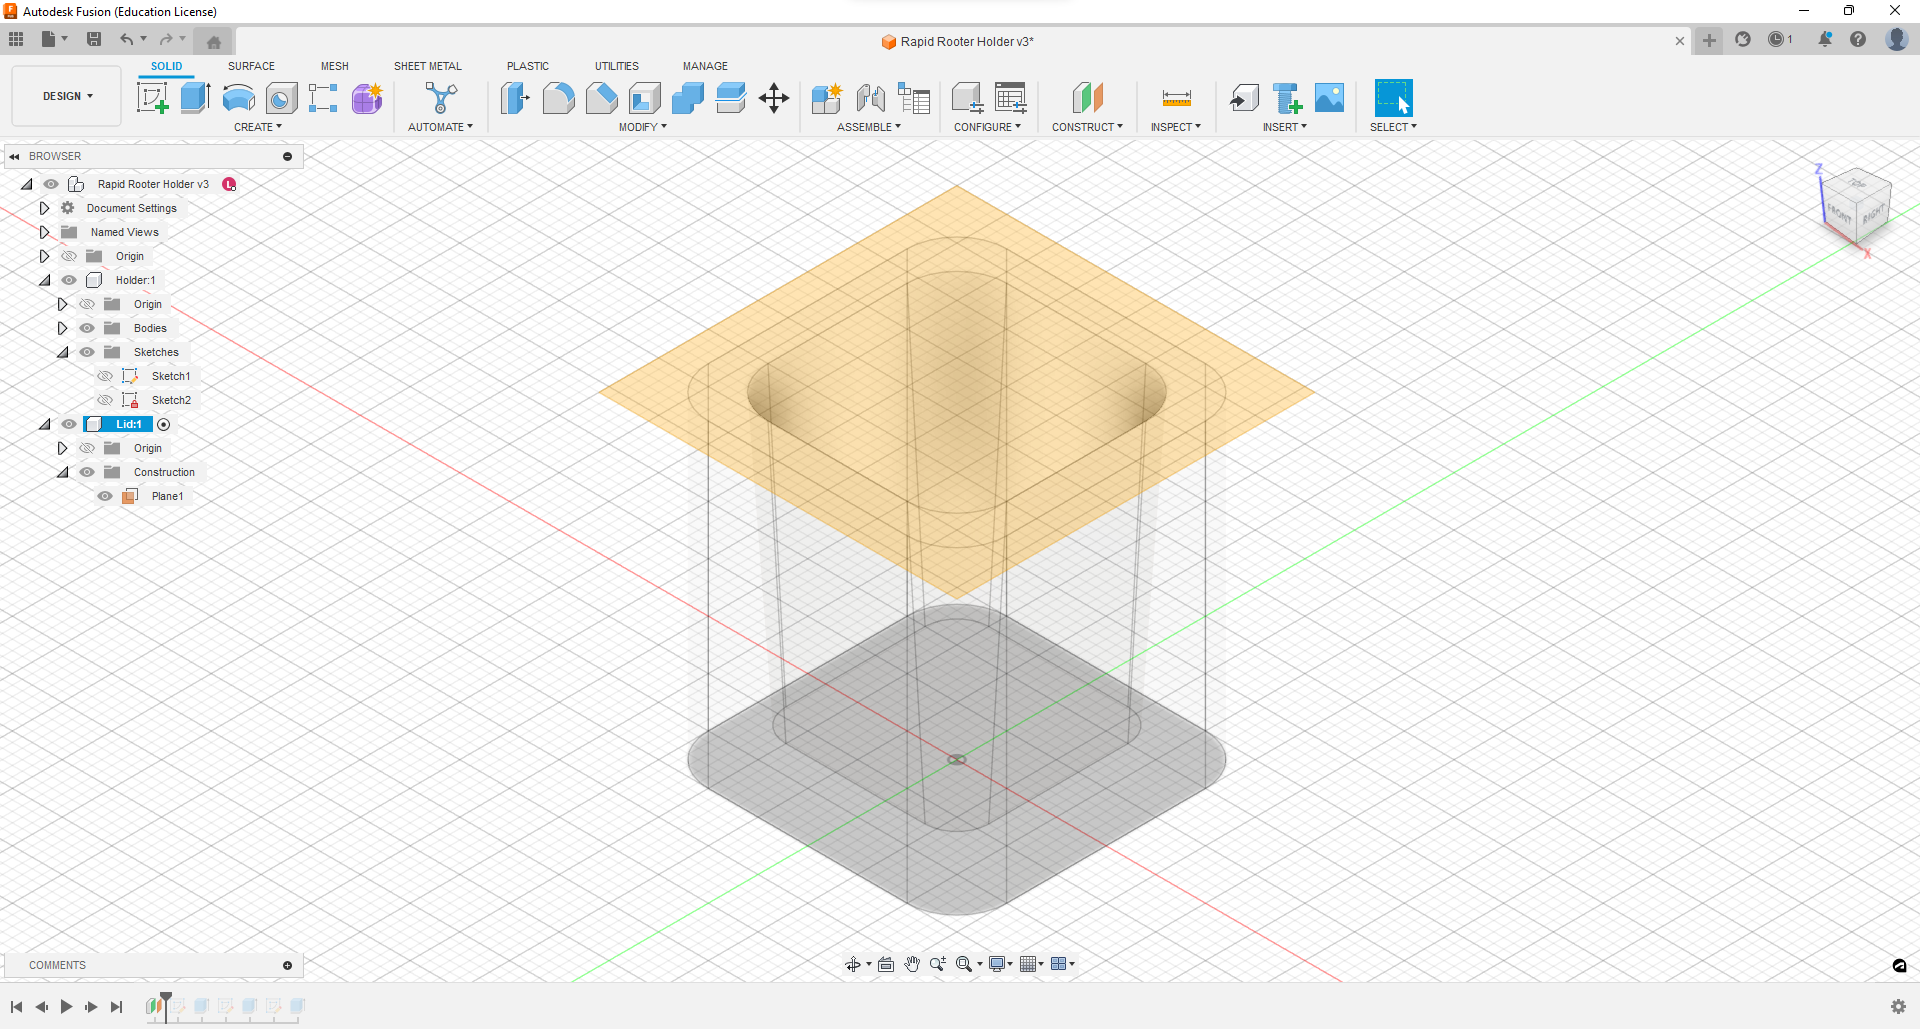
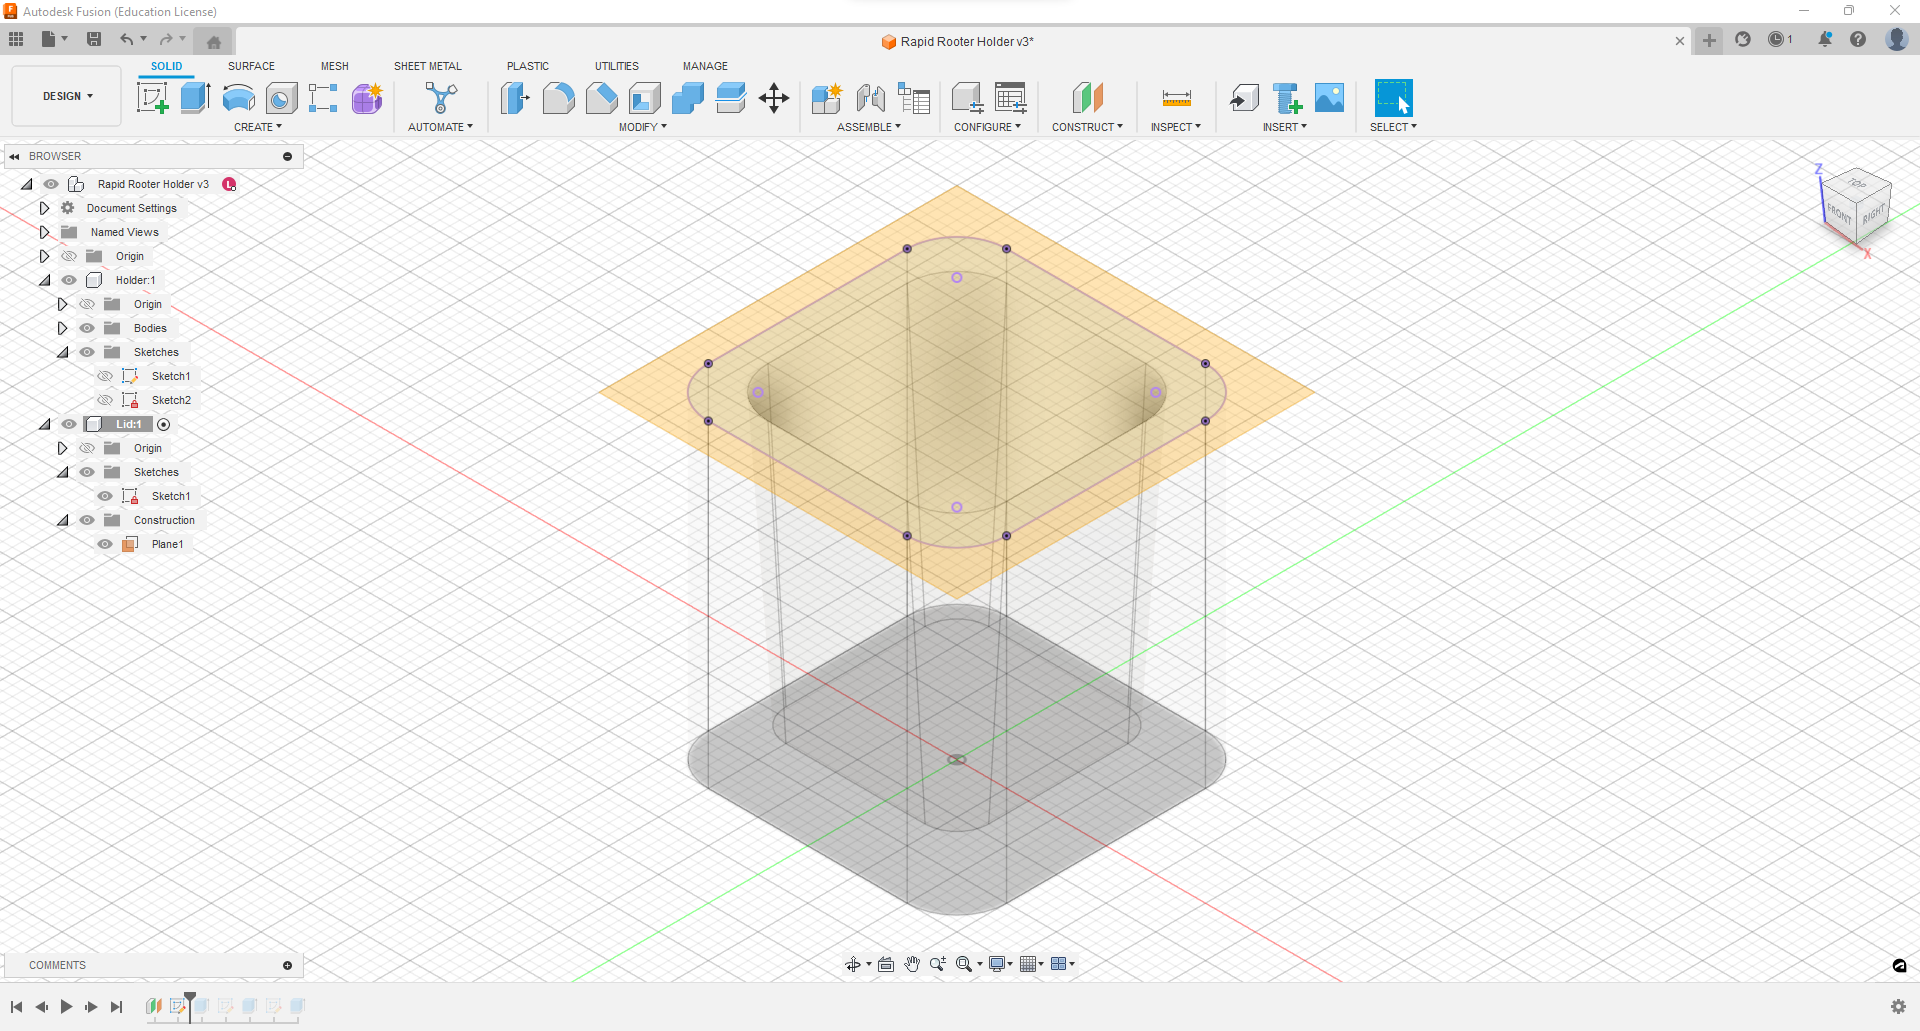
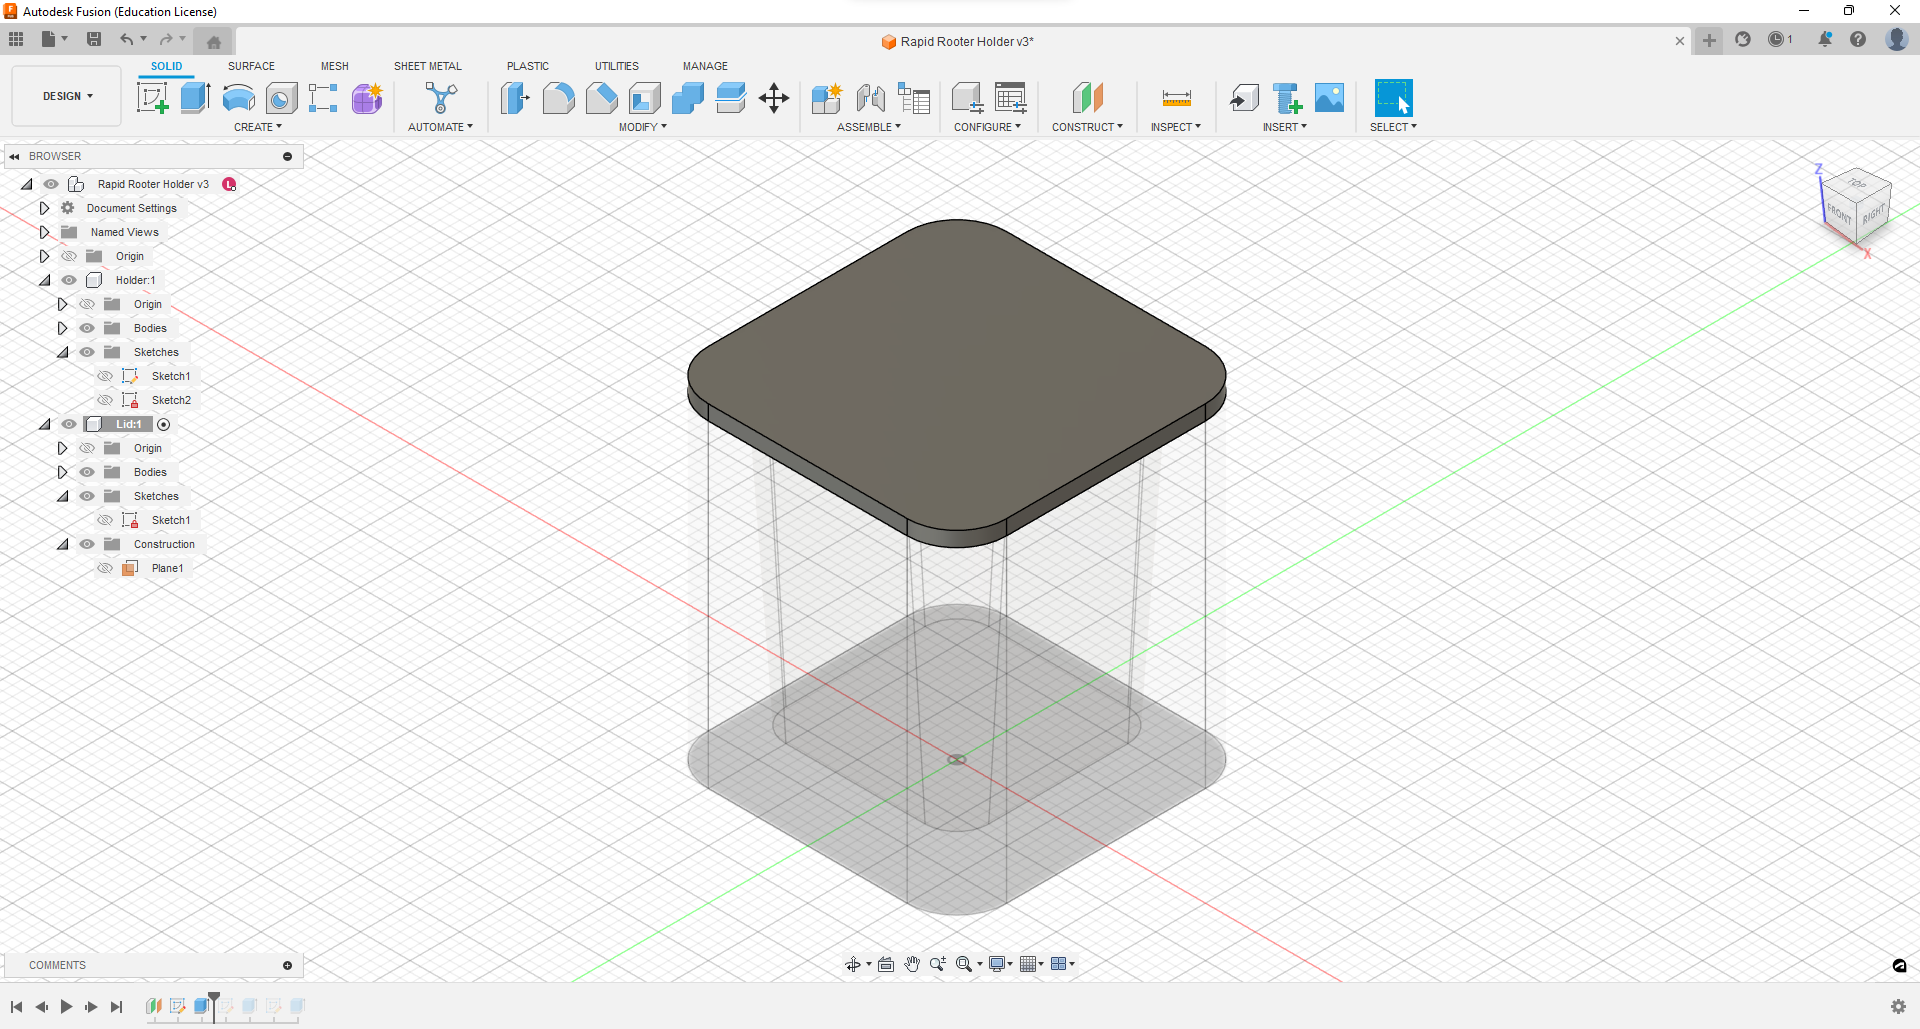
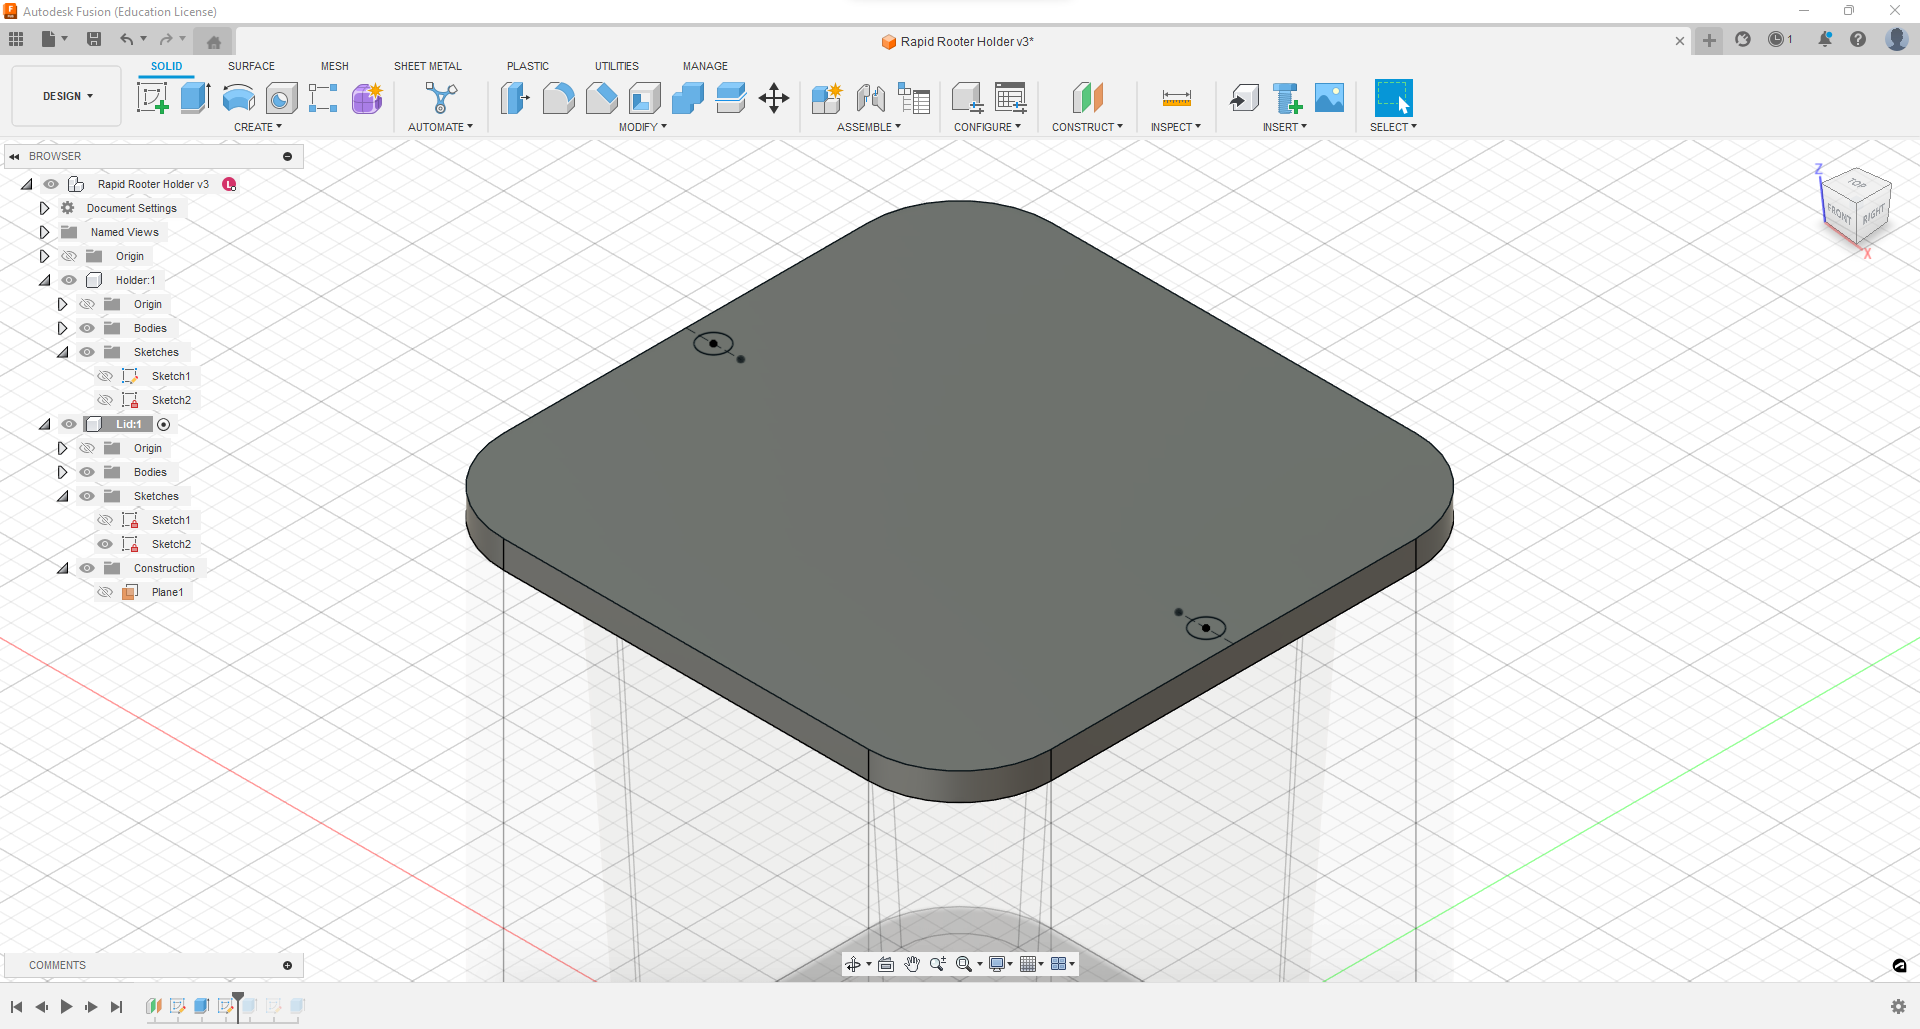
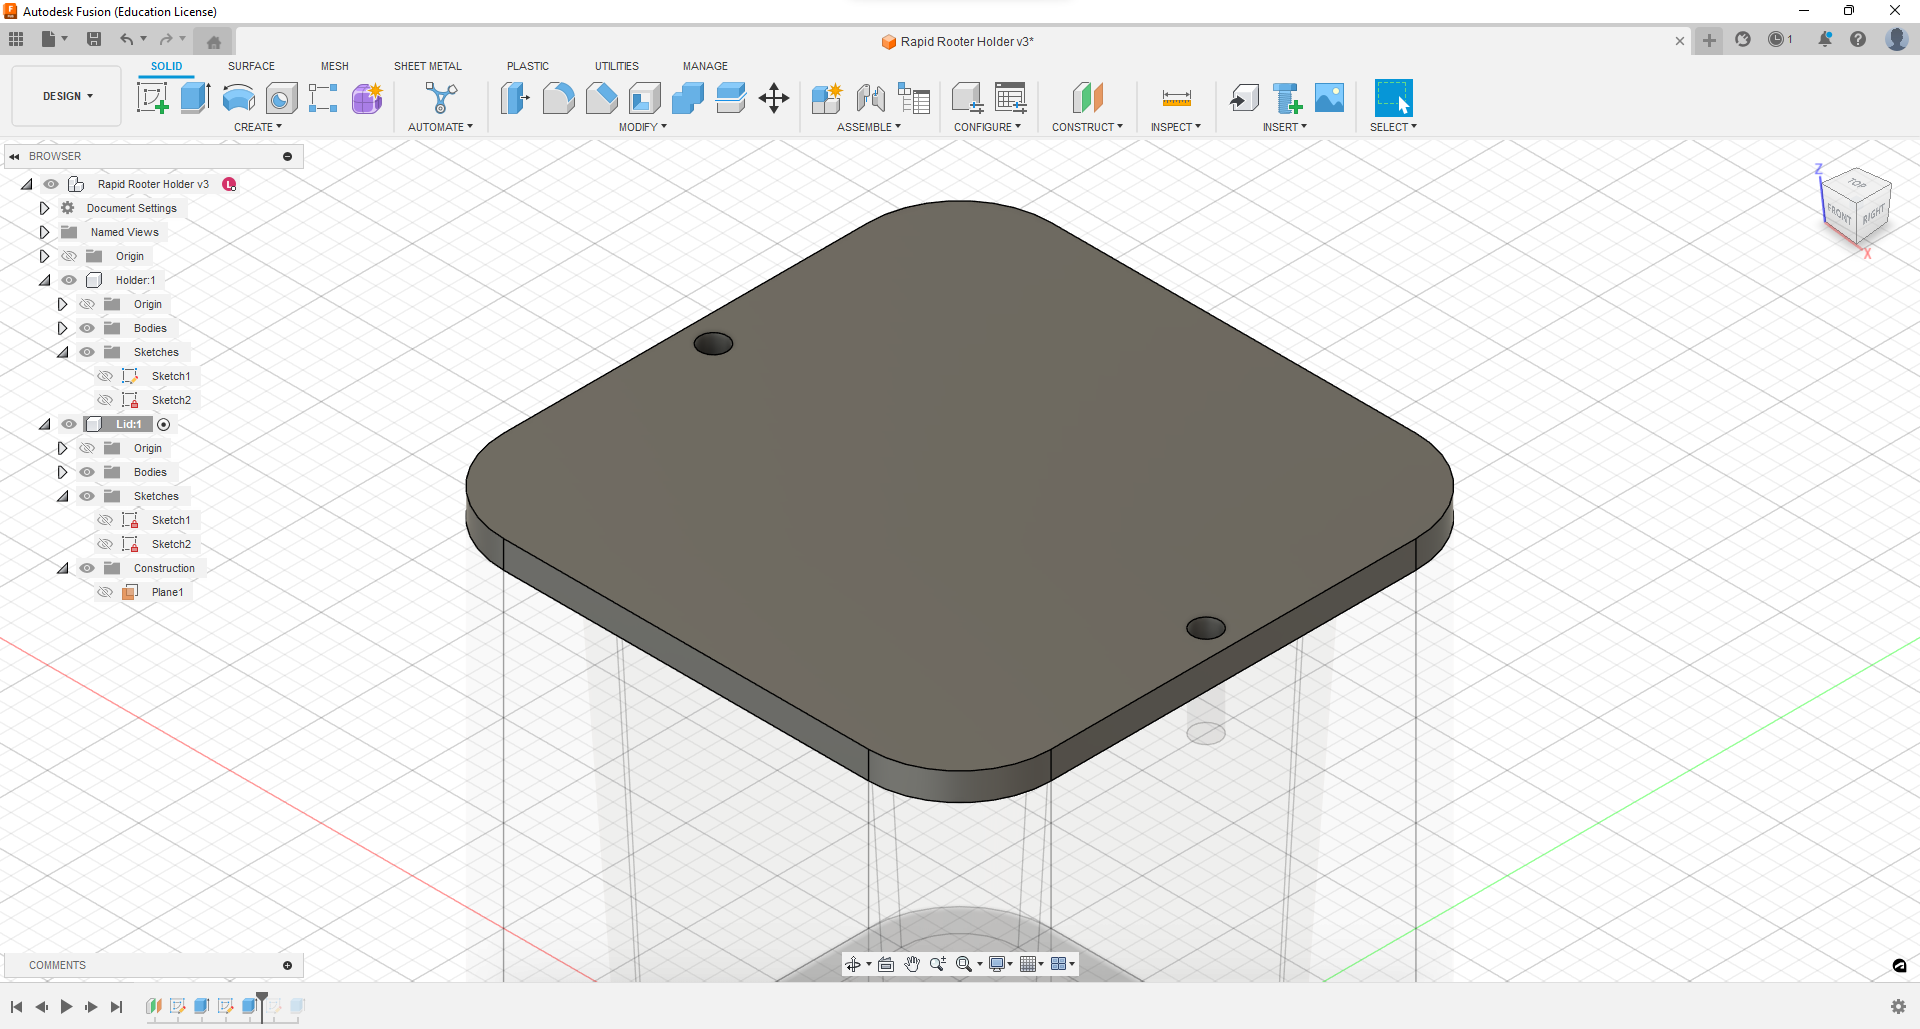
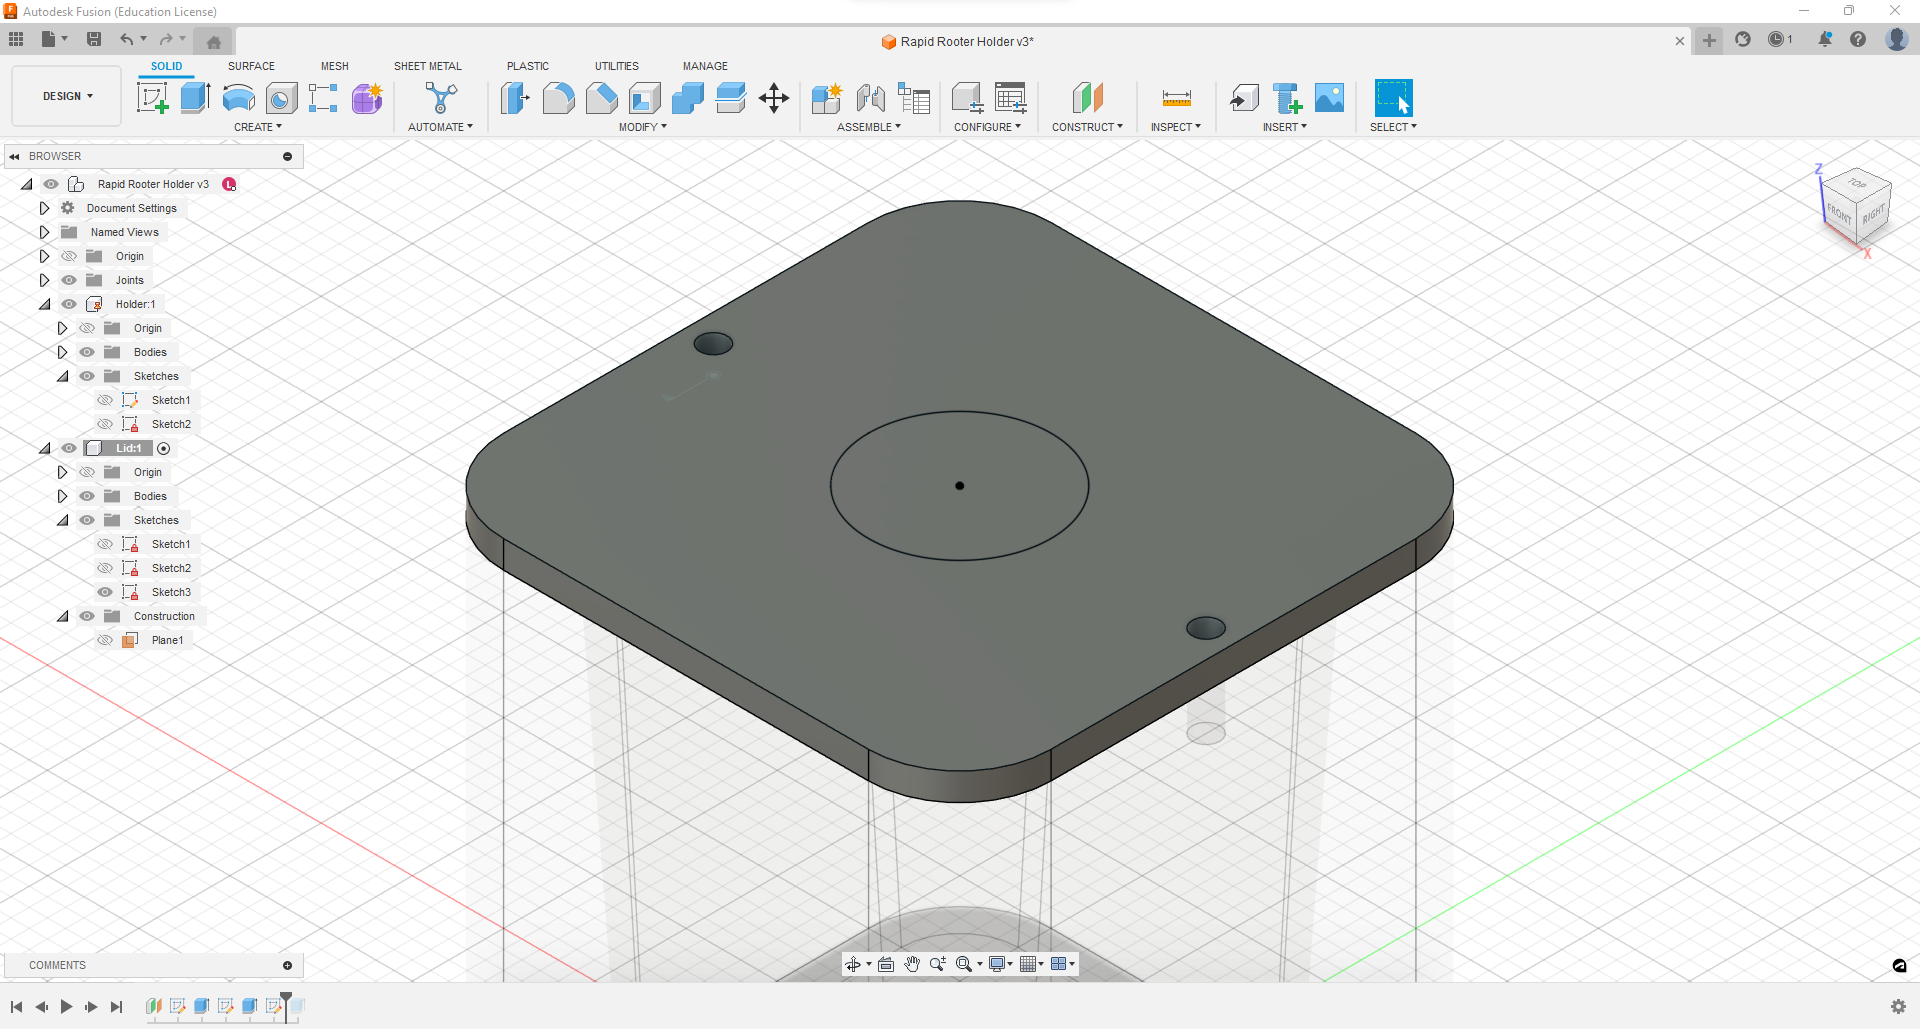
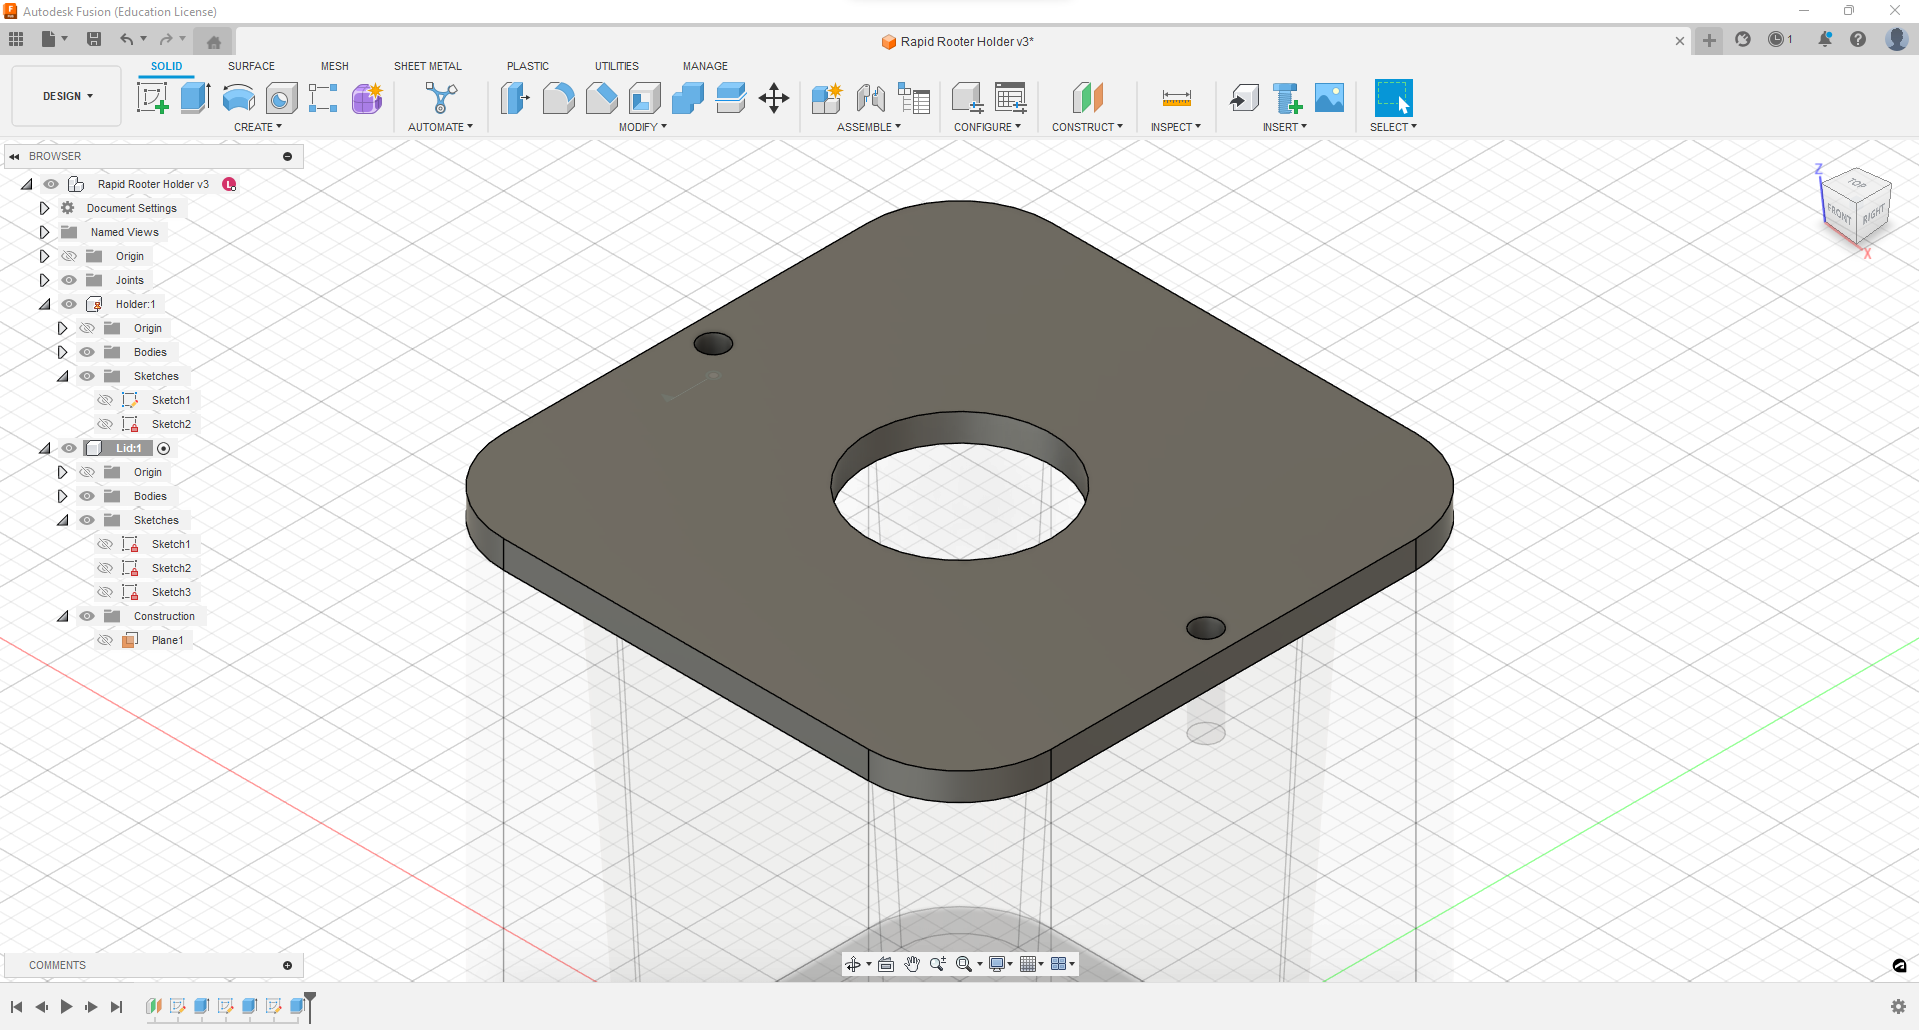
Next, I created a new component, titled “Lid”, so I can make the lid that will close the case. I began by creating a plane at the top of the holder to work on, then making a sketch and projecting the outside lines of the holder beneath, that way the lid measurements are exactly the same as the holder. I extruded this sketch up 0.75 in to create the lid. Then I created two small holes with a 0.075 in diameter on either side of the lid, centered to the middle of the lid vertically. I then extruded these circles down 0.25 in, creating two slots for potential screws or pegs to hold the lid and holder together. Finally, I sketched a 0.5 in diameter circle in the center of the lid and extruded it down, creating a slot for the plant to grow through.

The final image shows the final design with the different parts dimensionalized. One aspect I can add on to this design later if we choose to continue working with it are clips or slot on each side so it can actually be held by the clinostat.