Introduction
For this mini project, we were tasked with making silicone-based molds and creating a resin cast with it. Two methods of mold-making were taught to the class: Open-face molds and Two-part molds. I had already had an interest in mold-making, so I got really excited with this project, making several different molds, with a focus on dice molds. Here’s how it went.
Dice Molding
I’ve always had an interest in fantasy, in storytelling, and one of the greatest forms of this comes in the form of the role-playing game Dungeons and Dragons. The game can be played as strictly or as loosely as you and your friends decide, however one of the few key elements throughout any version of the game is the use of dice to decide what happens with the characters and the world. This emphasis on dice within the game led me to look into making them a while ago, looking at different videos with different techniques. Until this class, however, I never had the right equipment and materials, so being given the chance to make dice molds, I jumped right in.
I knew I wanted to make the whole set of dice, so while I waited for a set of sharp-edge dice I ordered to come in, I started to make a practice mold with some small D6s I had. I wanted to go with sprue-type molds, which are essentially open-back molds that have a channel, or sprue, that feeds the resin into the actual dice. I attached the sprue to the edge of the 1 side of the D6 using super glue and attached the other side to a spare D6 to act as a slot for the resin to sit in and fall into the mold. After that I hot-glued the spare D6 to the bottom of a cup, so that the main D6 for the mold was in the middle of the cup. After this, I put on some gloves and mixed together equal parts of part A and B of a silicone rubber to create this silicone that will form the mold of the die. I slowly poured the mixture into the cup, making sure to have as little bubbles as possible as well as covering every surface of the die. Once covered, I let it sit for 6 hours to solidify.
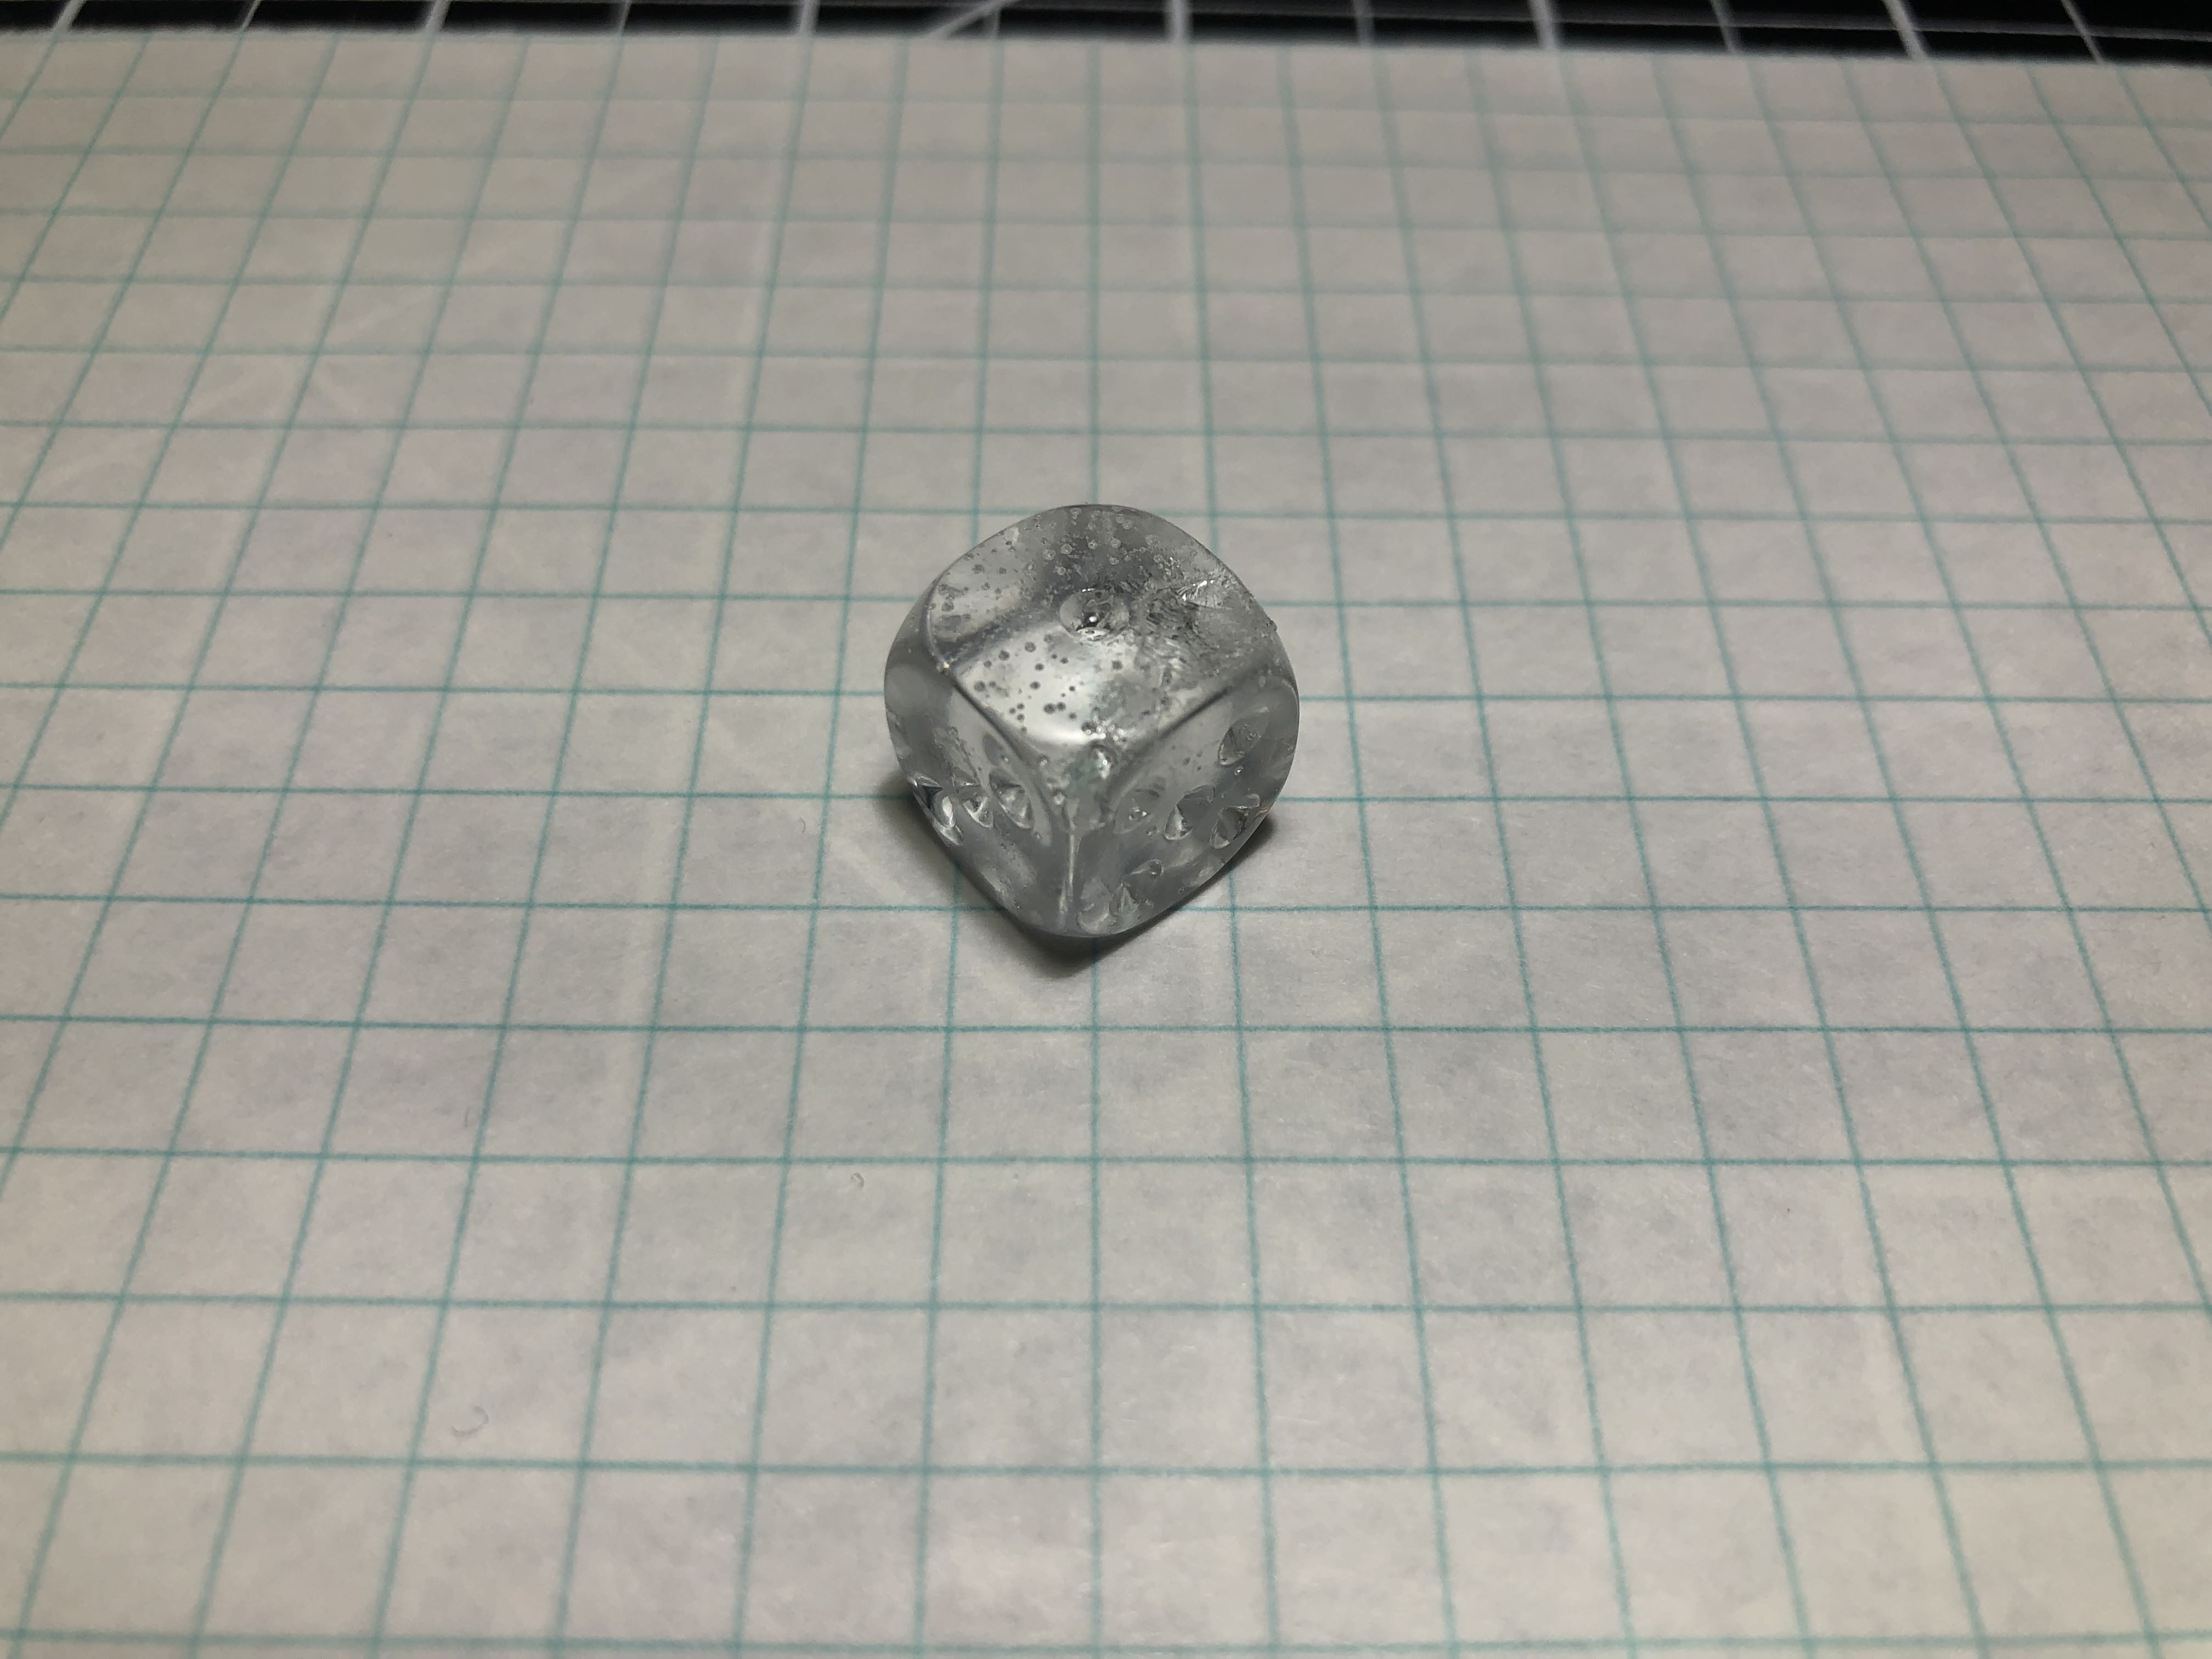
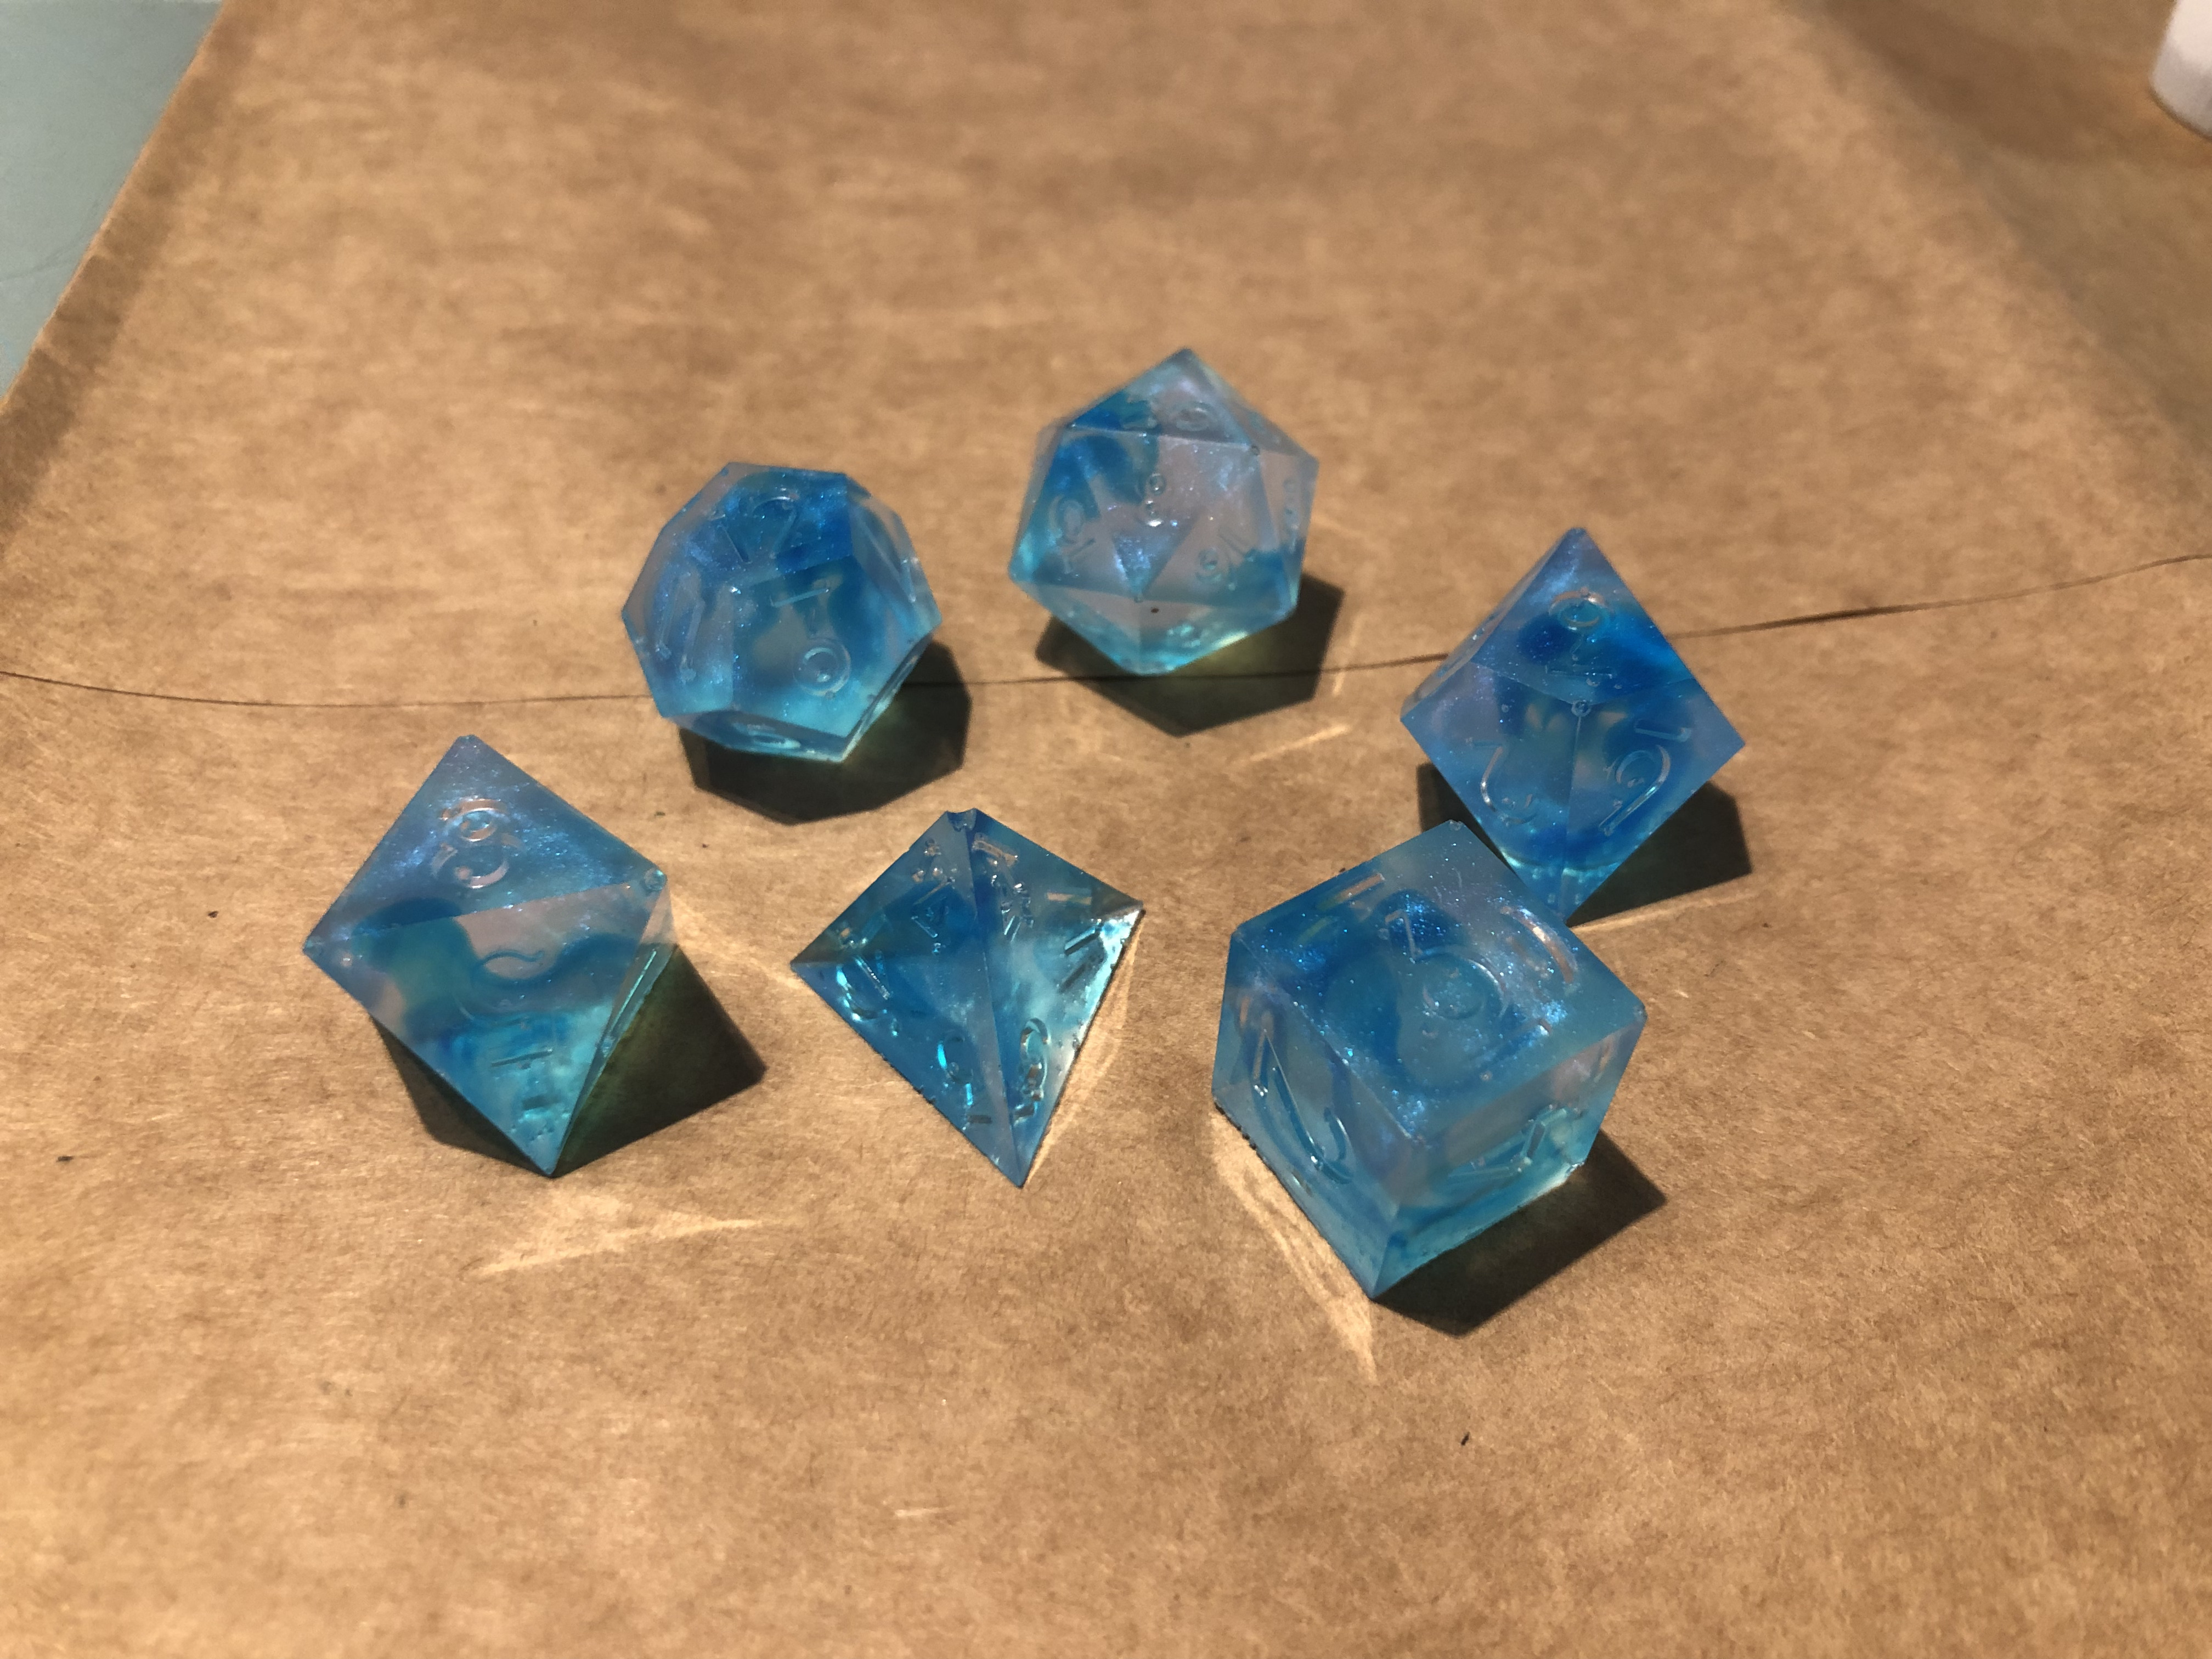
I returned the next day with the mold completed. I used an exacto-knife to cut along the edge of the sprue and die to create a slit for the cast to come out of the mold. Once I removed the original dice, I quickly mixed equal parts of an epoxy resin and a hardener to pour into the mold. This resin was clear, which I personally prefer to opaque resins, however one issue presented itself after the mold was completed. Before that, however, I struggled with pouring the resin into the mold. I’m unsure if I was just being impatient or if the resin just struggled going down the thing sprue, but while pouring, the resin would remain in the top recess. Because I just wanted to see how the cast came out, I opened the mold up and poured the resin for the die straight in. This resulted in excess resin pouring out of the side of the mold, however the majority of the resin remained inside the mold. By the following day, the mold was ready. The die came out pretty decent, with only one large bubble leaving a whole in one corner. It also came out very cloudy as a result of a build up of small bubbles within the die.
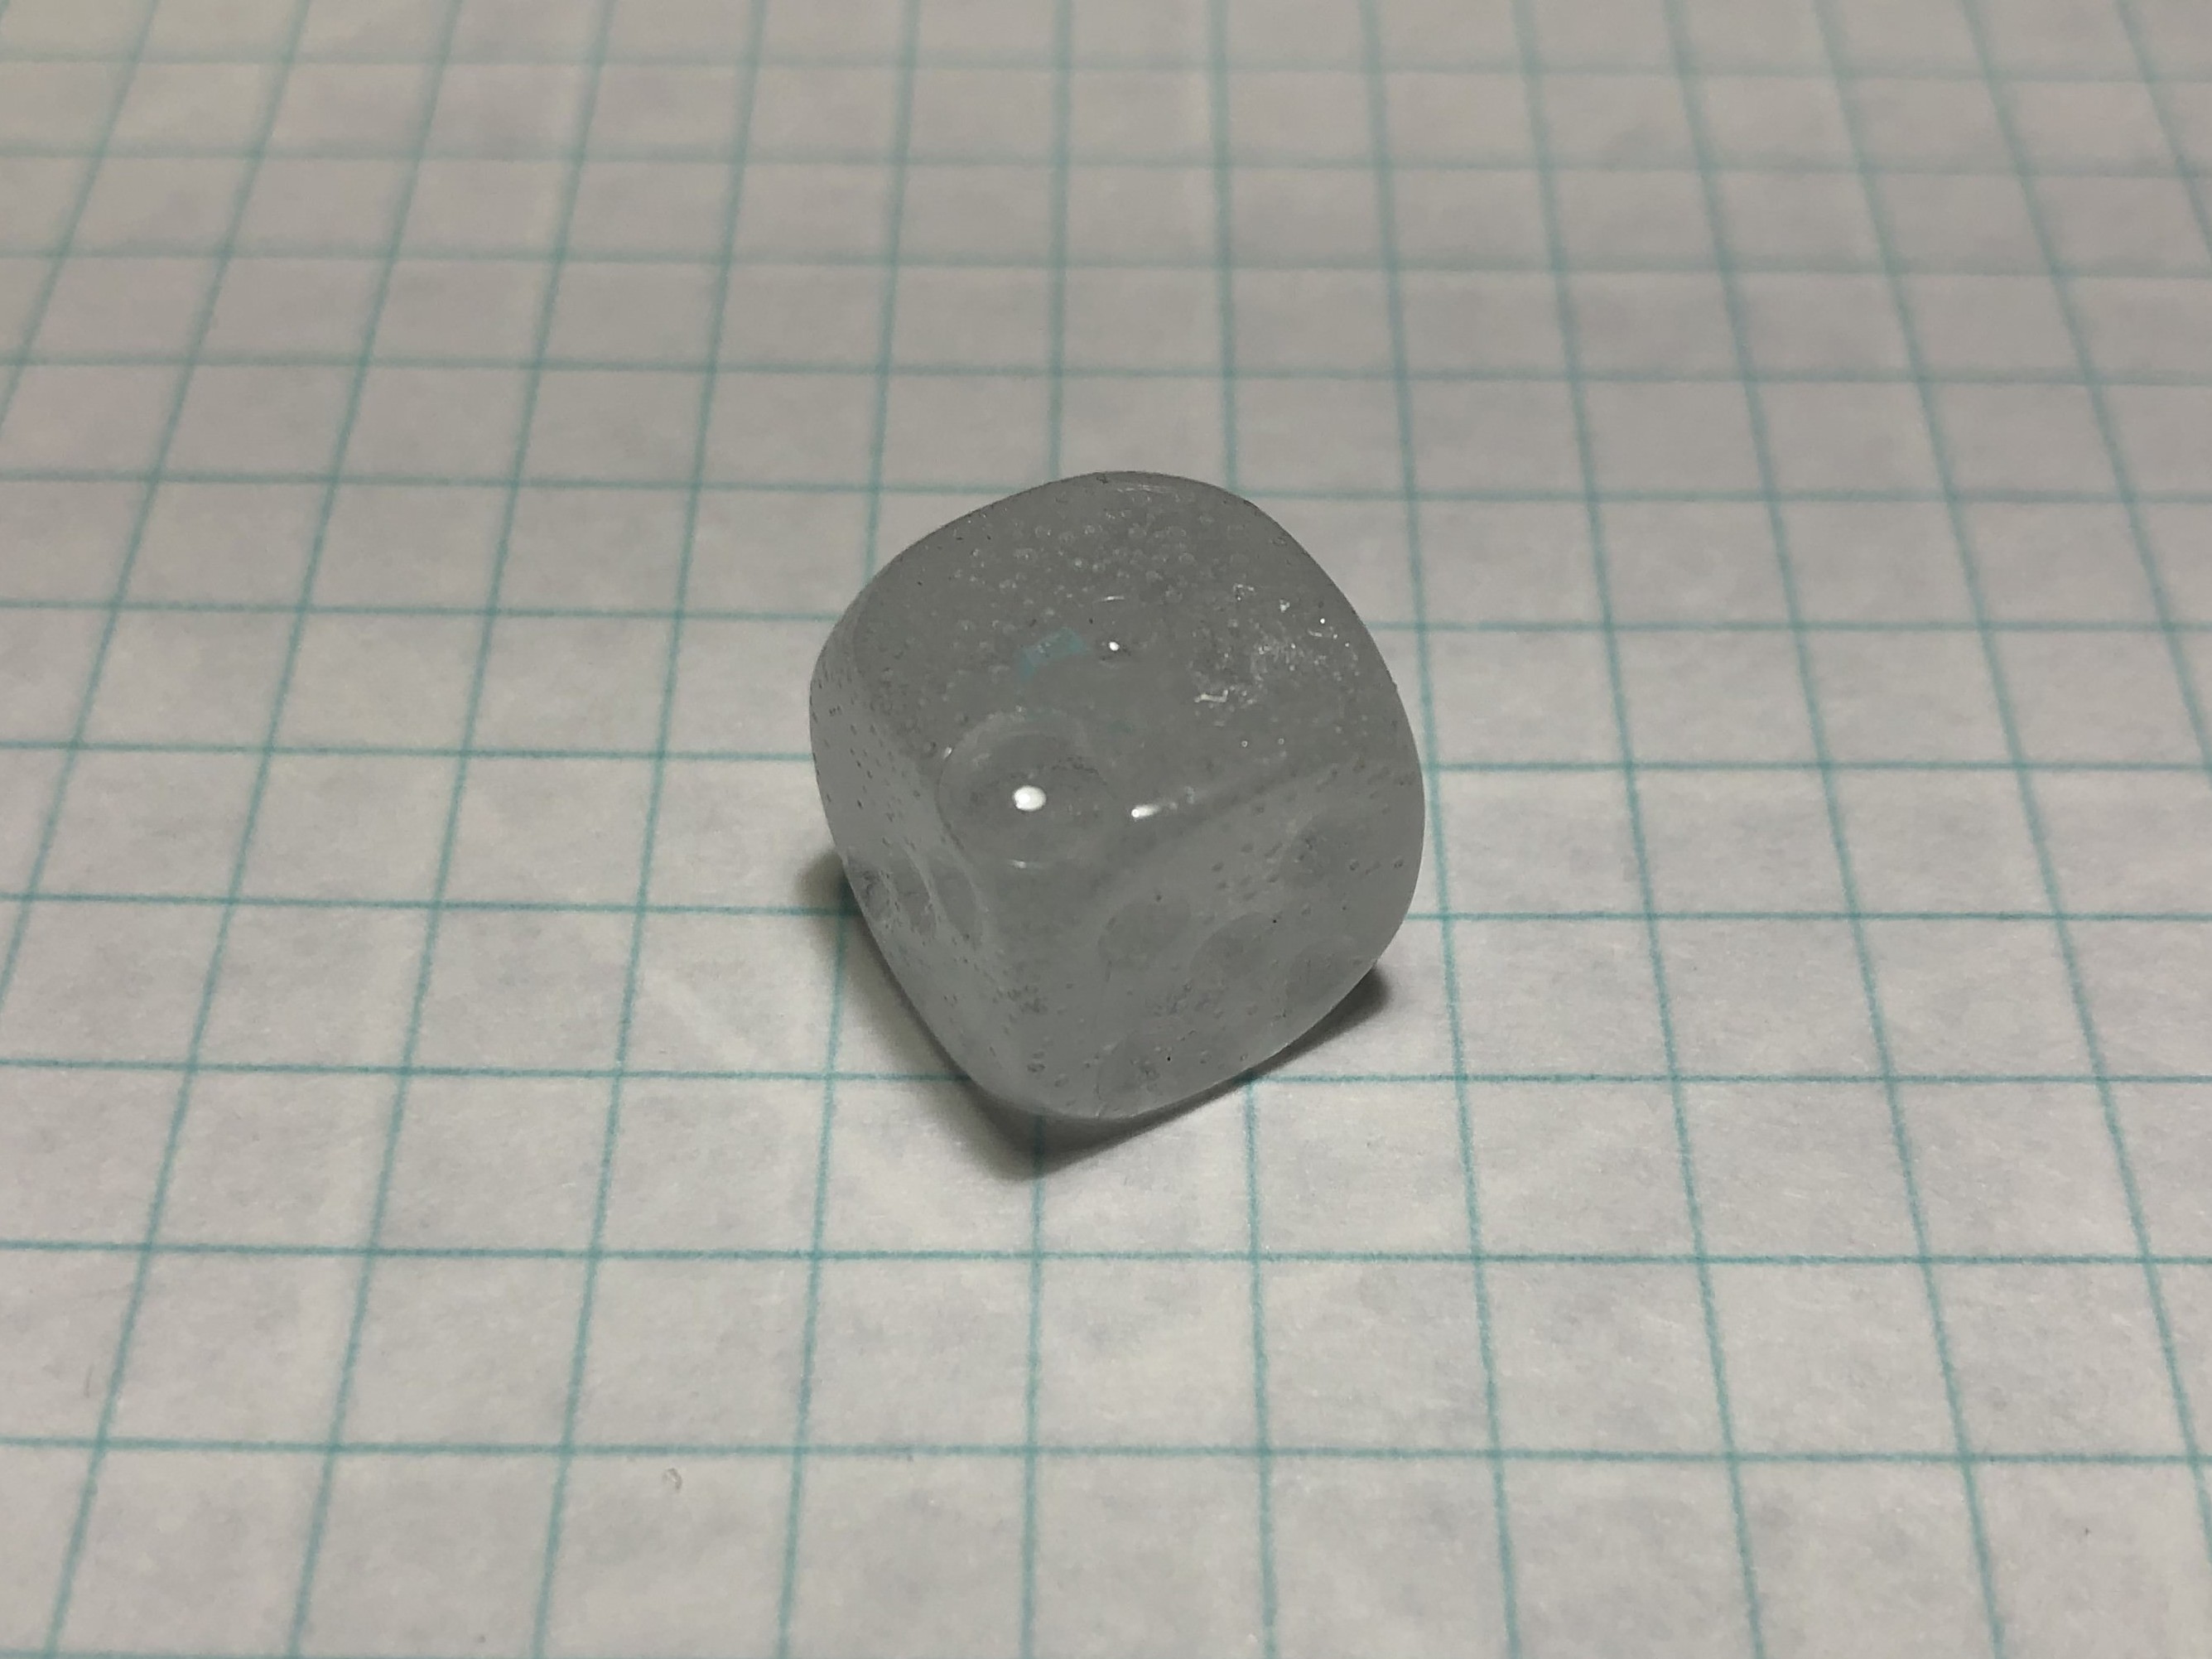
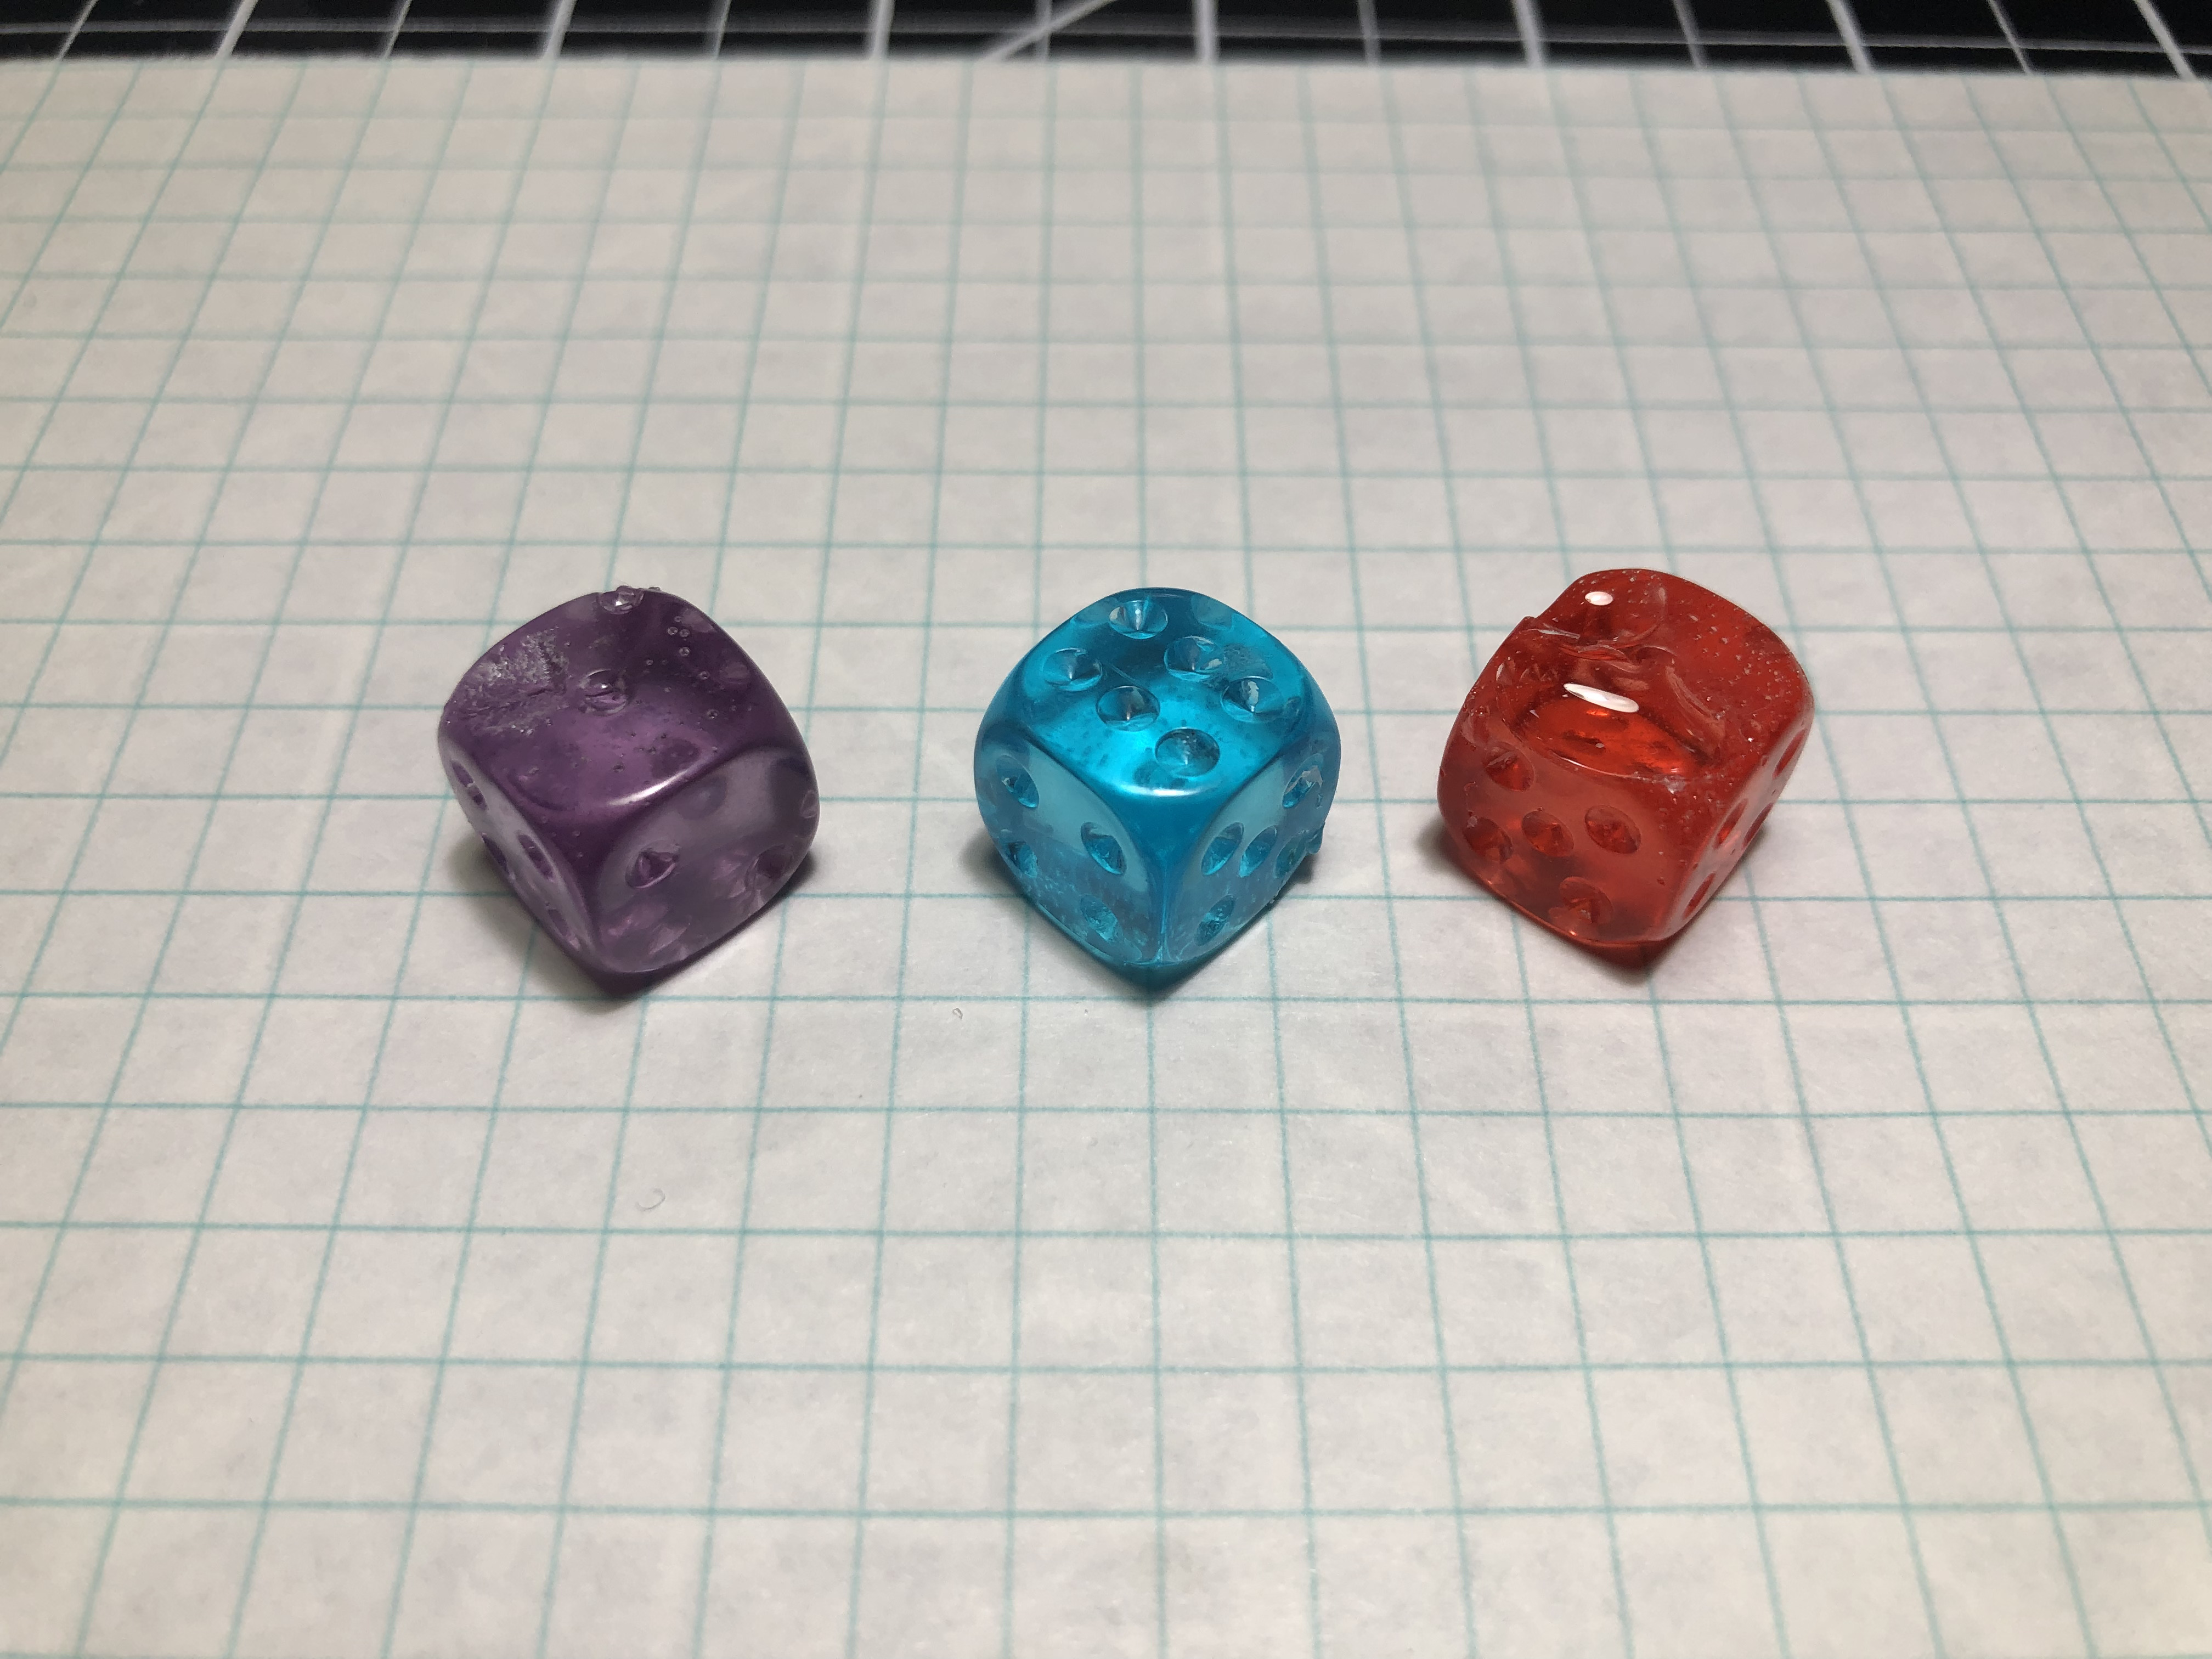
I remade this die a few more times. I repeated the same exact process with clear resin, only changing how I stirred the resin, opting for a slower stir, which left less bubbles in the resin and therefore creating a clearer die after casting it. The next two attempts were dyed, however the main difference was that I used a vacuum chamber to take the bubbles out of the resin before pouring it, giving me extremely clear dice afterwards. Finally, I tried again using a method I saw online of using pipette to put the resin into the sprue molds. This technique somewhat worked, but it gave me two large bubbles at the top of the die, which may just have happened because of my lack of experience.
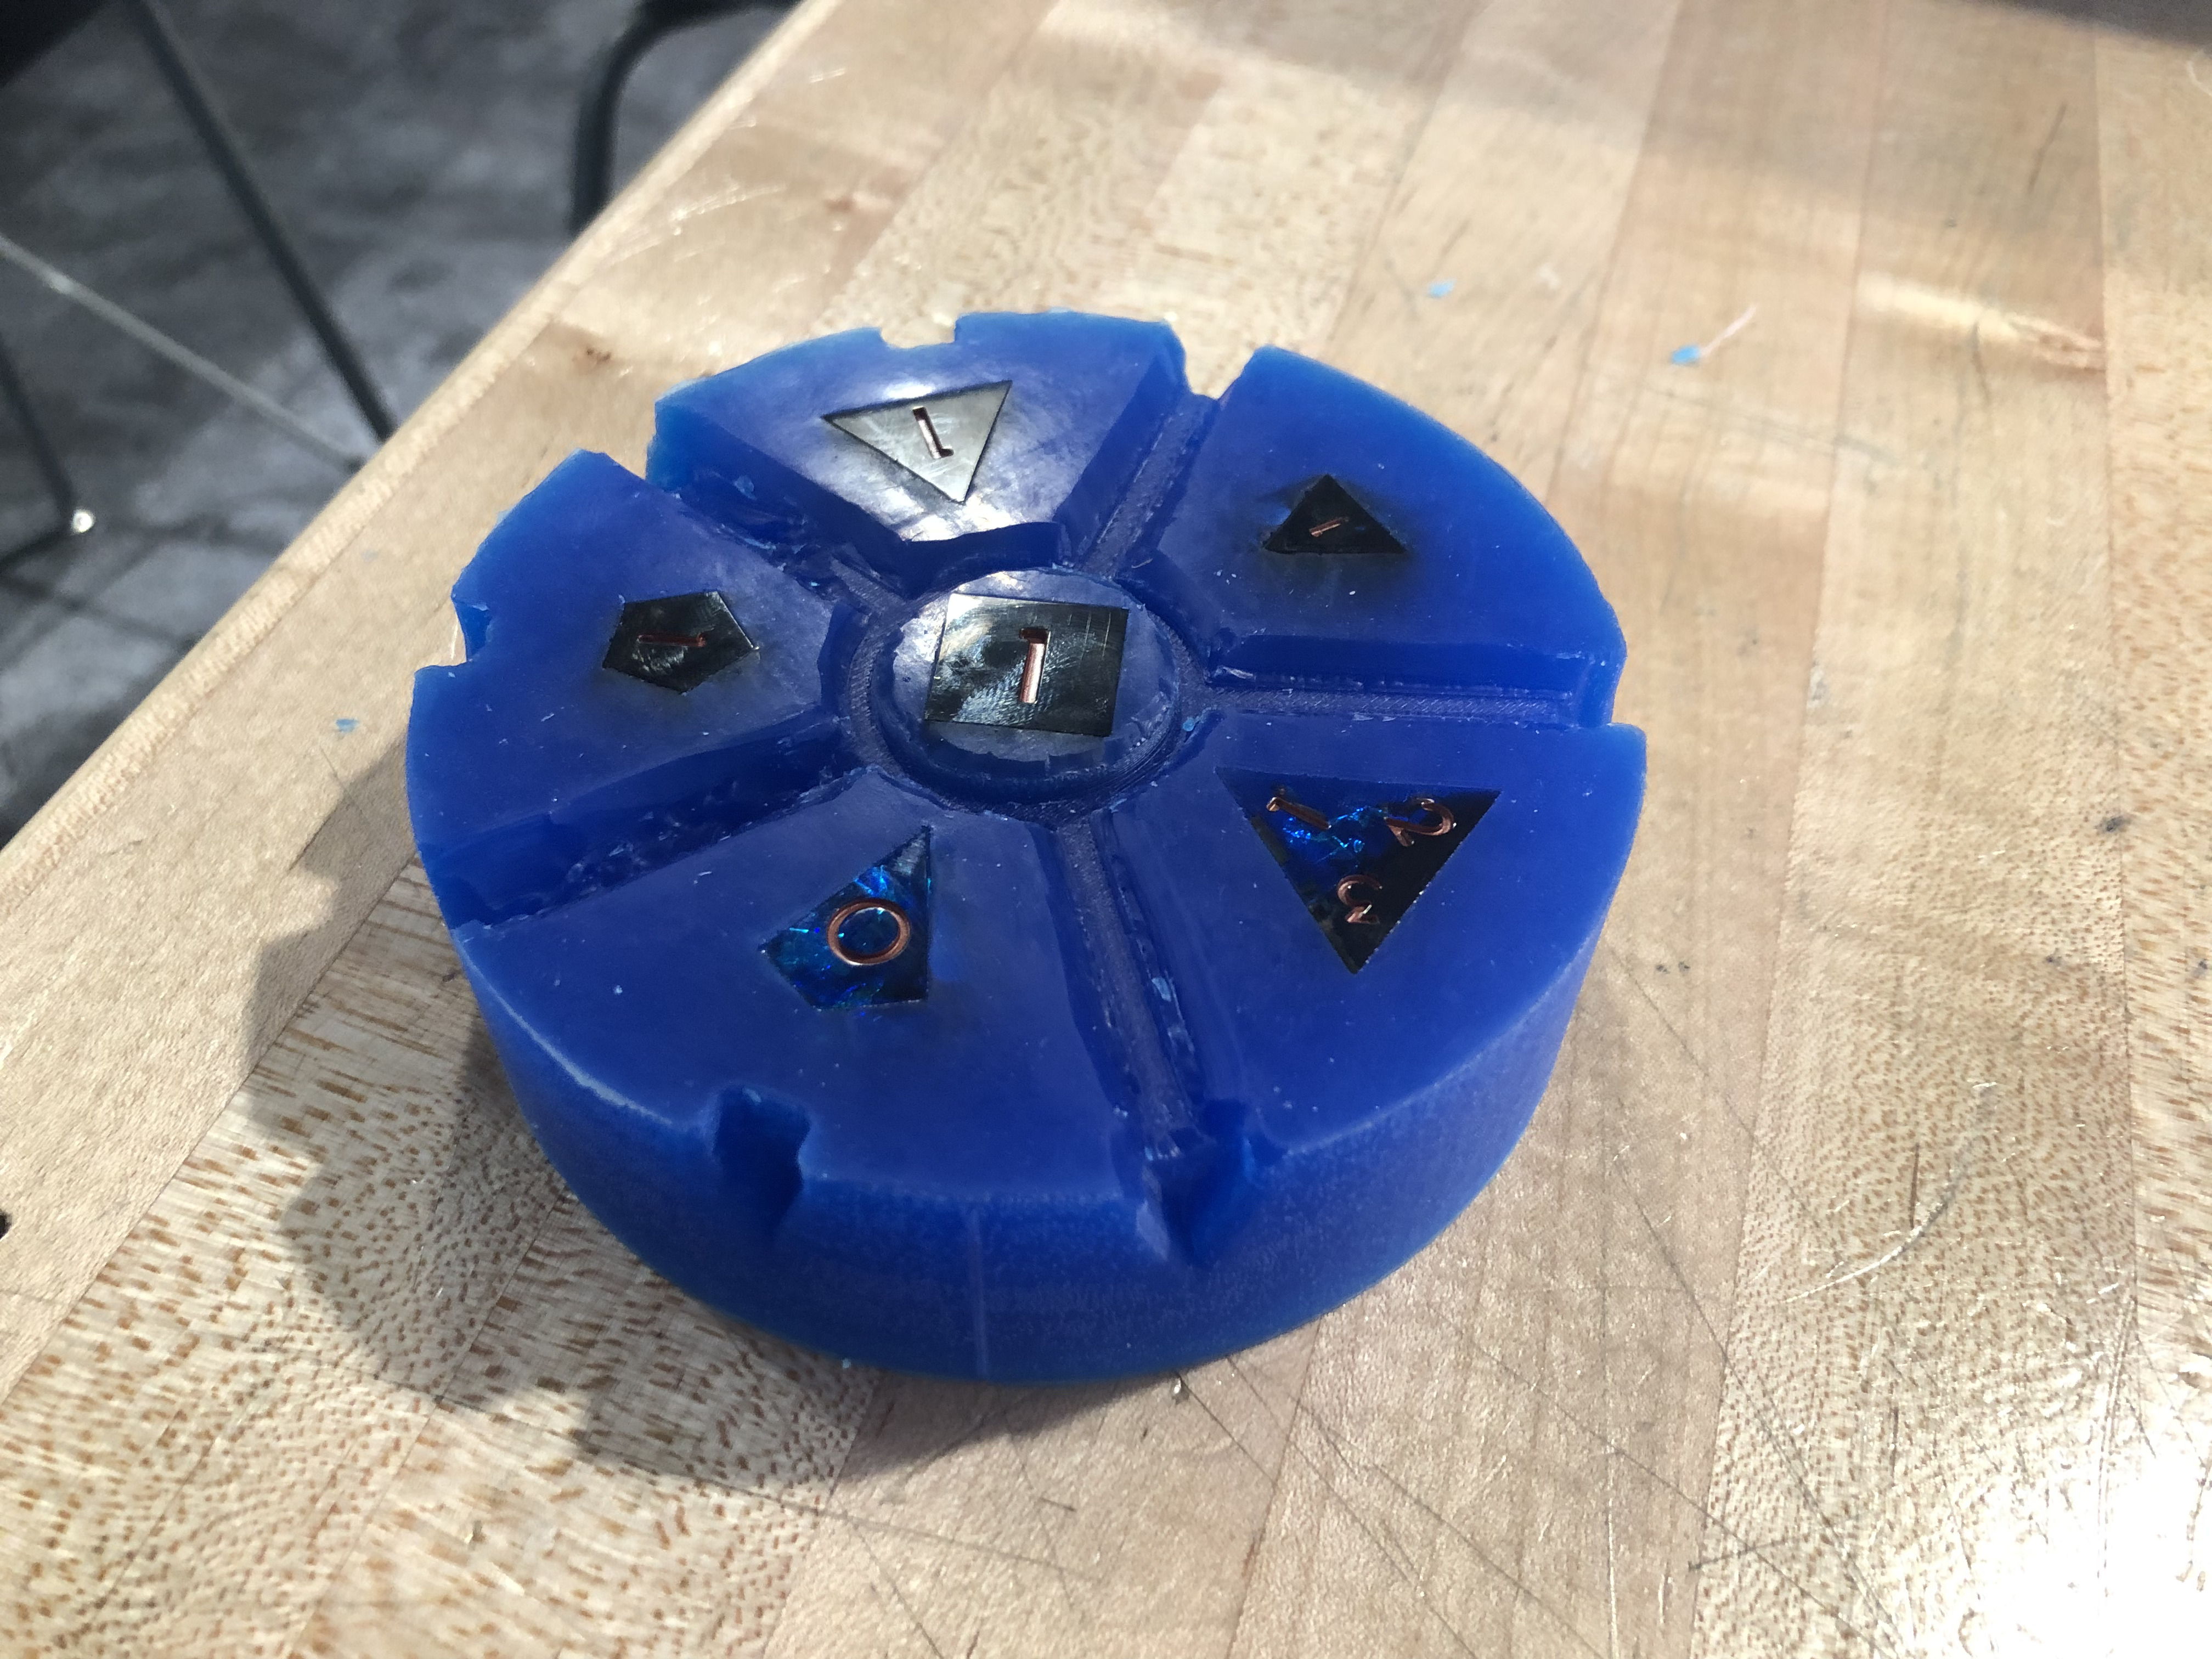
Moving forward, with my new sharp-edge dice in hand, I proceeded with making a two-part mold, or squish mold, for the whole set. After doing some research on how to do this (mainly with the youtube channel Rybonator), I went and got the necessary materials: transfer tape, a 3D printed shell, and a 3D printed key. The shell was made to act as a solid container to pour the silicone into, and the key was made to create a recess within the first half of the mold to create a slot for the cap to lock into place. The shell also had arrowheads on one half so as to create sections for the mold to interlock. I cut out a piece of the transfer tape and laid it out before placing the two shell halves together and using clamps to hold them tightly together. Next, I hot glued the bottom edge of the shell to the transfer tape to prevent any silicone from leaking out. I then placed the key inside the shell, firmly securing it to the tape. This specific key divided the circular area inside the shell into 6 sections - one for each die. Before I placed the dice inside, I cleaned them using a small alcohol wipey. Then, carefully, I placed each die into its own section. After this, I mixed together the silicone, slowly poured it into the shell, making sure it went into every crevice and fully covered every die, and let it sit for roughly 6 hours.
I returned towards the end of the day once the silicone had cured. Next, I flipped the shell over around the mold to make the cap of the mold. I did the same preparations as before, with the added step of spraying a release agent on the mold. Once done, I again mixed and poured in the silicone and let it sit overnight to cure.
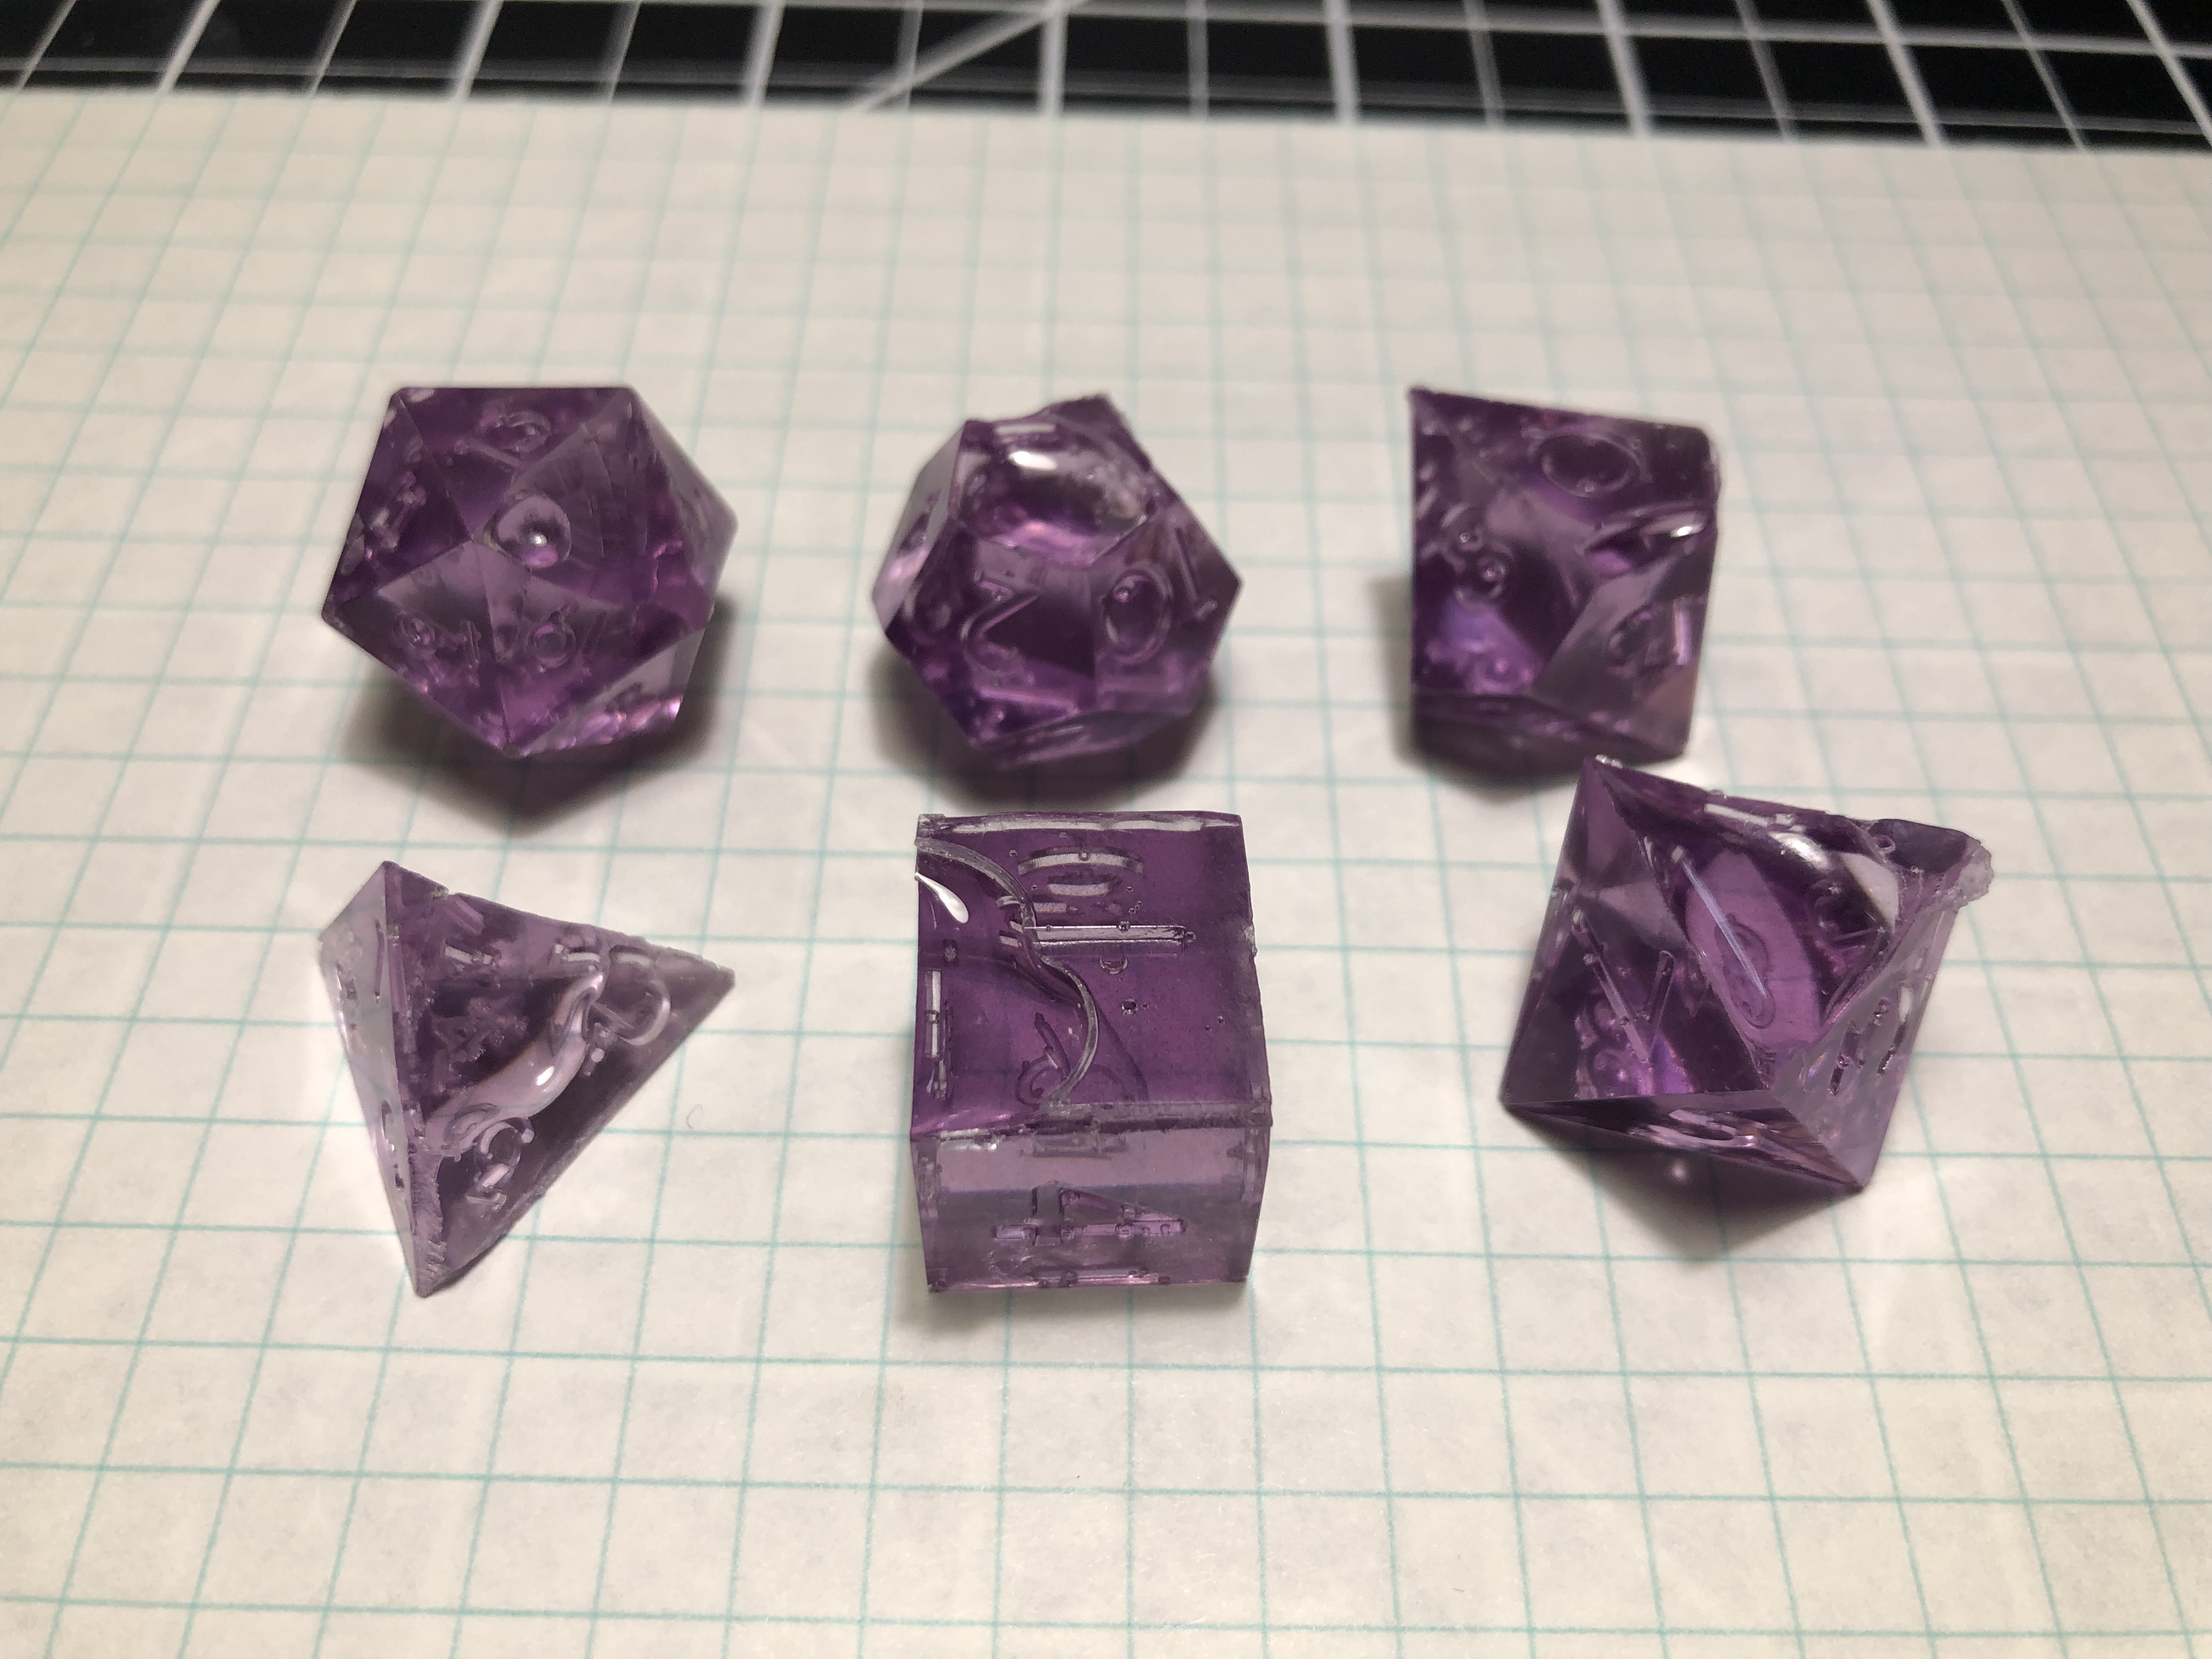
I returned the following day to have a completed mold. However, because of an issue with correctly spraying the release agent, I had a difficult time pulling the two halves of the mold apart. This caused a few imperfections that affected the casts I made later. Now that I had a completed cap mold, I mixed together some resin, dyed it purple with a few drops of food coloring, and poured it in to cure overnight. By the next day, I had my first complete set of casted dice. However, these dice came out with several large bubbles where the cap of the mold was, as well as a larger surface again on the cap side. This was a consequence of two factors, one that I caused and one relating to how the mold was made. The first was that I pressed down on the cap molds too much. When I pushed down, the resin was pushed into the mold, but when the cap came back up after I pushed, a vacuum bubble was left behind, ruining the cast. The second fault was how the cap was designed, being too thin and not having easy-fit registrations. This meant that it wasn’t heavy enough to clamp itself down, and that the keys actually made it more difficult to lock the mold in place, resulting in the previously said issues. Even on my second and thirds attempts, where I used vacuumed resin and slowly shimmied the cap on instead of pushing it down, the dice still had large (yet slightly smaller than before) bubbles on the “1” side attached to the cap because of the flimsiness of the cap.

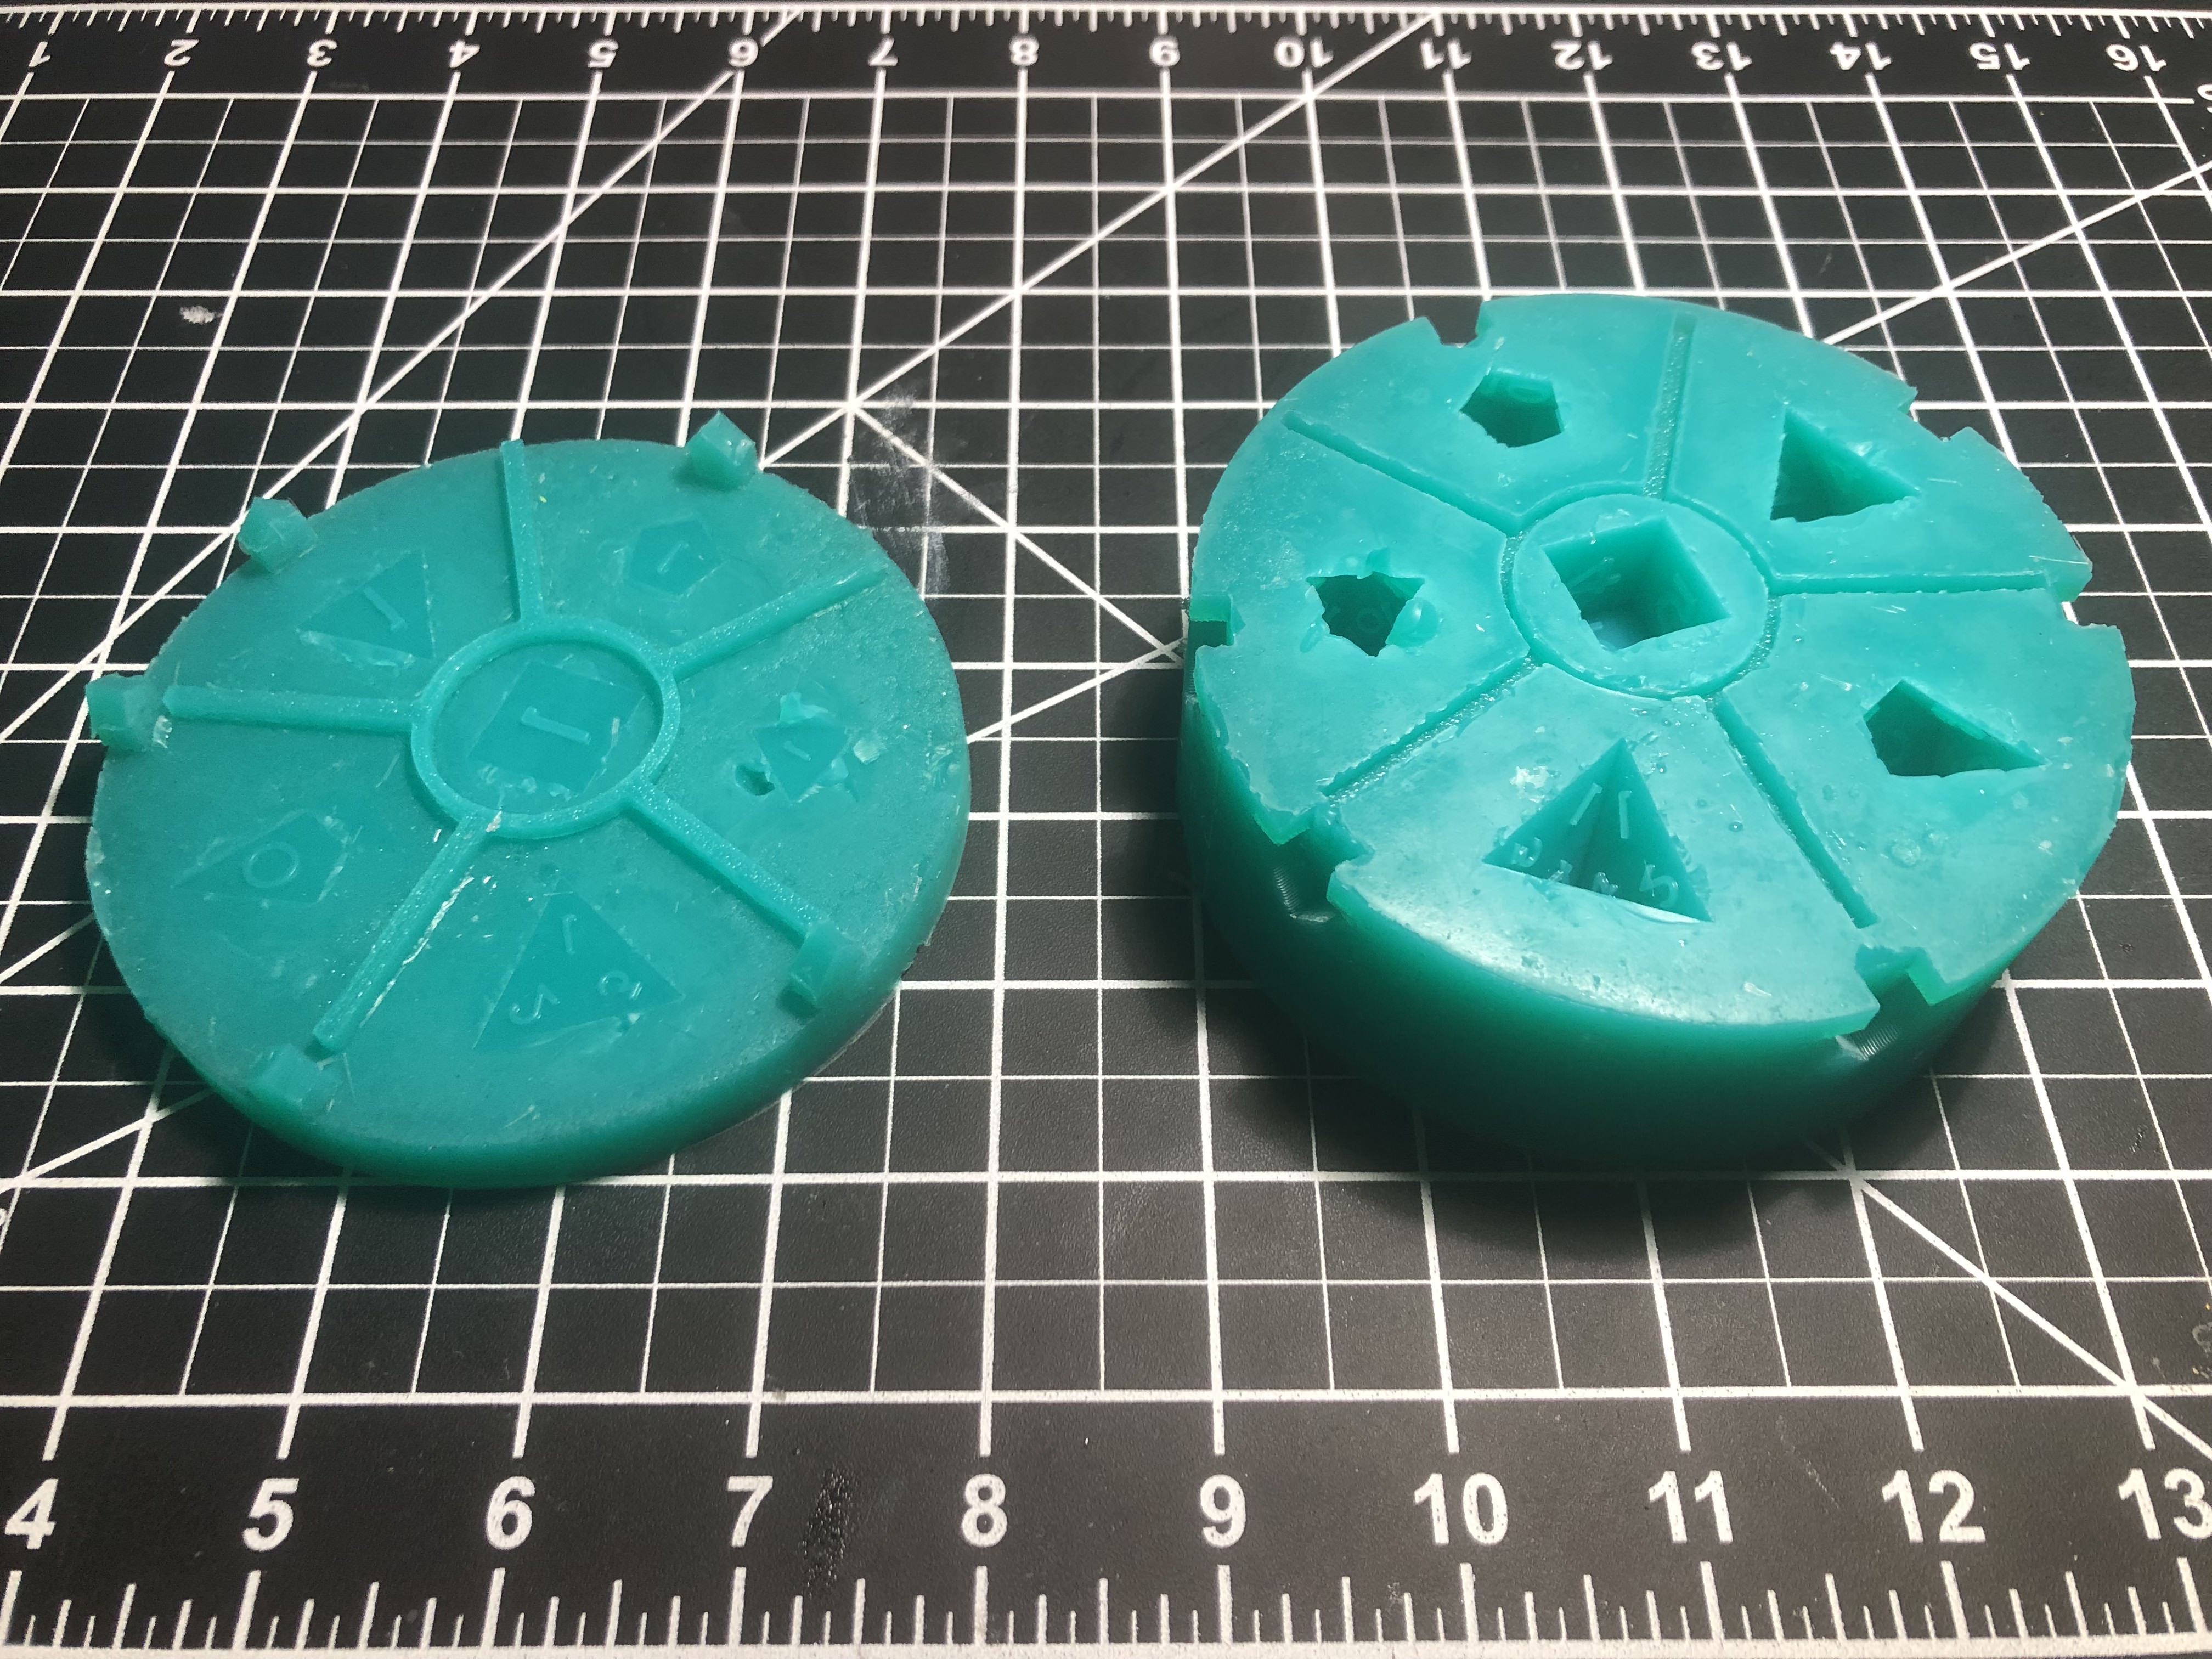
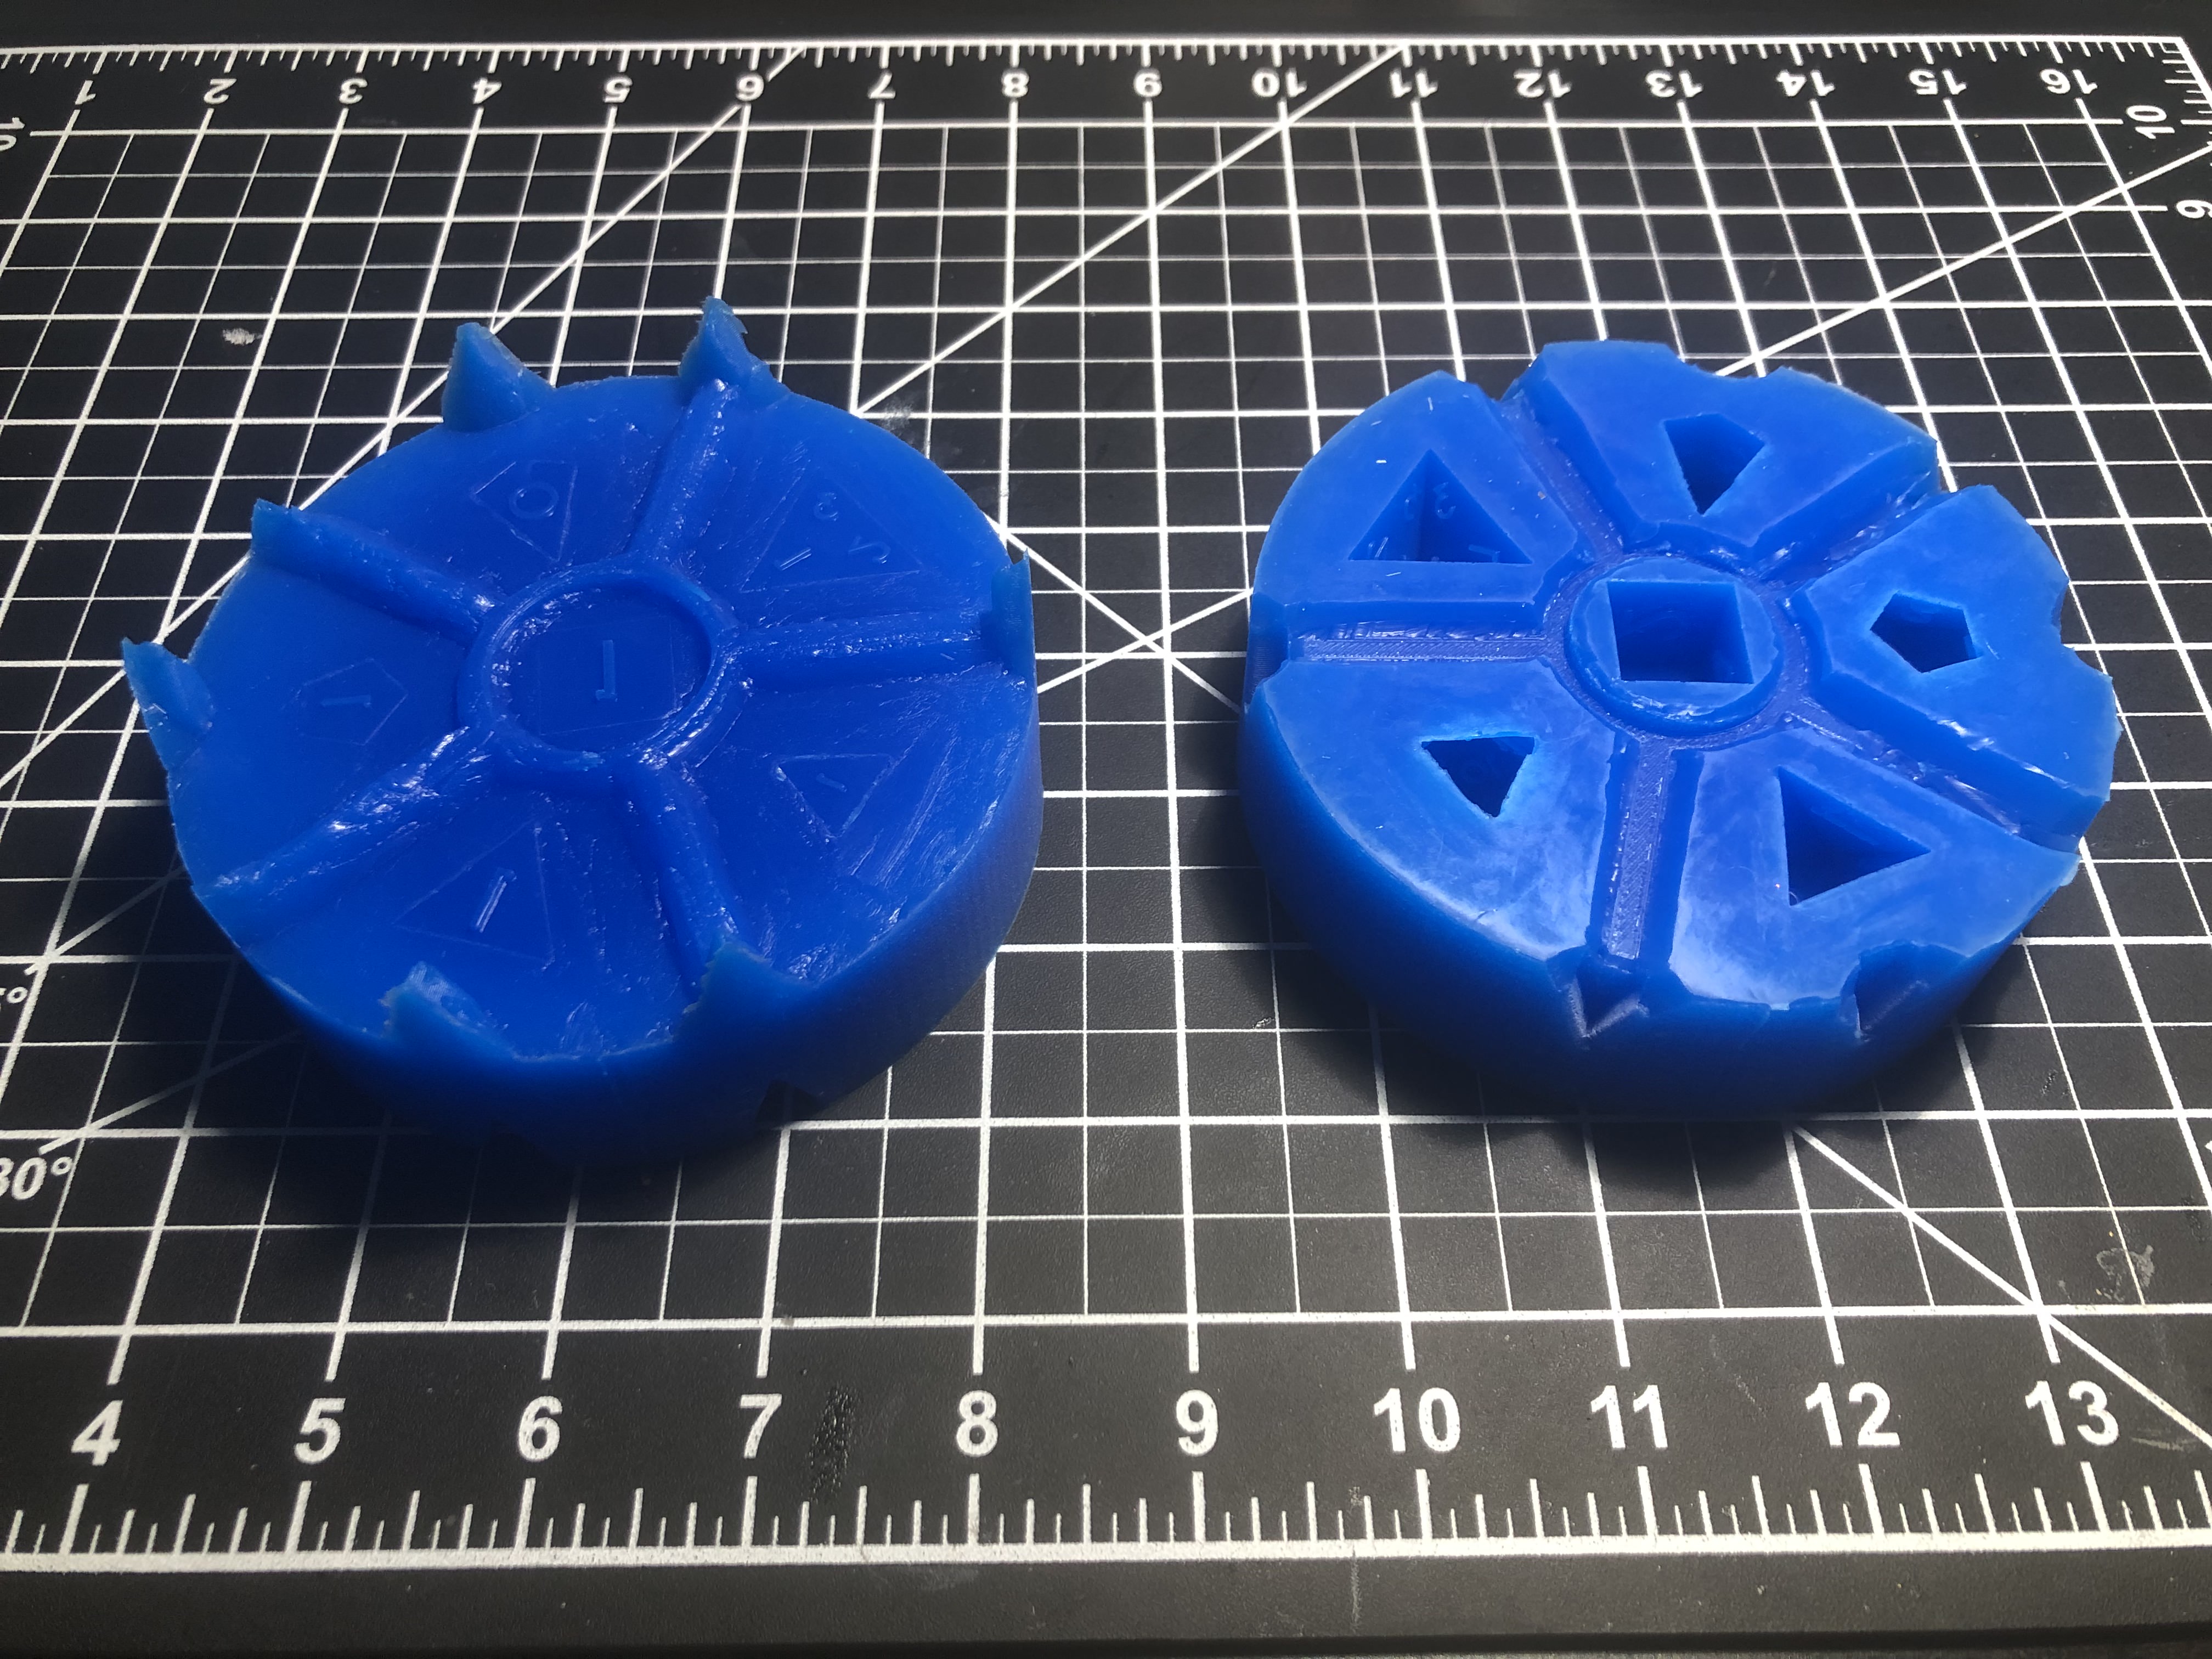
To resolve this issue, I decided to make a second version of the dice mold, a “Mark II” if you will. I used a different silicone for this mold, which ended up being better as it came out slightly more dense. I repeated the same setup for the first half, however this time I used modified 3D printed pieces: the shell now had spikes instead of arrowheads to allow the cap to more easily slide onto the base, and the key was now slightly wider than before. Apart from that, taping down the dice and pouring in the resin was the same. I made sure to make the base slightly shorter this time, the reason for which I’ll come back to in a moment.
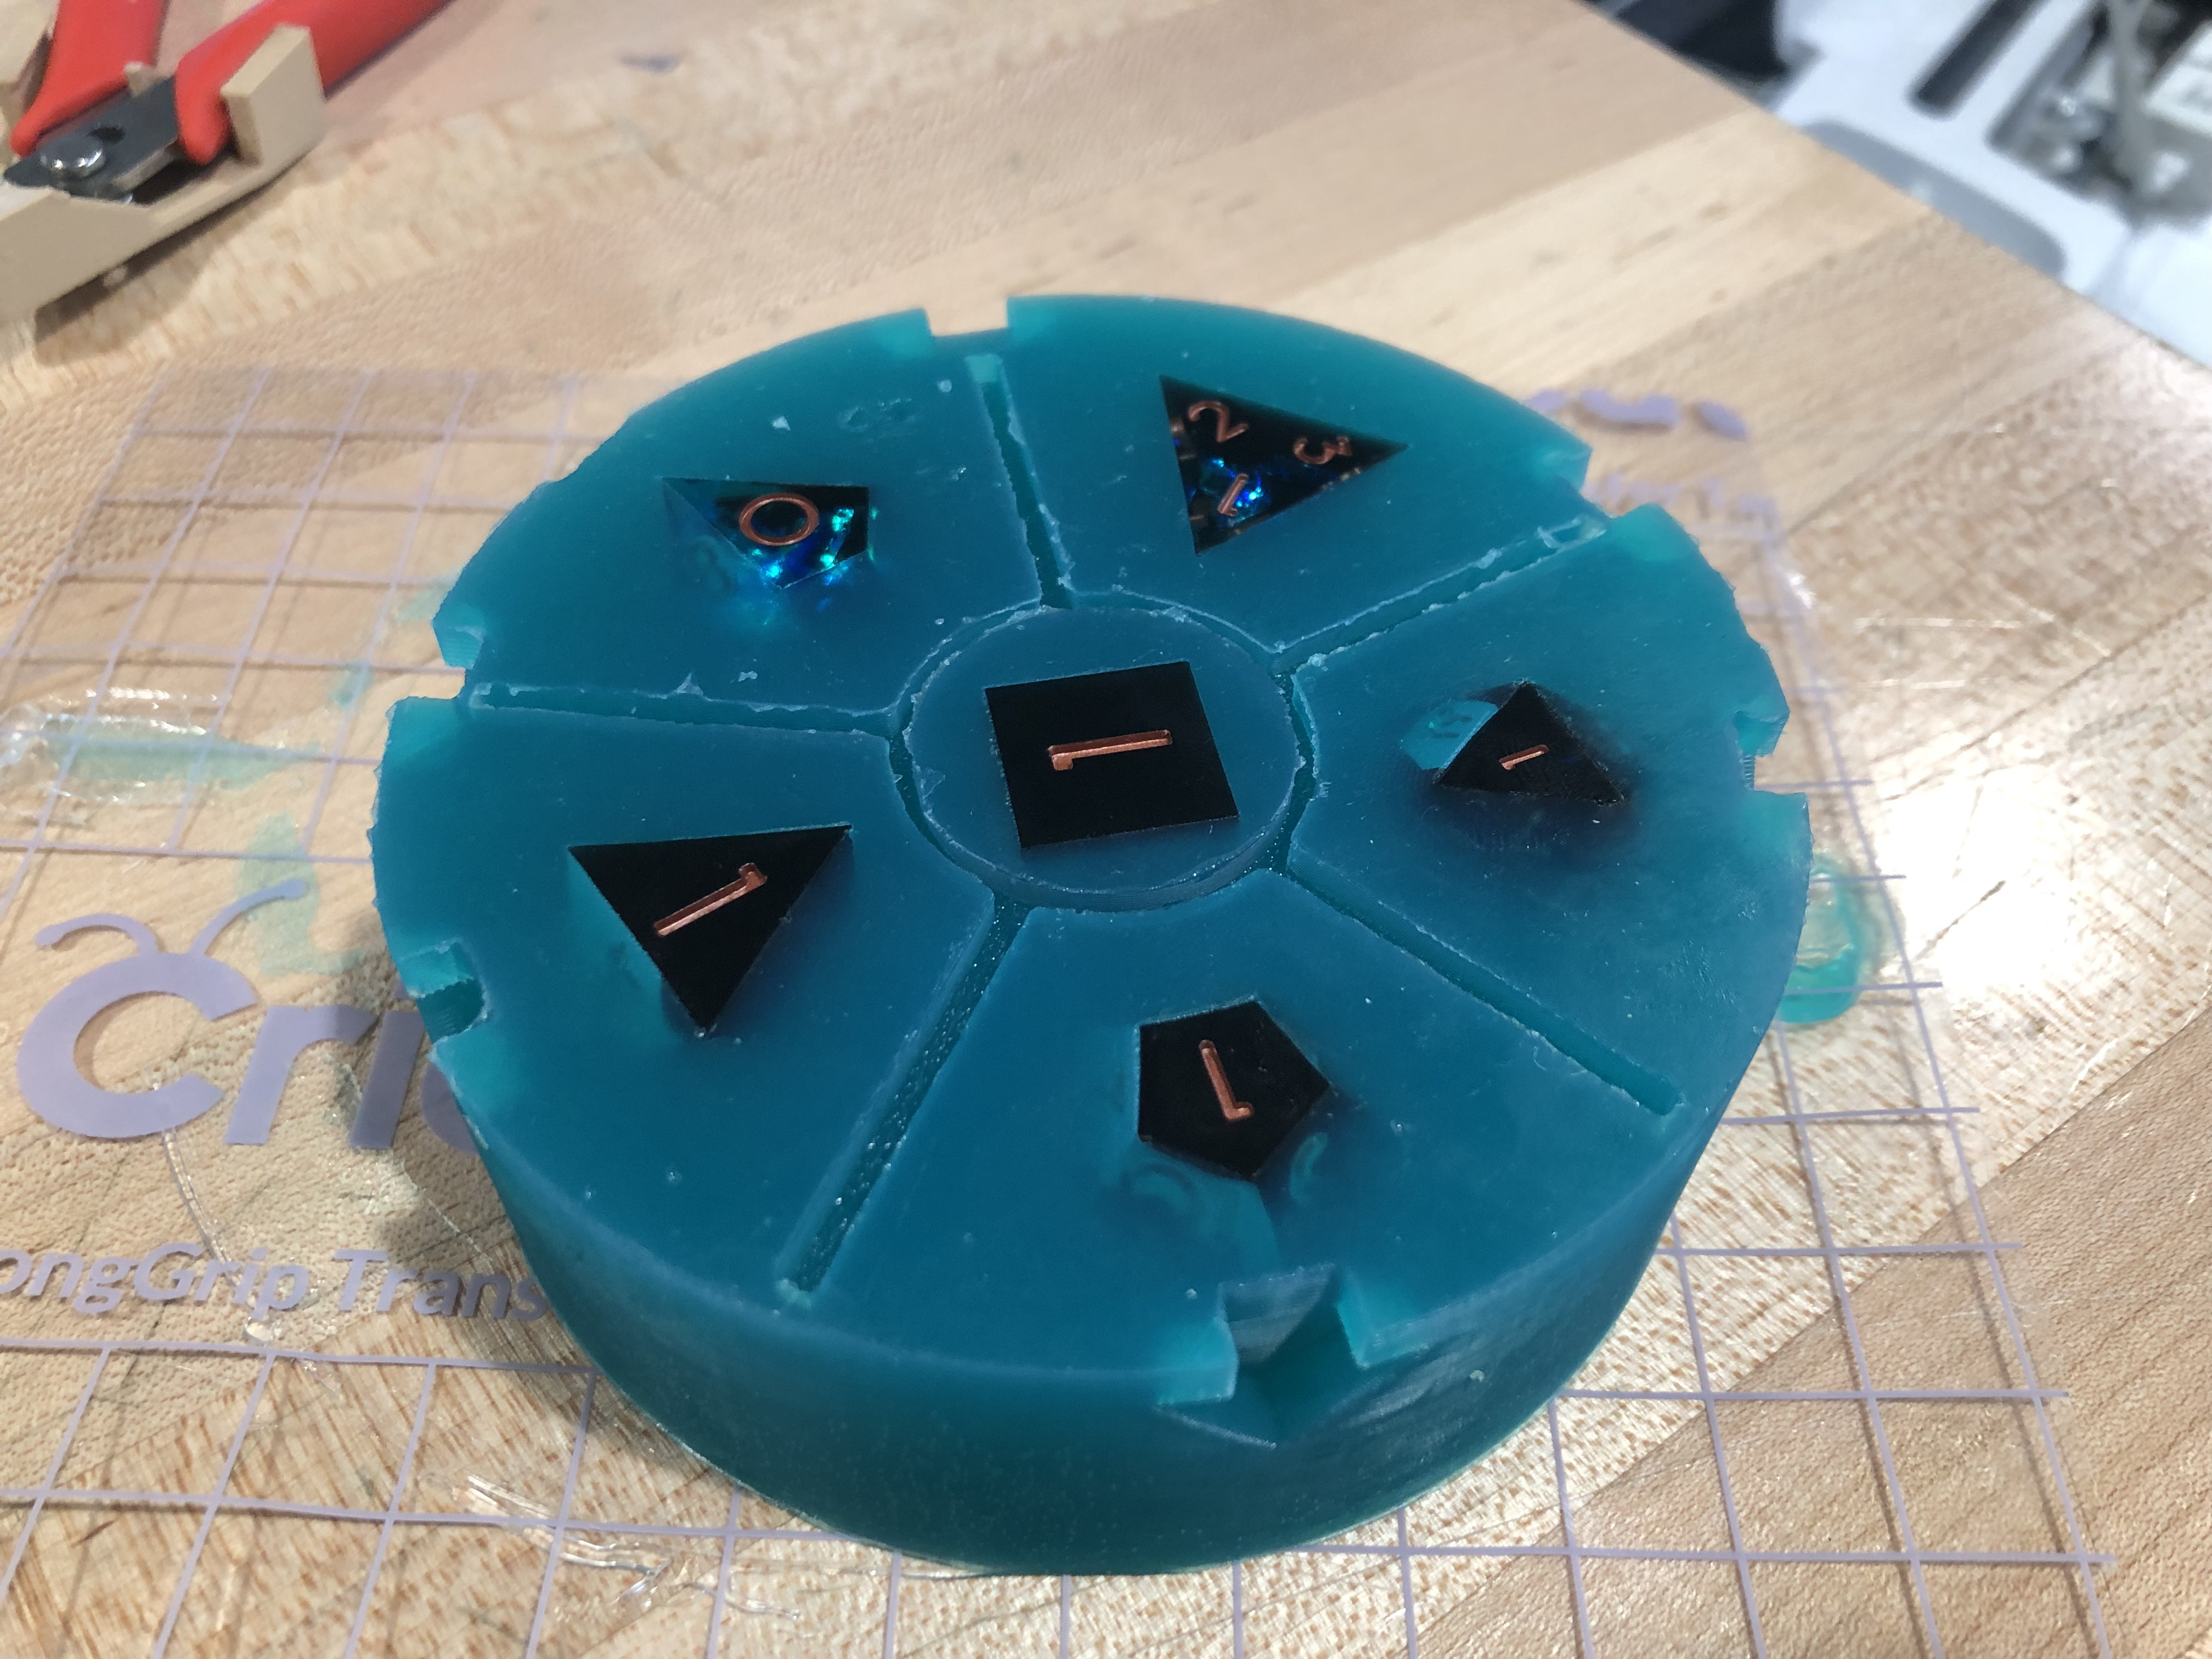
Once the base was done, I removed the shell and tape to get ready to flip the mold over to pour the cap. However, this time I took an exacto-knife to the mold and cut out larger recesses along the ones made by the key and spikes. I made the spikes much larger and I widened and angled the key lines inside the mold. This was done in order to create better registrations for the cap to fall into. Once done, I tried another new method: using vaseline as a release agent. I had heard that this worked much better than most sprays, so I gave it a try. Once I coated the whole top of the mold with vaseline, I reattached the shell, clamping it down with new, much stronger clamps, and poured in the silicone for the cap. The reason I had made the base shorter earlier was so that I would have more room inside the closed shell to pour silicone for the cap. This was in order to make the cap much taller and therefore heavier, Helping it weigh itself down on top of the resin.
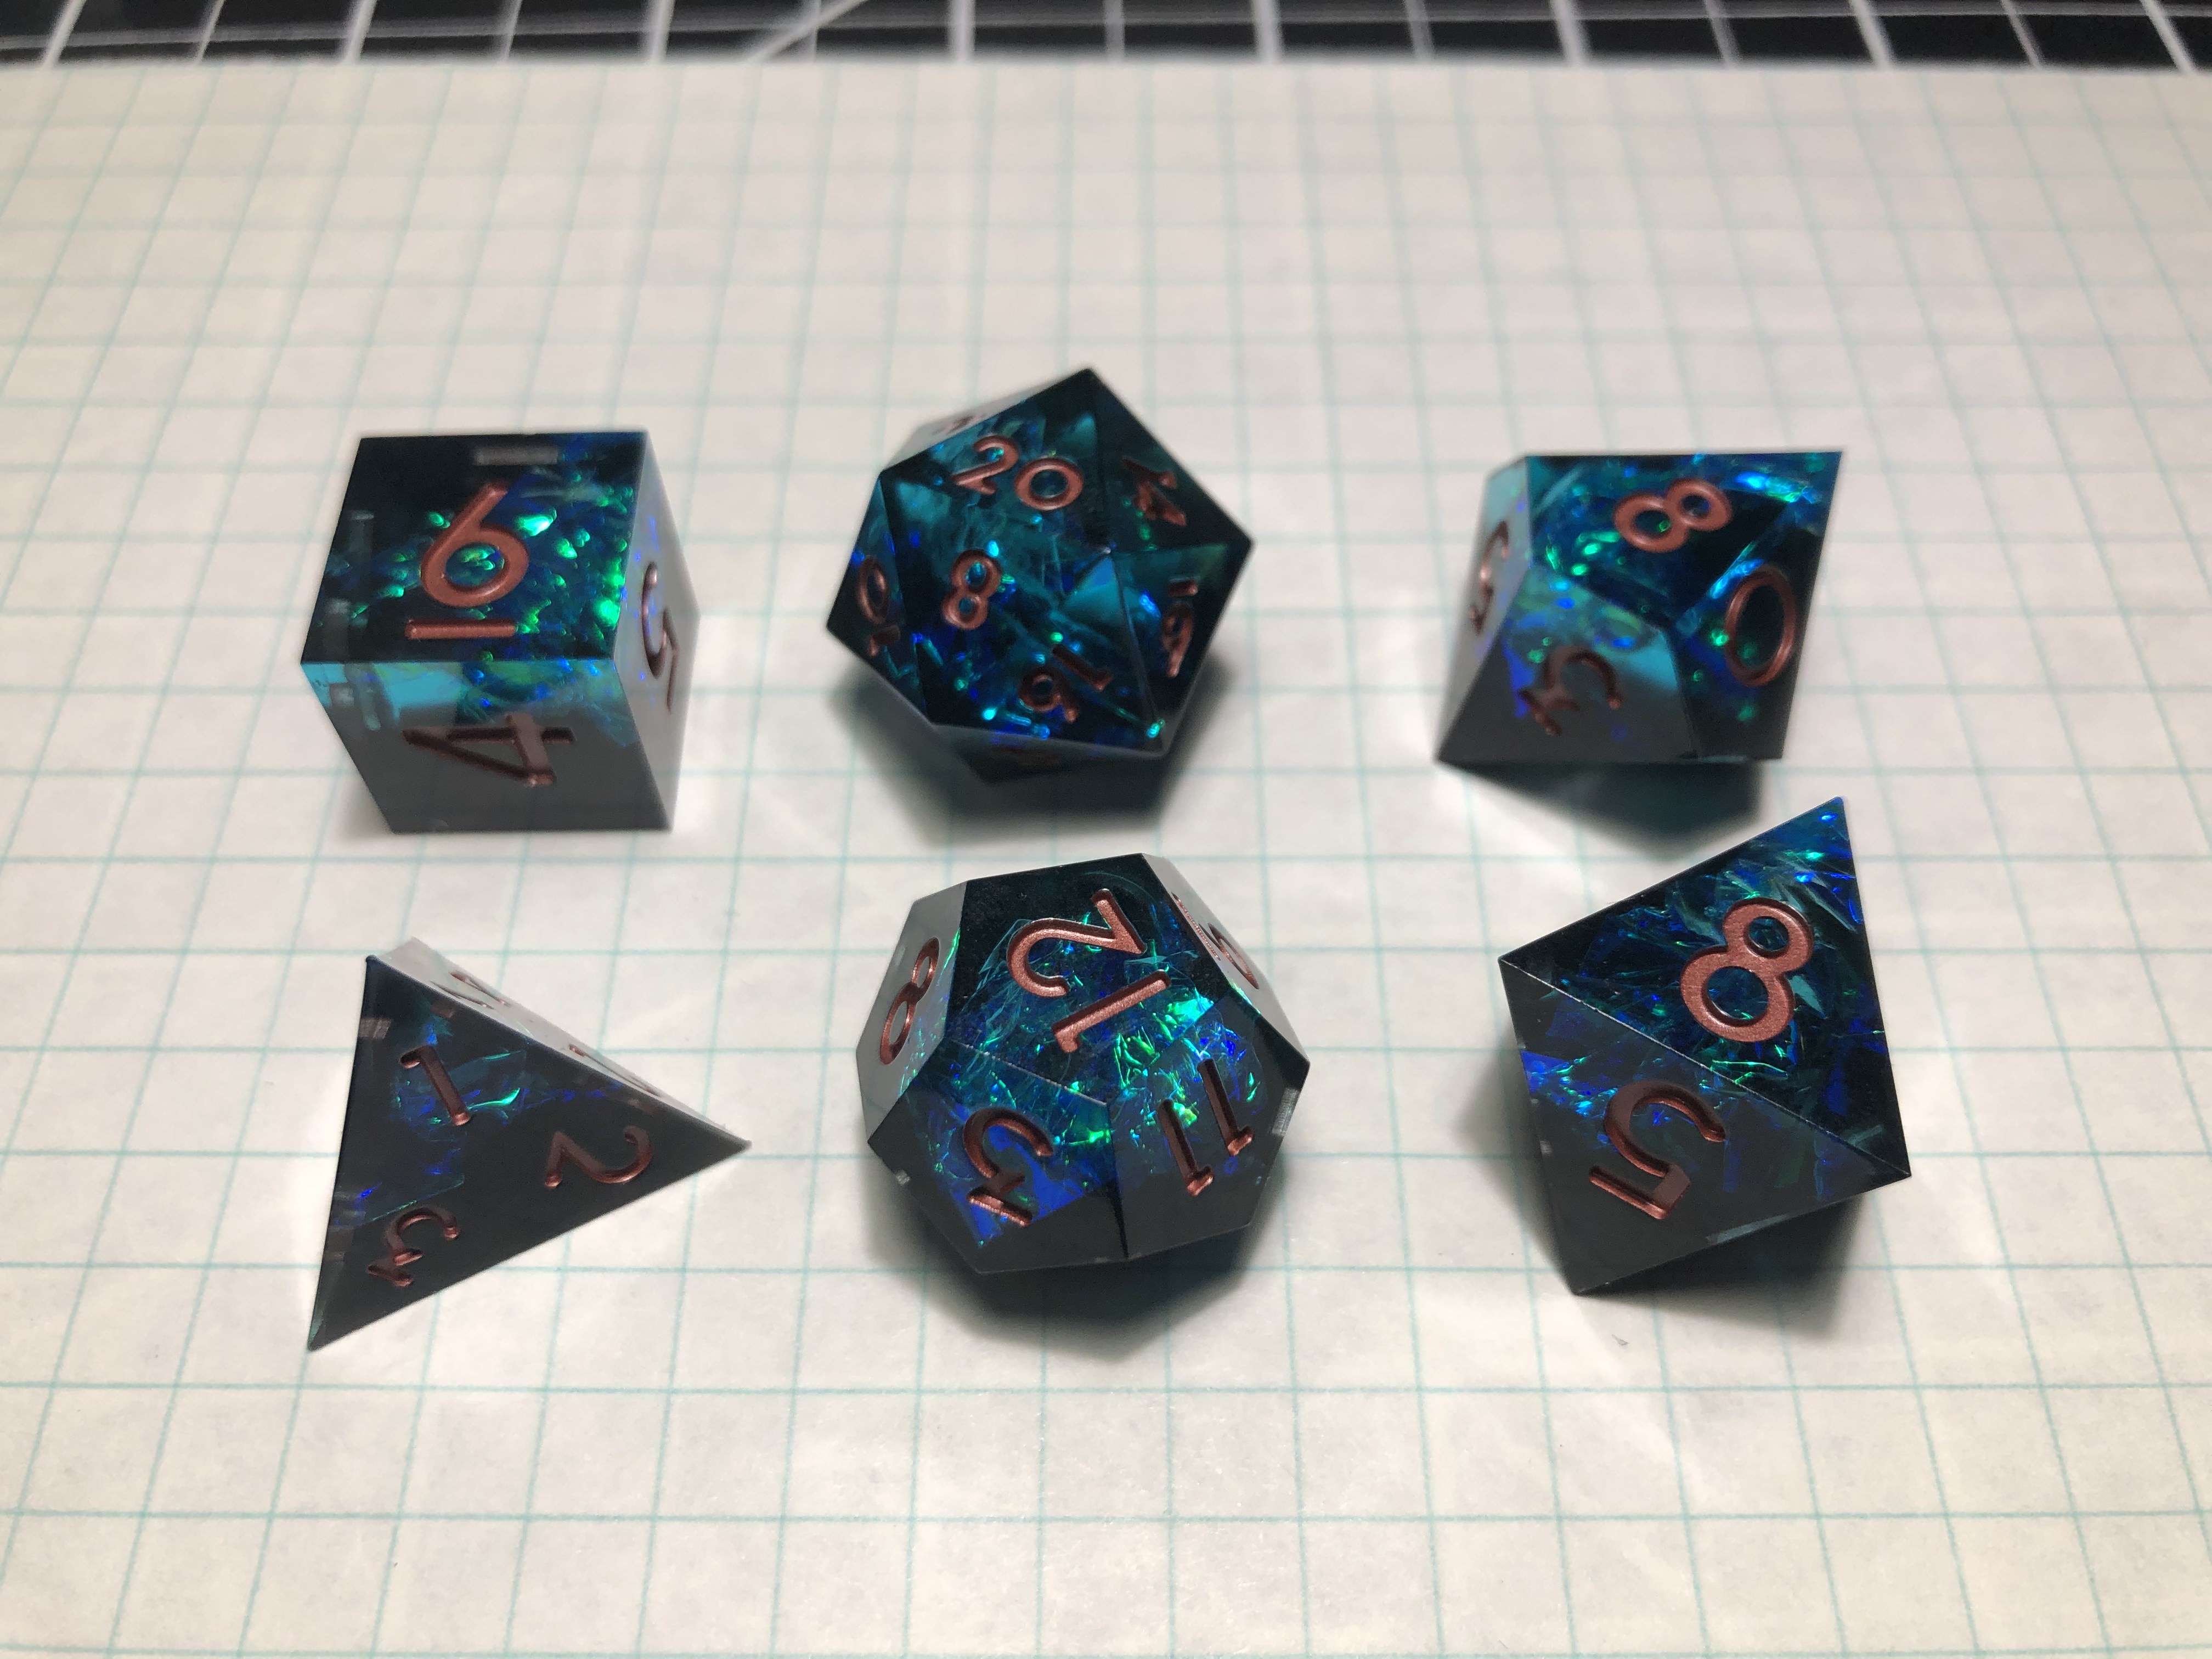
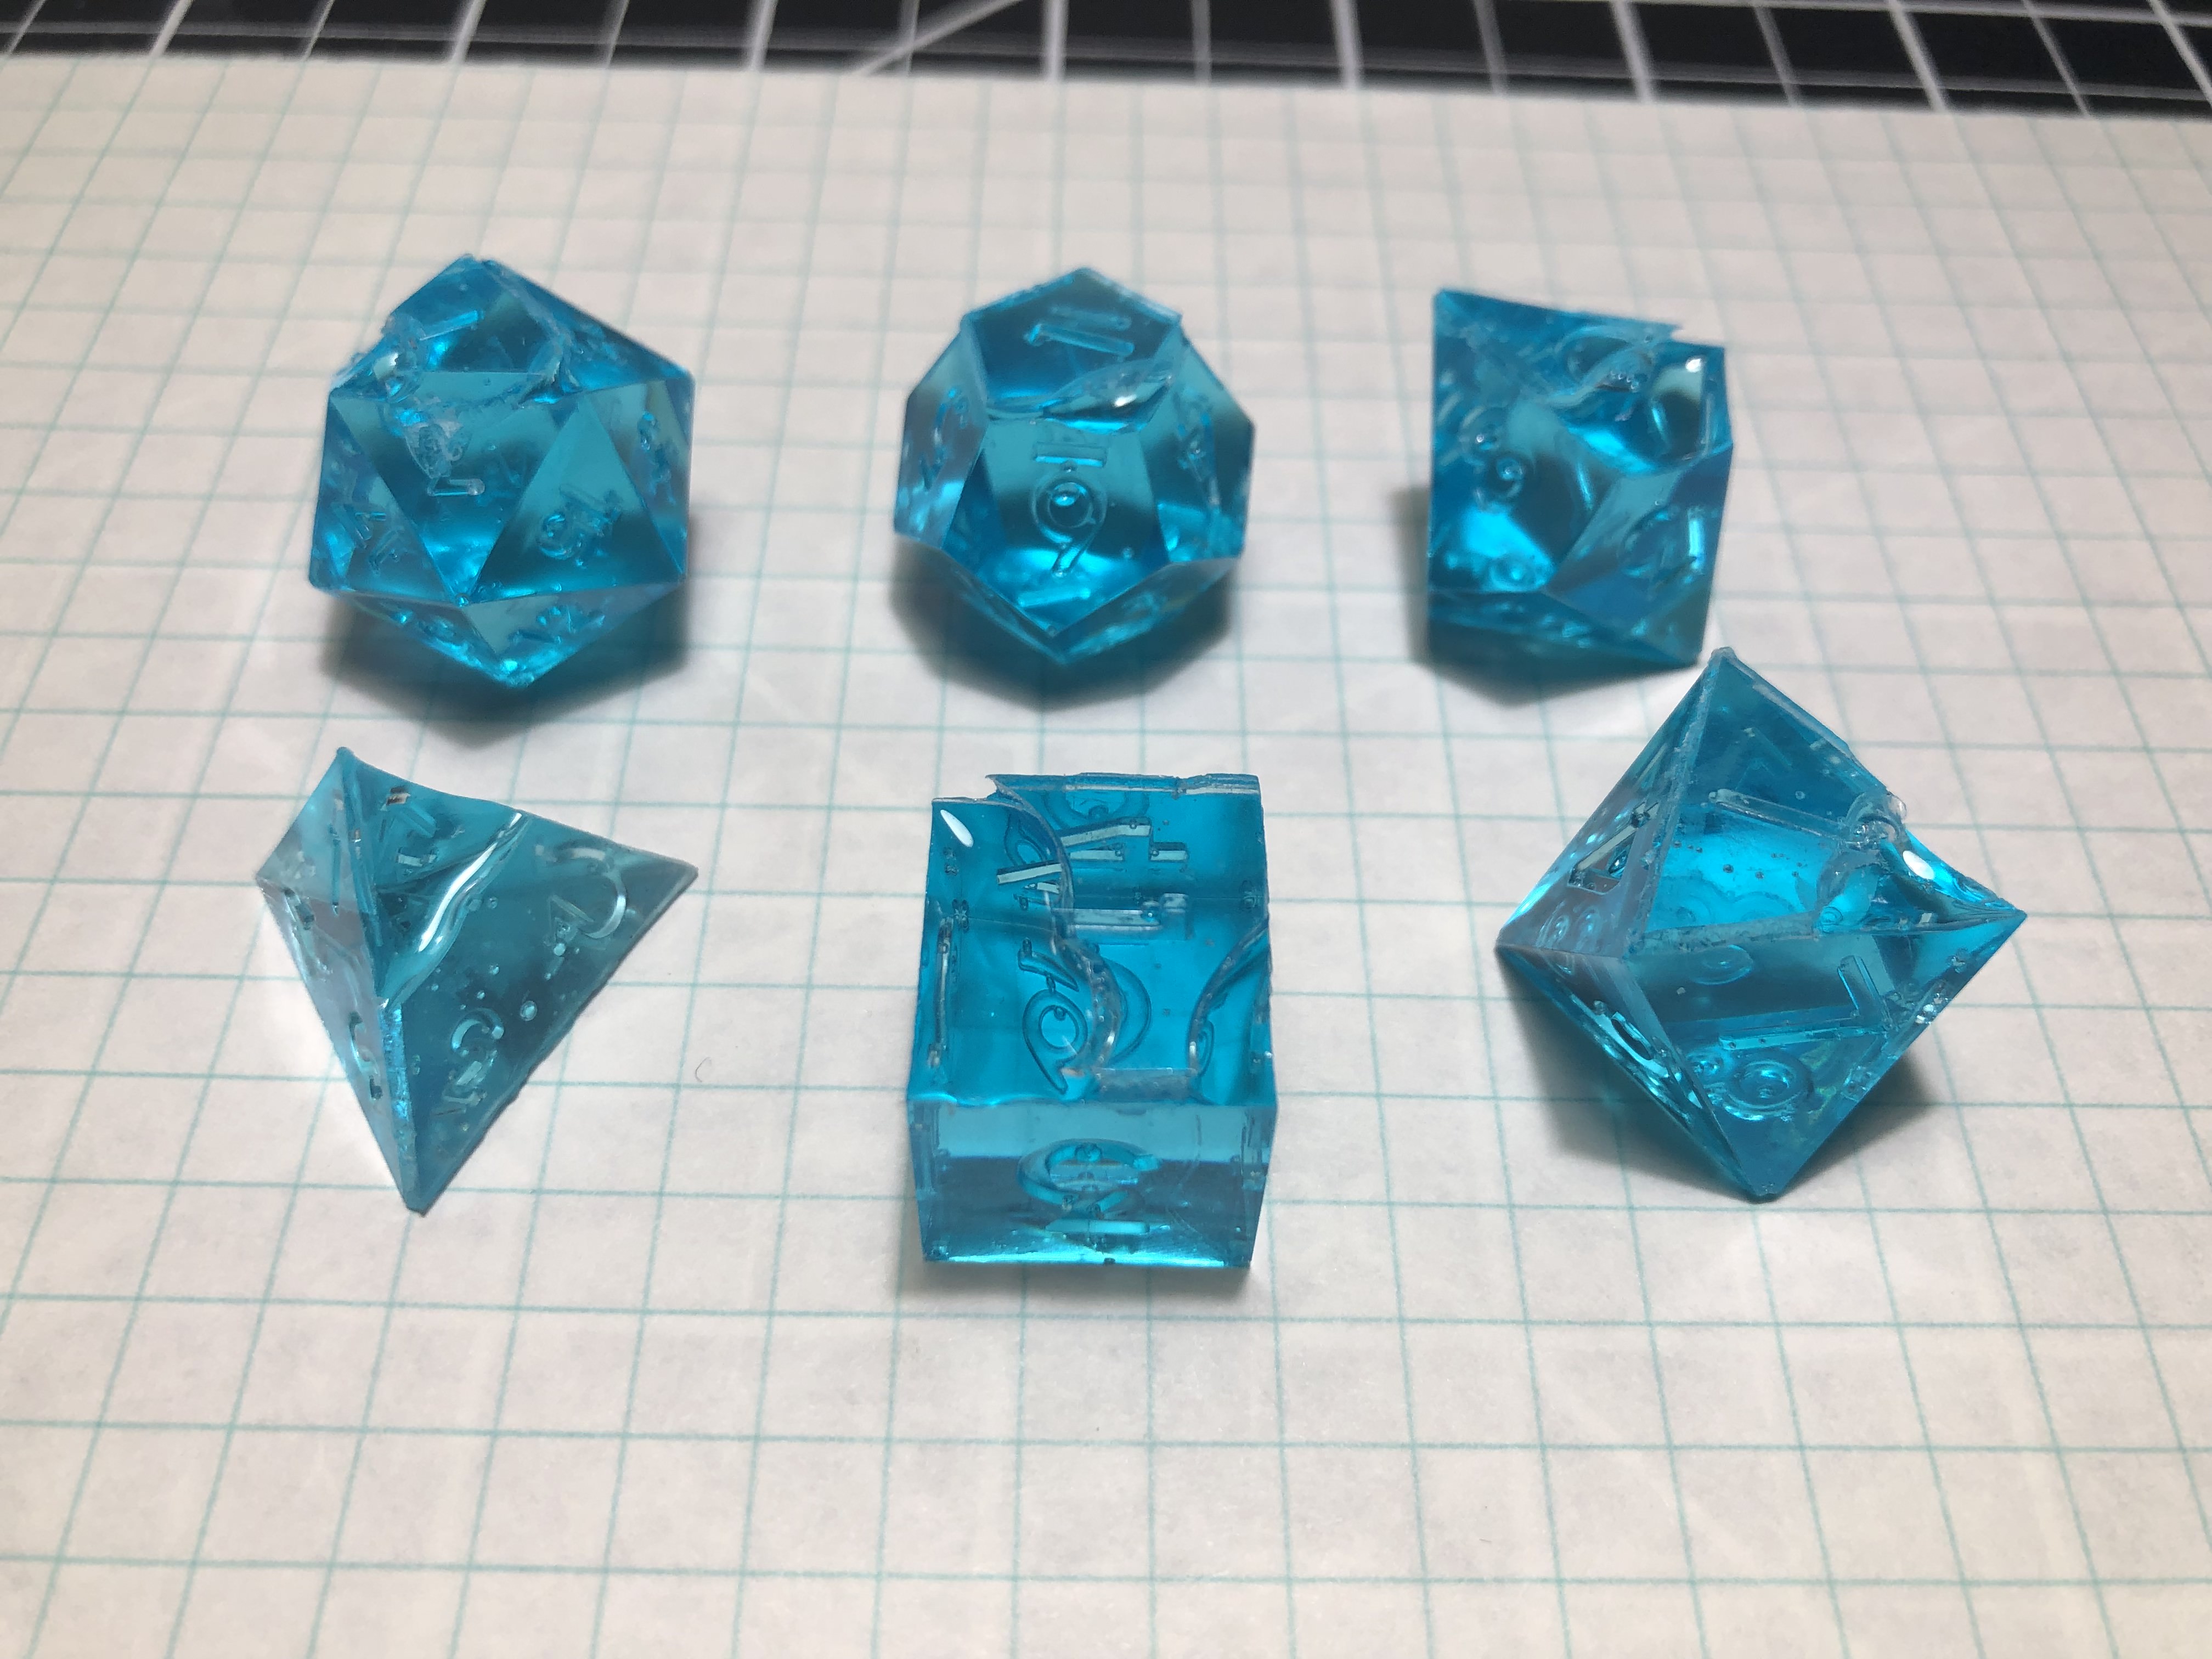
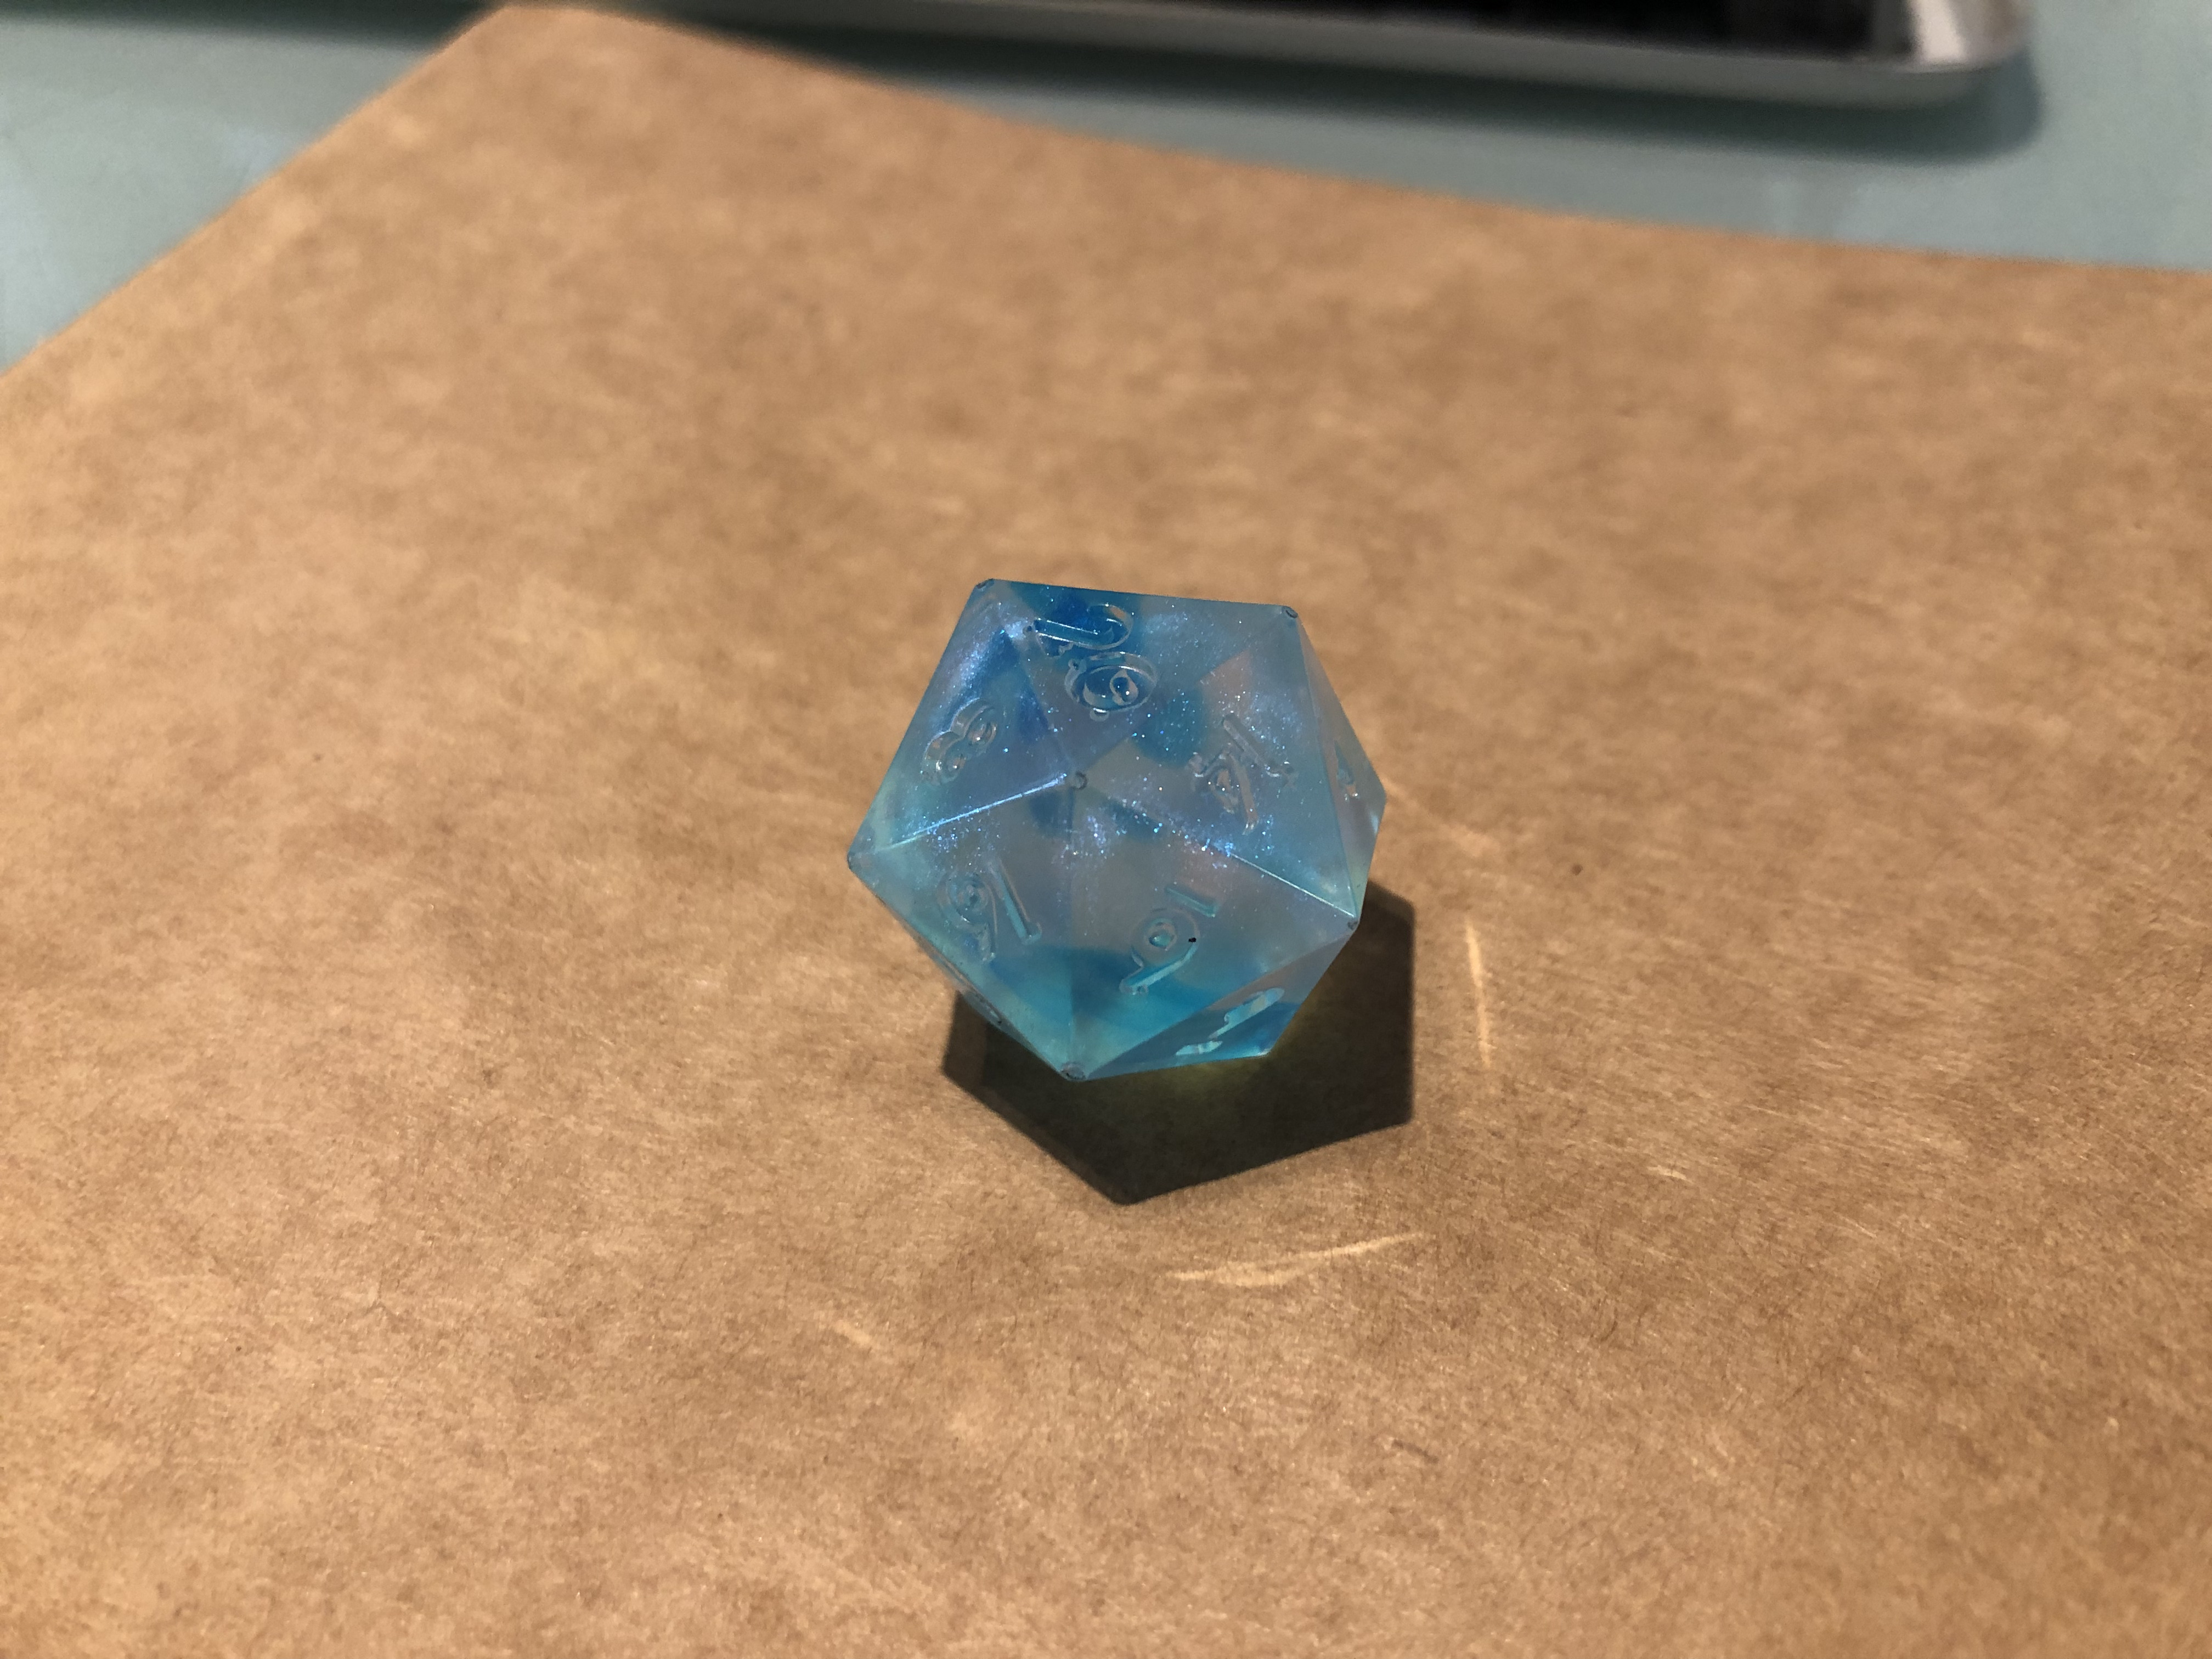
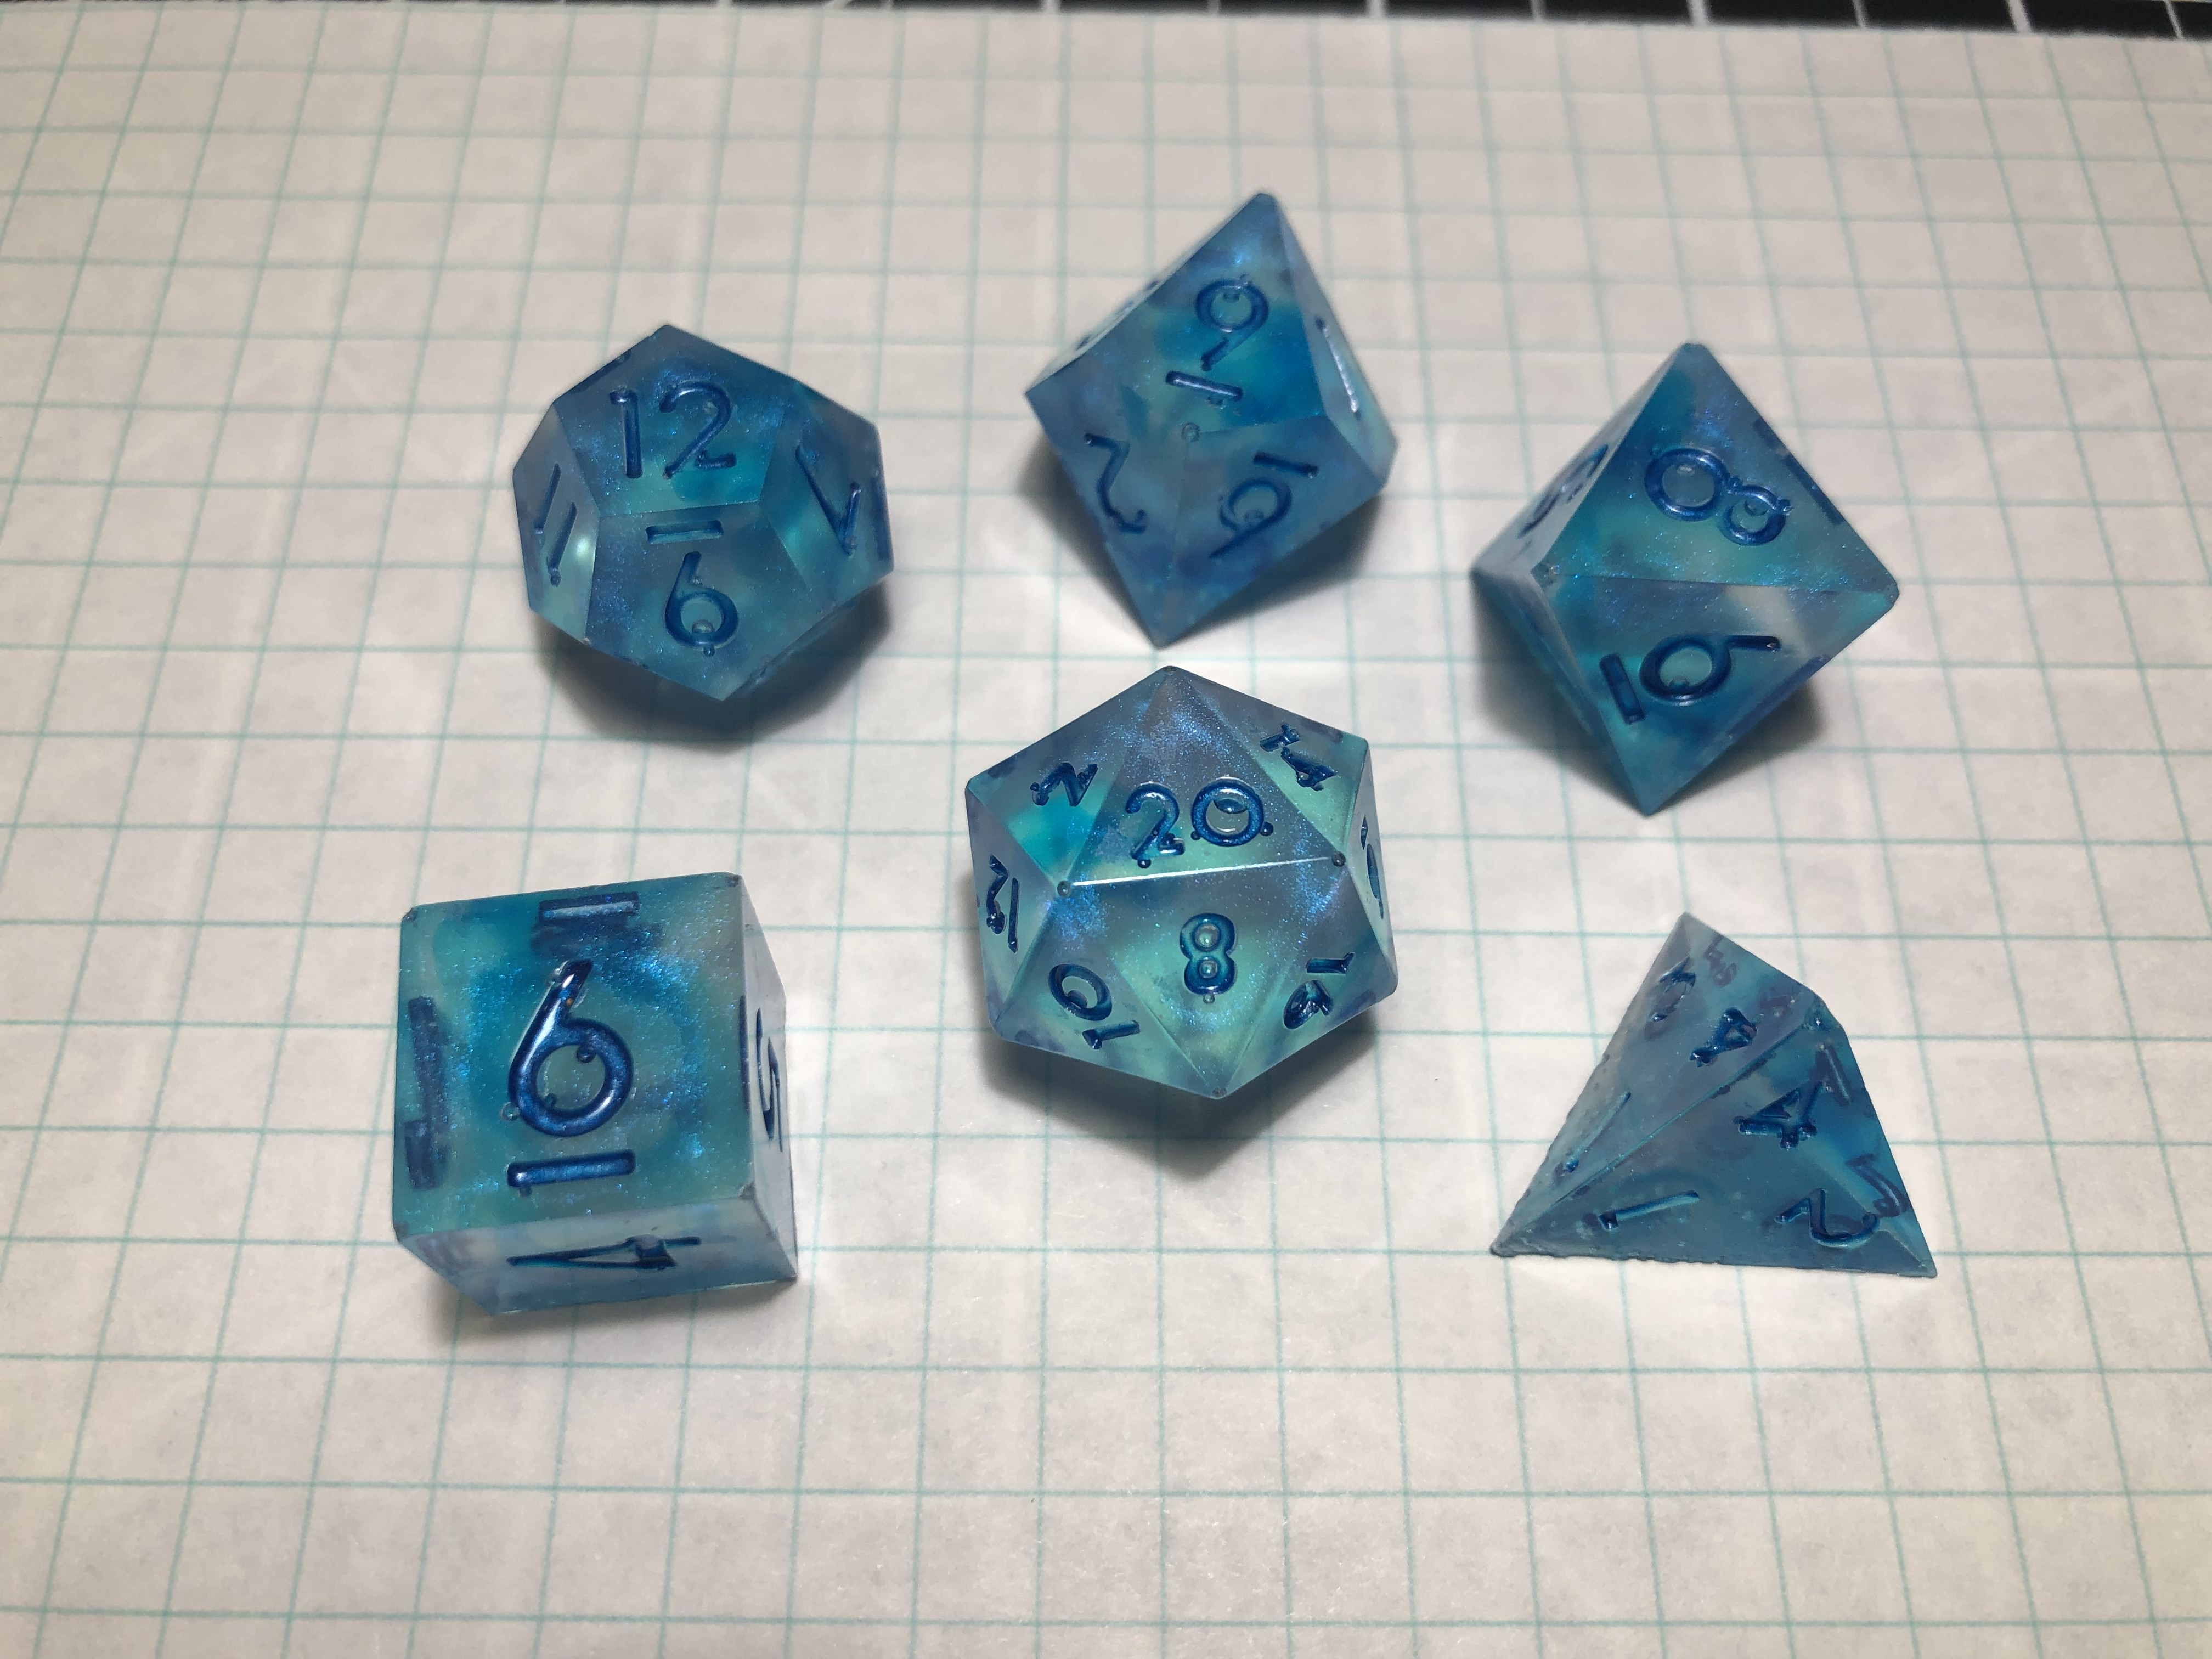
The mold was done the next day, and I couldn’t be happier with how it came out. The cap cleanly came off of the base, leaving behind nill imperfections around the dice imprints. And the wider, angled recesses along with the weight of the cap meant that it easily slid into place. I wanted to make something special for the first set of dice I made with this mold. I mixed around 5 oz of total resin (which in hindsight was too much) and set aside about 1.5 oz. For the main color, I mixed a sparkly mica powder with a blue shine into the resin. As for the smaller portion, I dyed it blue with the food coloring, and set two pipette to suck up the resin. I first vacuumed out most of the bubbles from both resins. Then I poured the mica powder resin into the molds, filling them up all the way. Next, I took one of the pipettes and stuck it into one of the die molds. I slowly dispensed the blue resin into the molds in a swirl-like fashion. When one pipette ran out of resin, I used the other, slowly dispensing the resin so as not to create any bubbles. Once I finished, I put the cap on, which slid down nicely. I weighed it down anyway to be sure the casts came out good and let it sit until the next day.
Finally, when I checked the dice in the morning, I was extremely happy with the result. With the exception of tiny bubbles across the surface (which could only really be removed with a pressure pot) and a slightly larger bubble on the D20, these dice came out perfect. The effect of the swirling blue inside sparkle came out perfectly, and the “1” face across the dice wasn’t too elevated. To finish them up, I sanded down and polished the “1” face and grabbed some enamel paint (which I don’t recommend now, as the oil-base makes it harder to work with for projects like this) to ink the numbers, completing the set.
Other Molds
On top of the dice, I also made two other molds: a two-part mold of a low-poly Virgin Mary and an open back mold of a low-poly fox.
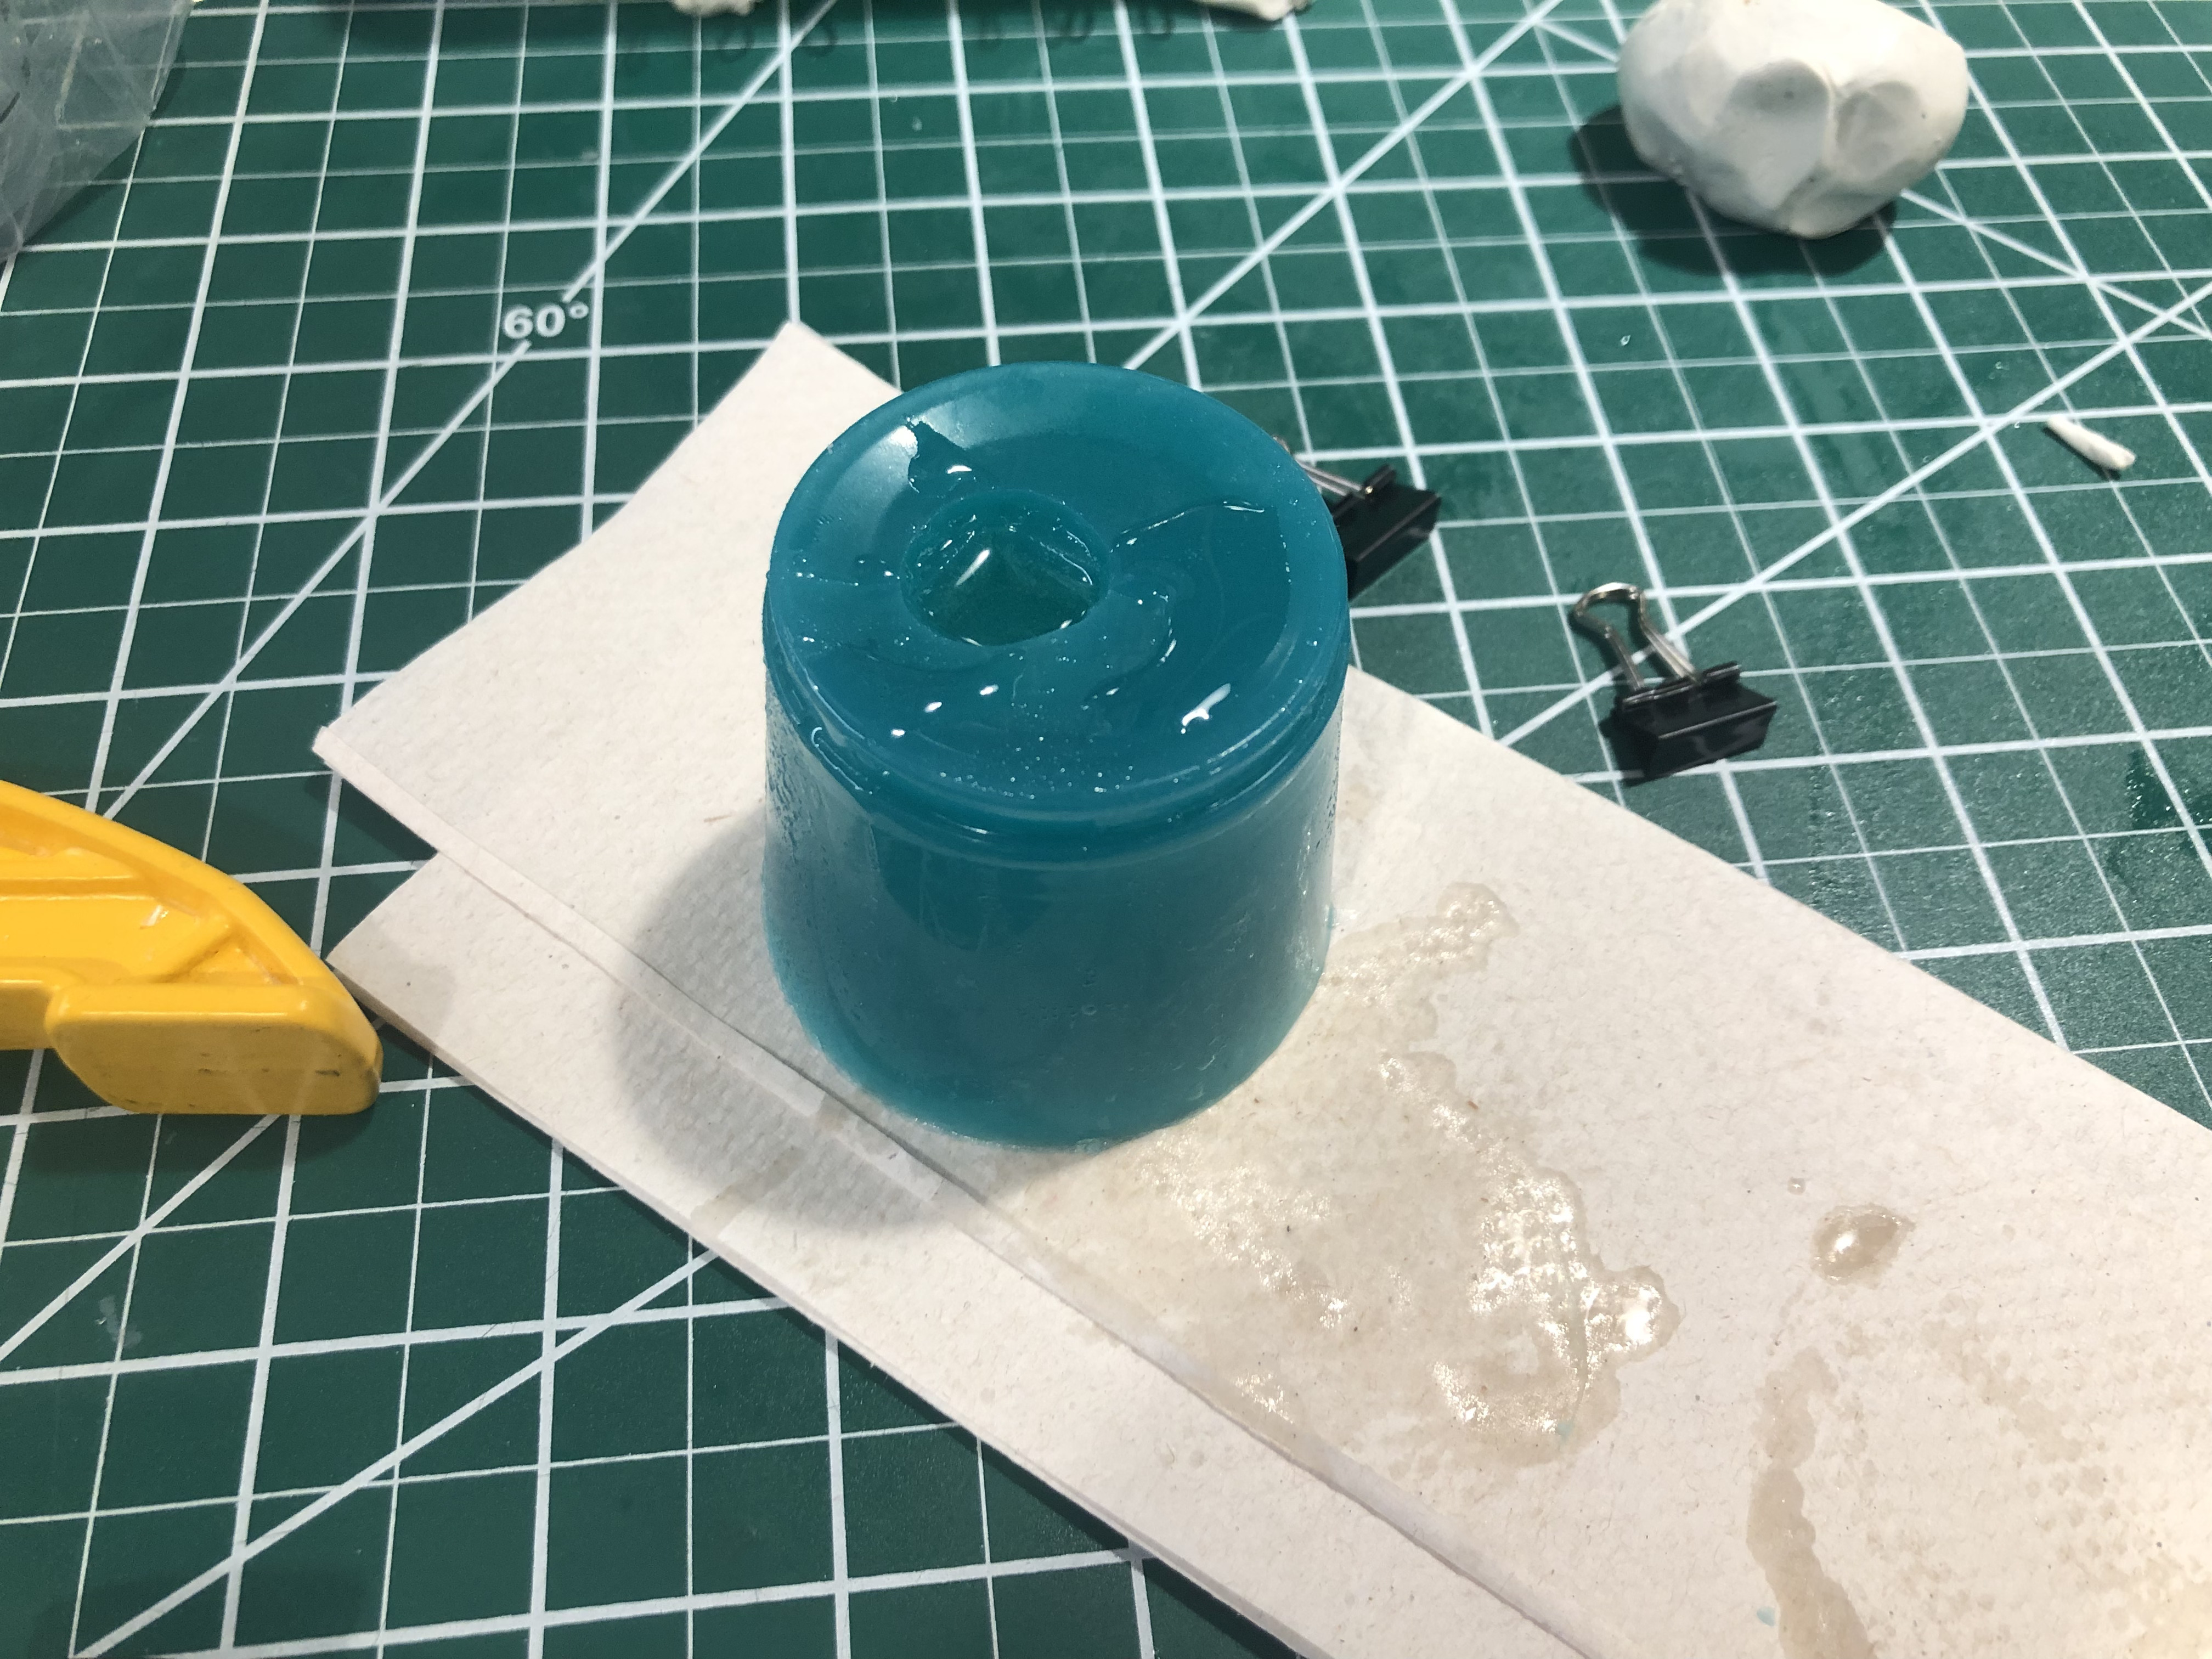
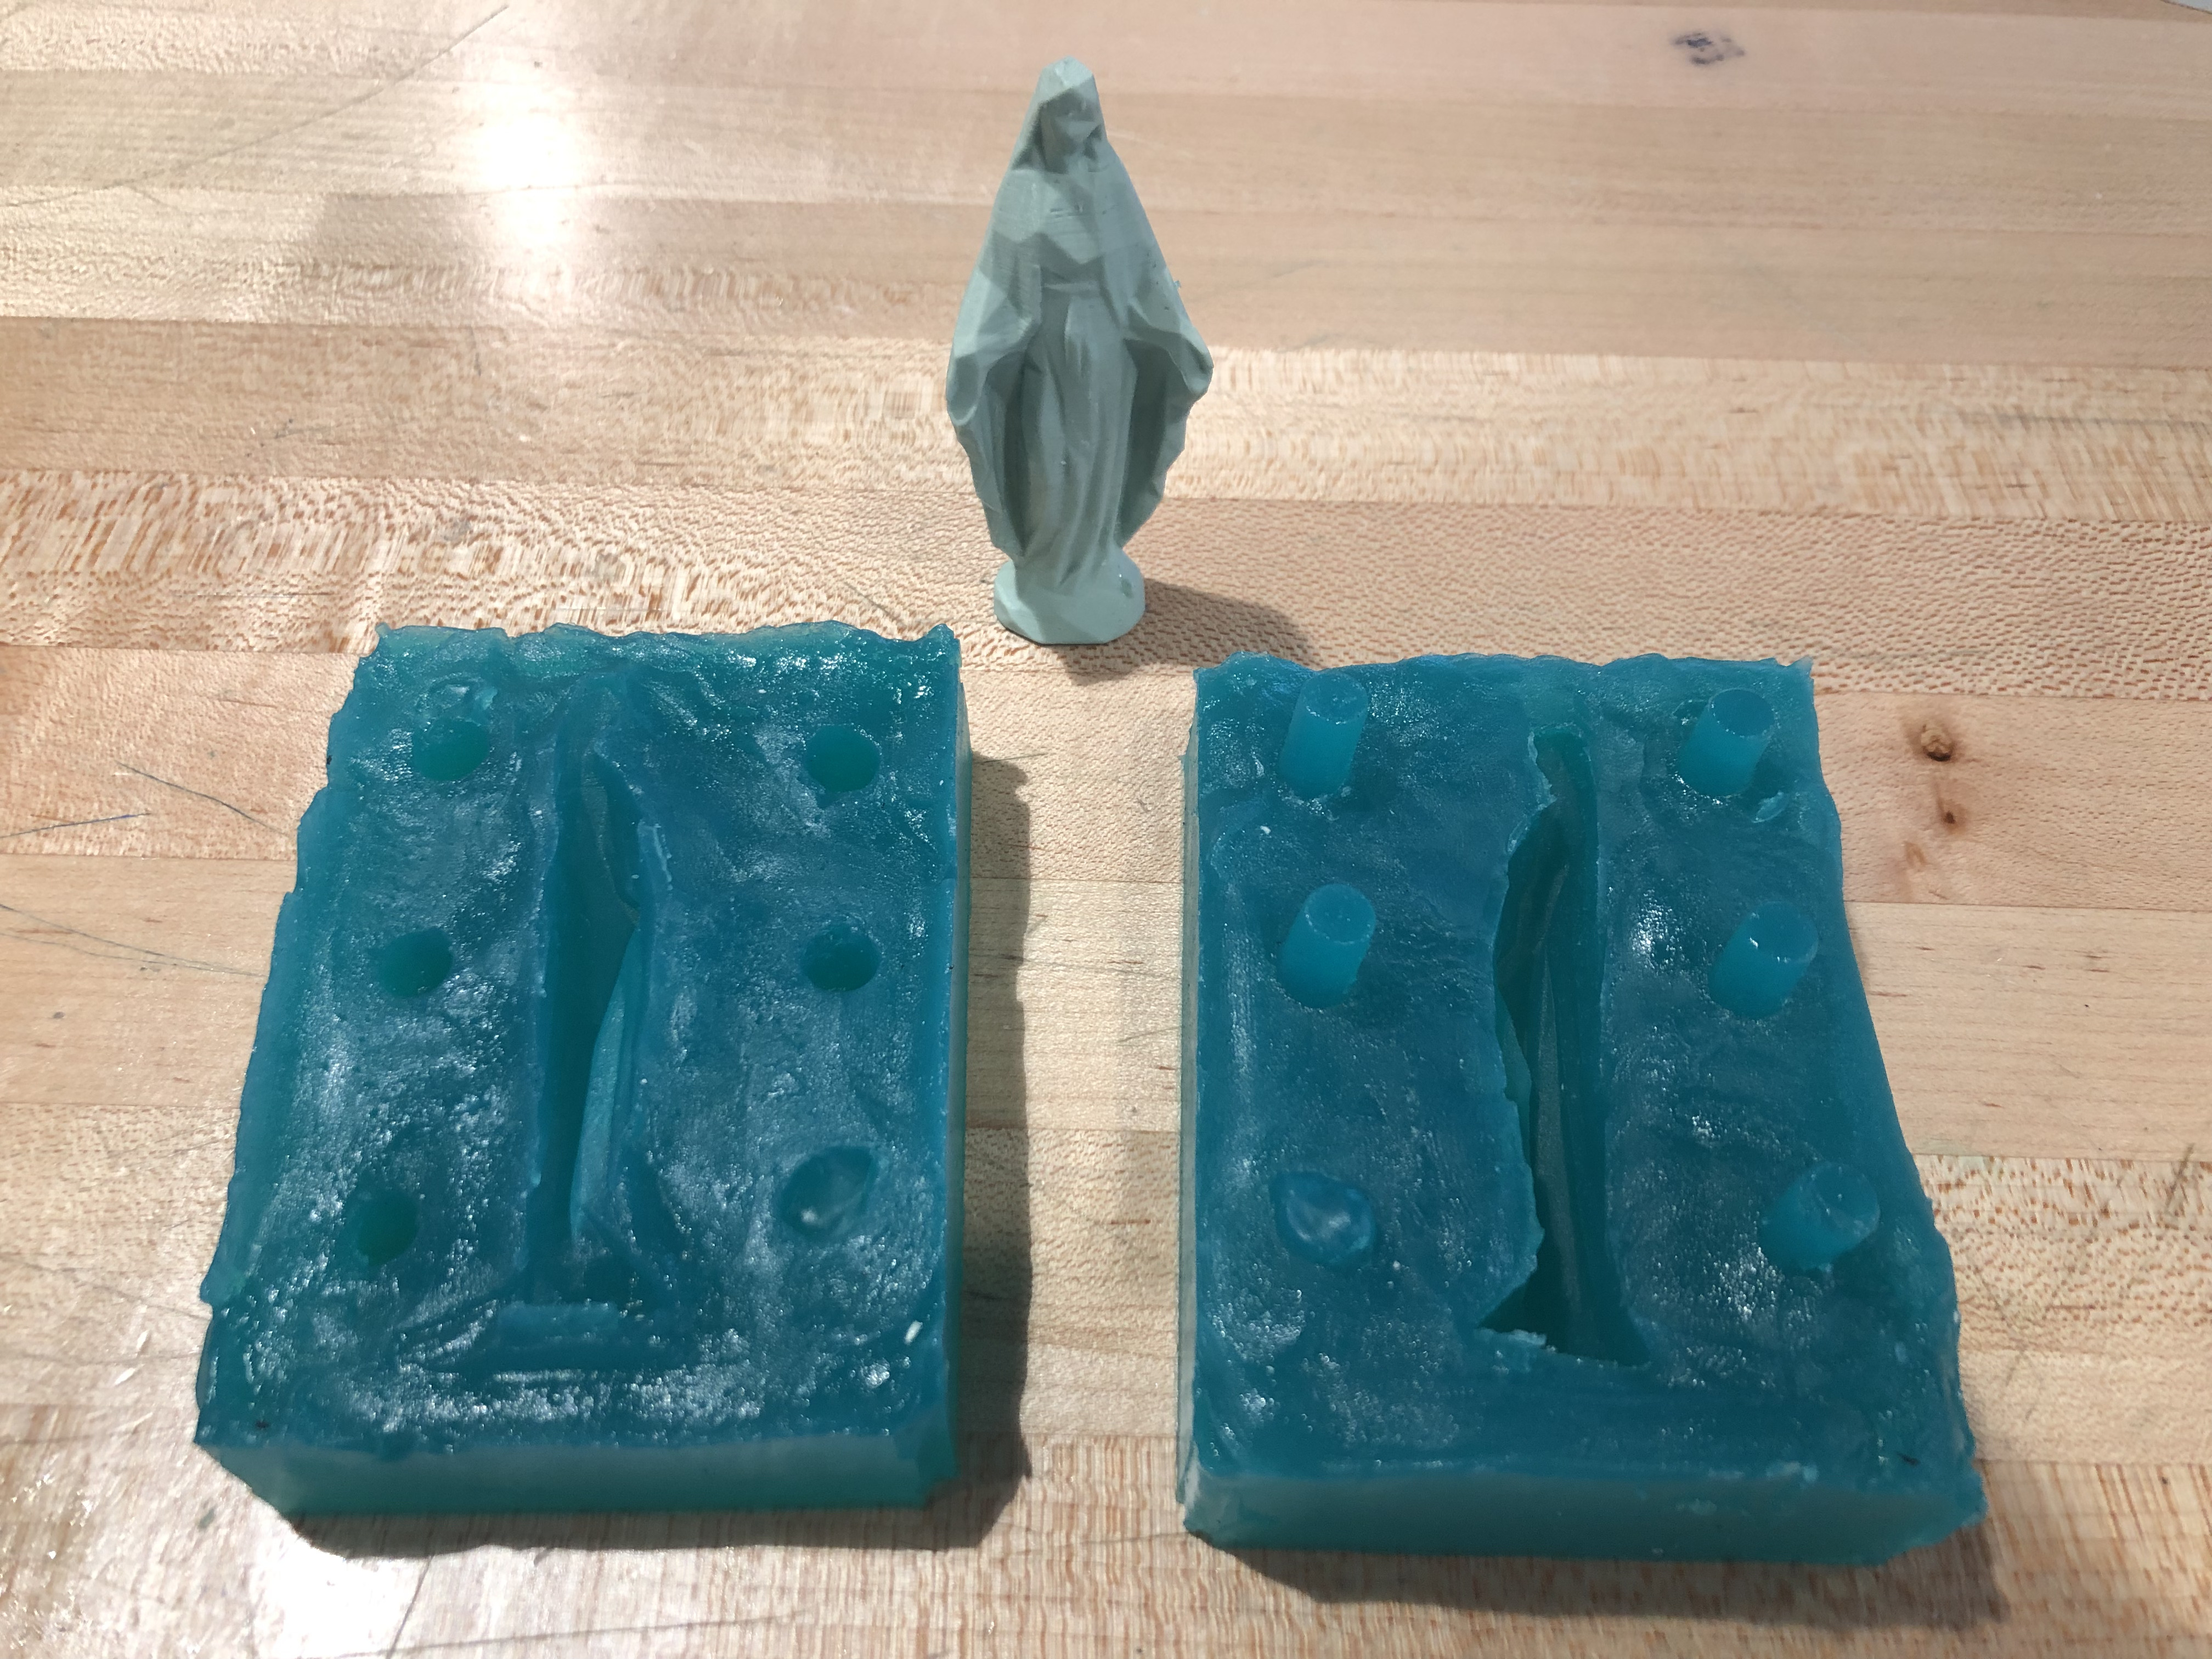
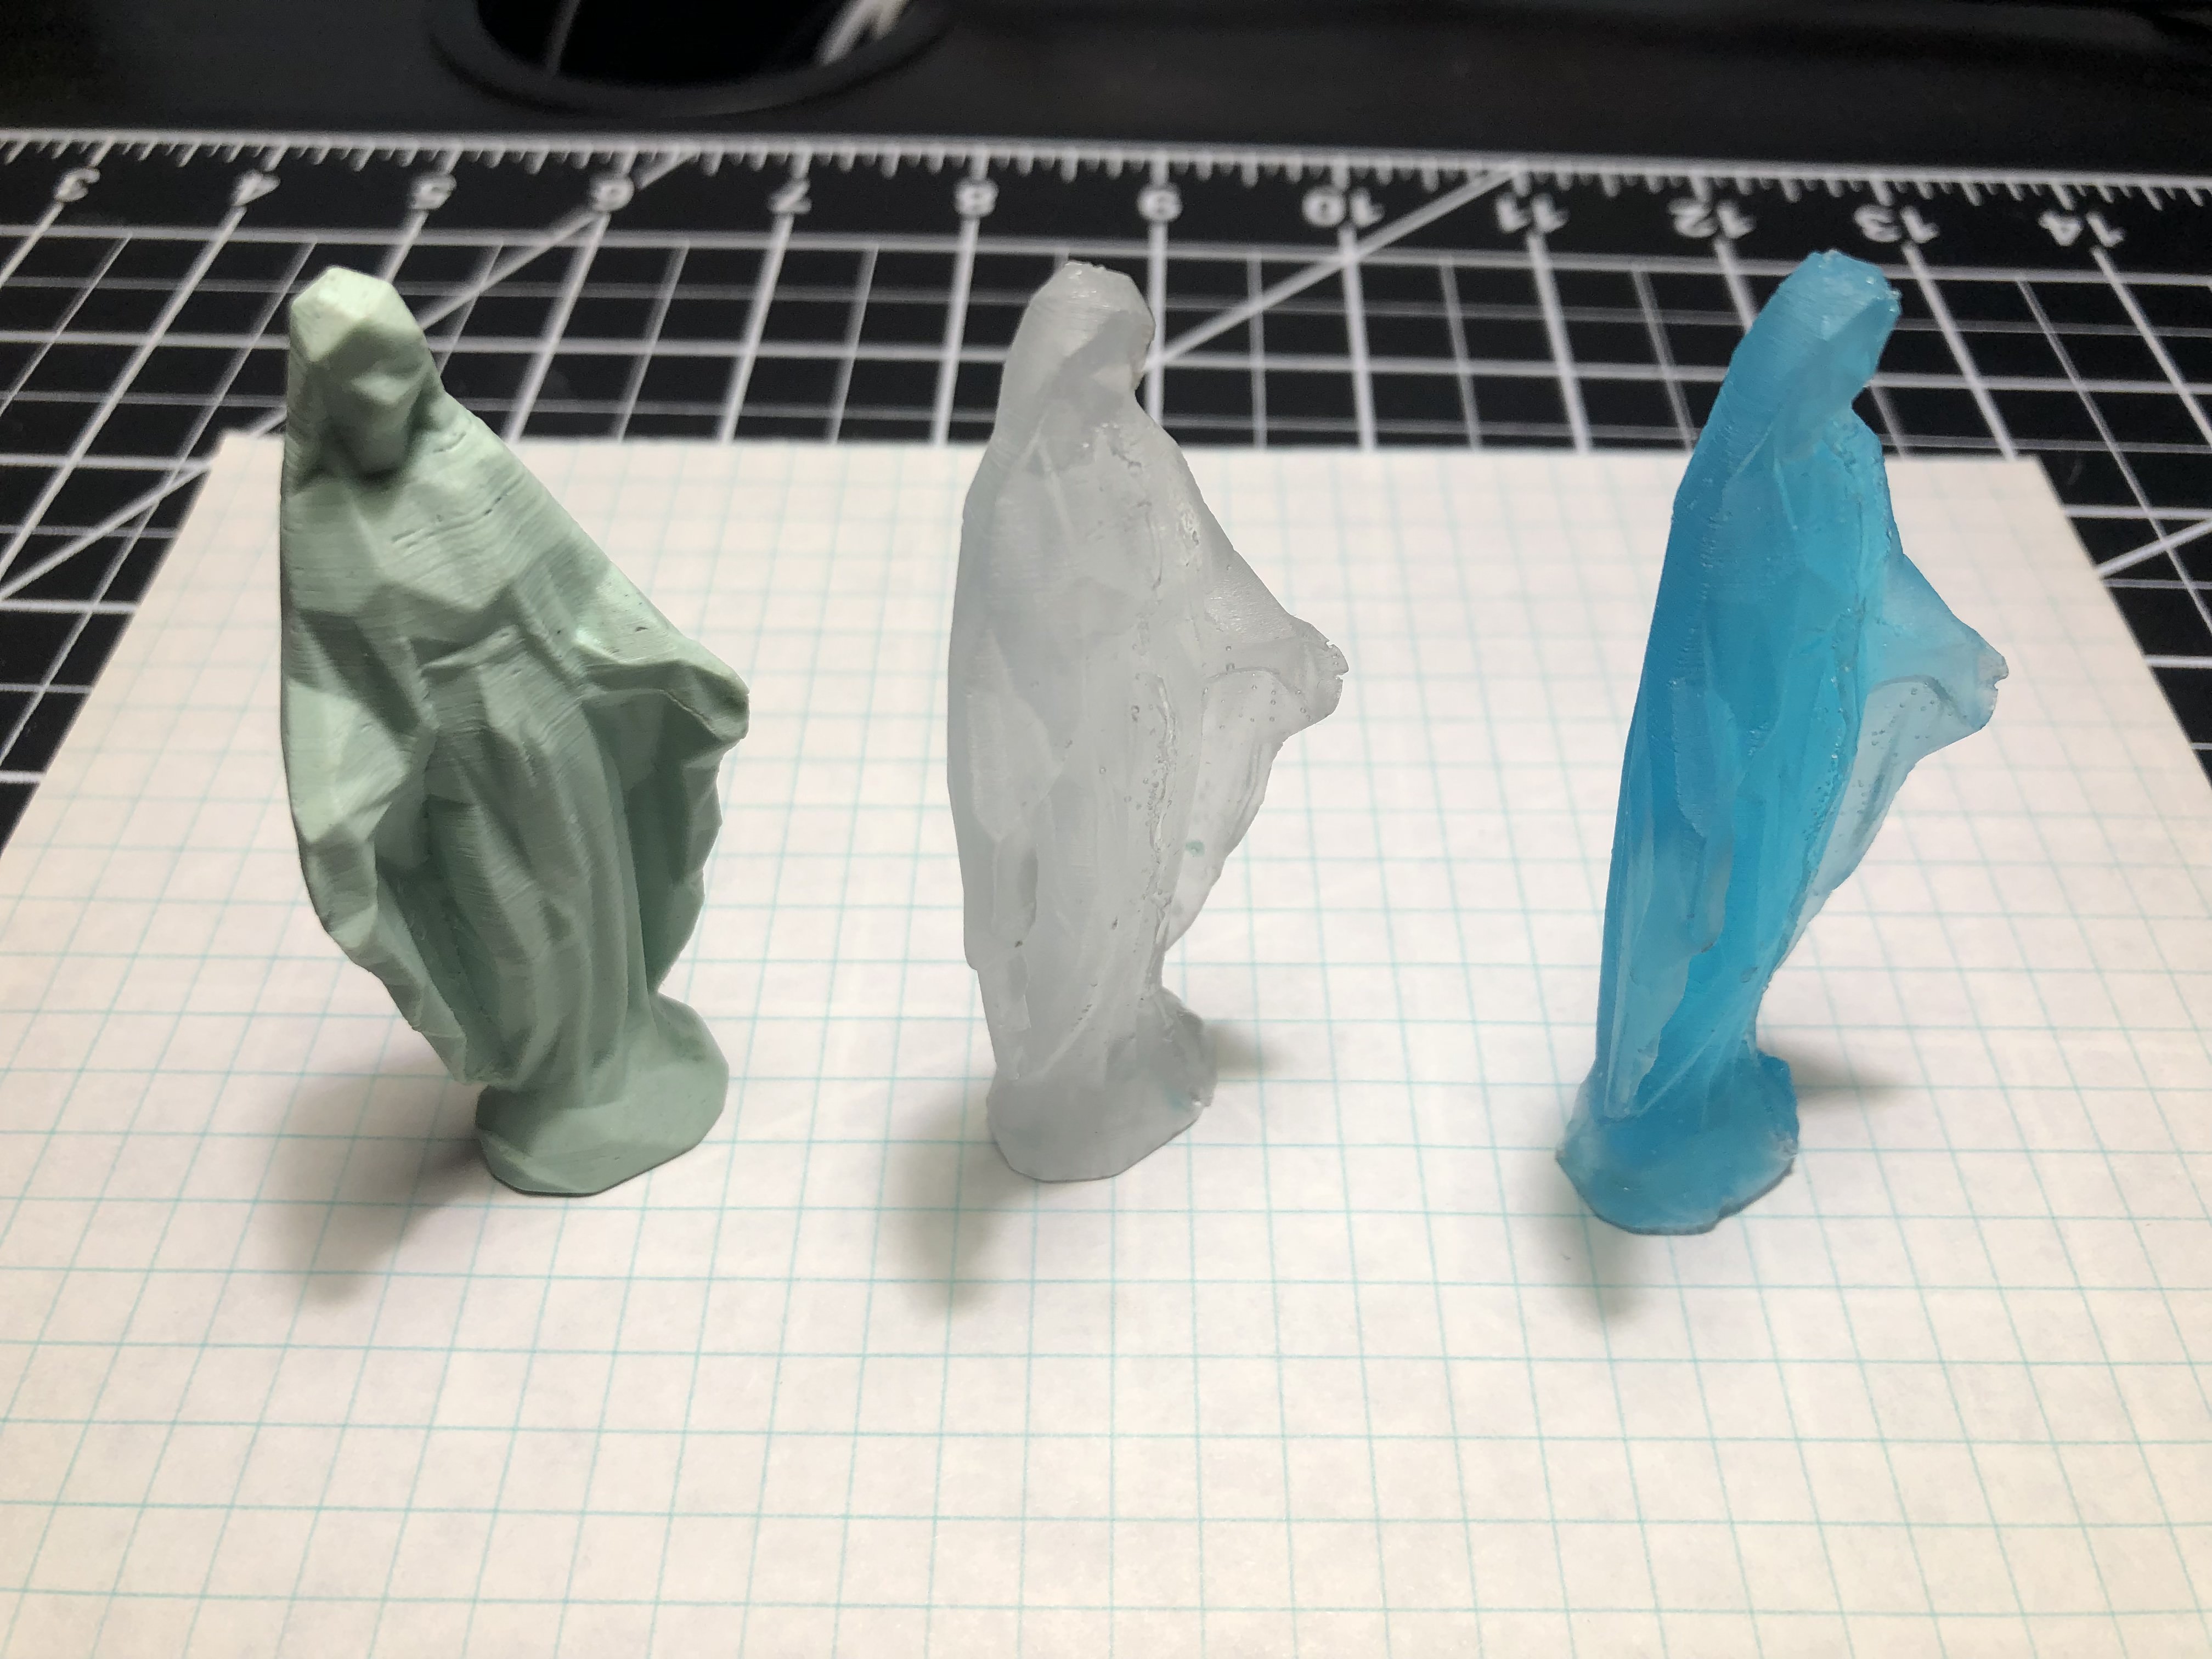
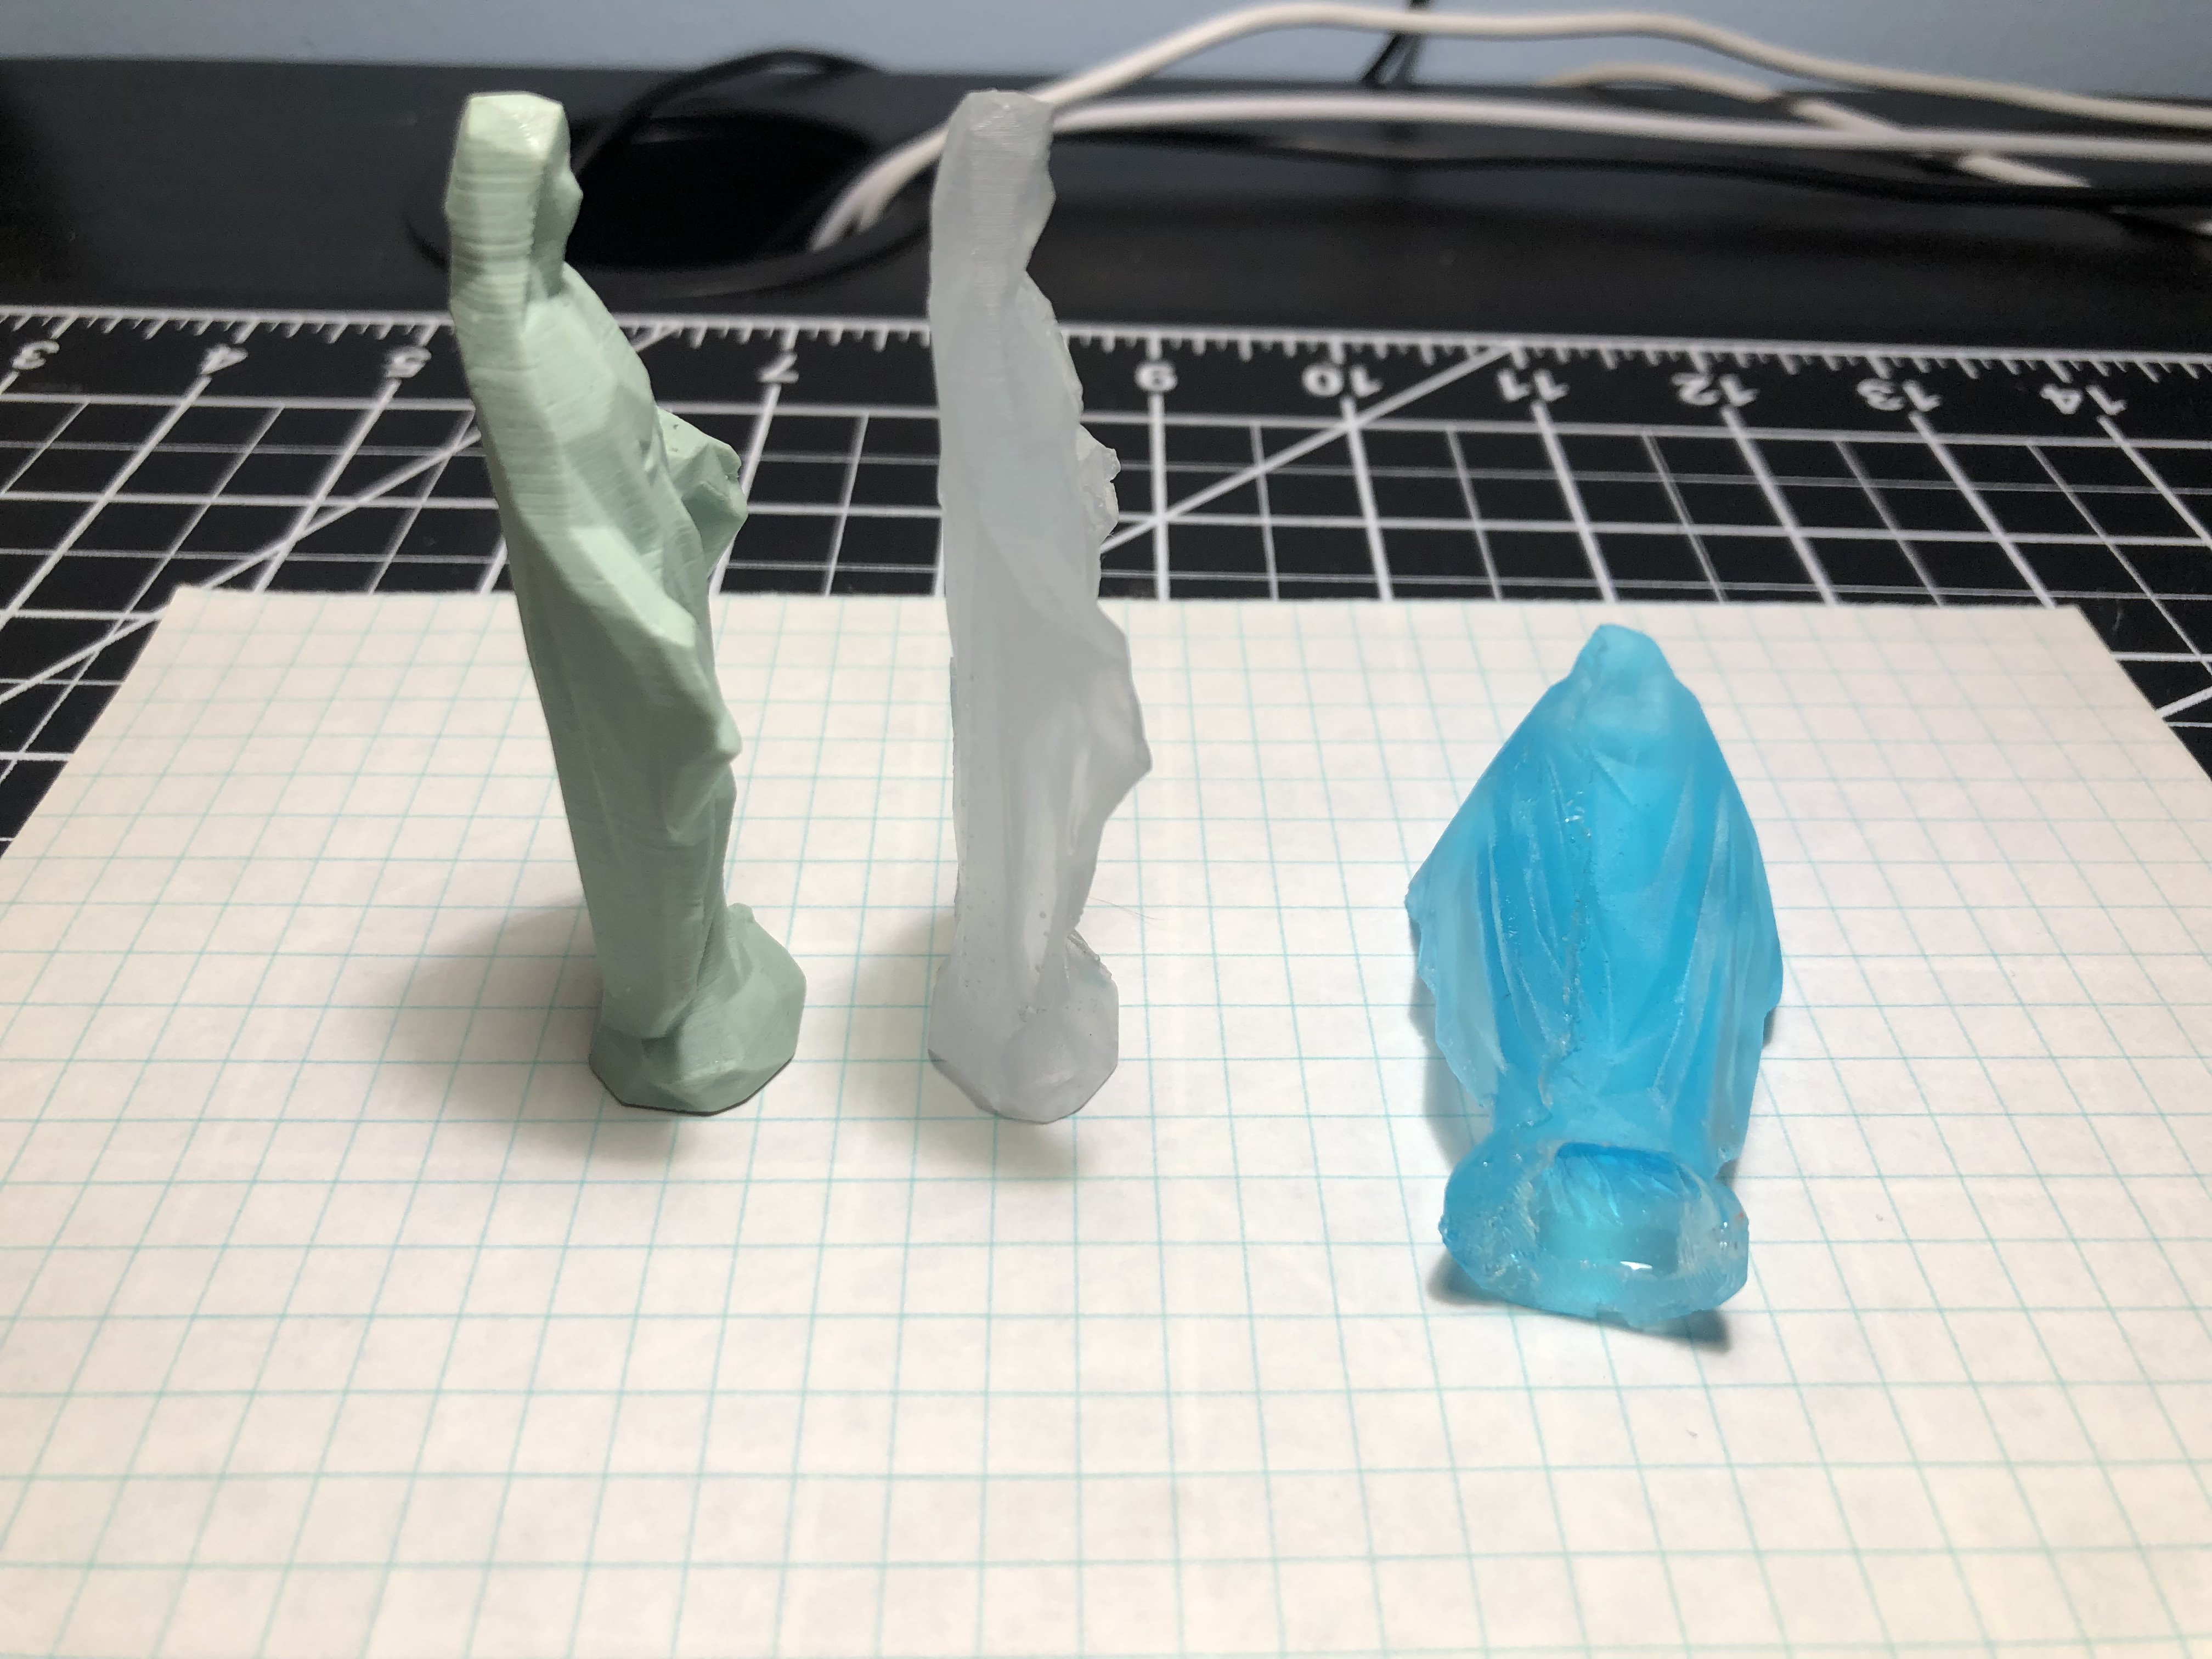
The two-part mold of Mary was probably the second-most difficult mold I made. The first step was to make a box that could encapsulate the whole object with some spare room. After making this with styrofoam and hot glue, I placed Mary into a large chunk of clay and put that into the box, filling in any empty corners with clay as well. After poking 6 holes to act as keys into the clay, I poured in the silicone and painted for it to cure. Once ready, I tore the box apart and carefully took the clay off without taking Mary out of the mold. I made a new box and fit it around the first half of the mold with Mary still inside. I then sprayed a hefty amount of the release spray (this was before I learned of the vaseline method) onto the mold and poured in new silicone for the second half. This half cured, and after struggling to take the two halves apart (and losing one cylinder key), I had a completed mold of my low-poly Virgin Mary. Because I had forgotten to create one earlier in the mold, I had to cut out a recess that I could use to pour the resin in. My first attempt was just with clear resin, which came out with a few bubbles and slightly thinner than the original (maybe because I had placed rubber bands around the mold to secure it).My second attempt with this mold, using blue resin that I had placed into the vacuum chamber, came out with much less bubbles, but was missing a lot of resin at the feet where the recess was, because I poured in slightly less than what I needed as a result of having difficulty seeing if I had poured in enough or not. Both attempts suffered from heavy flashing, or excess resin along the middle of the mold, however this came off easily with an exacto-knife.
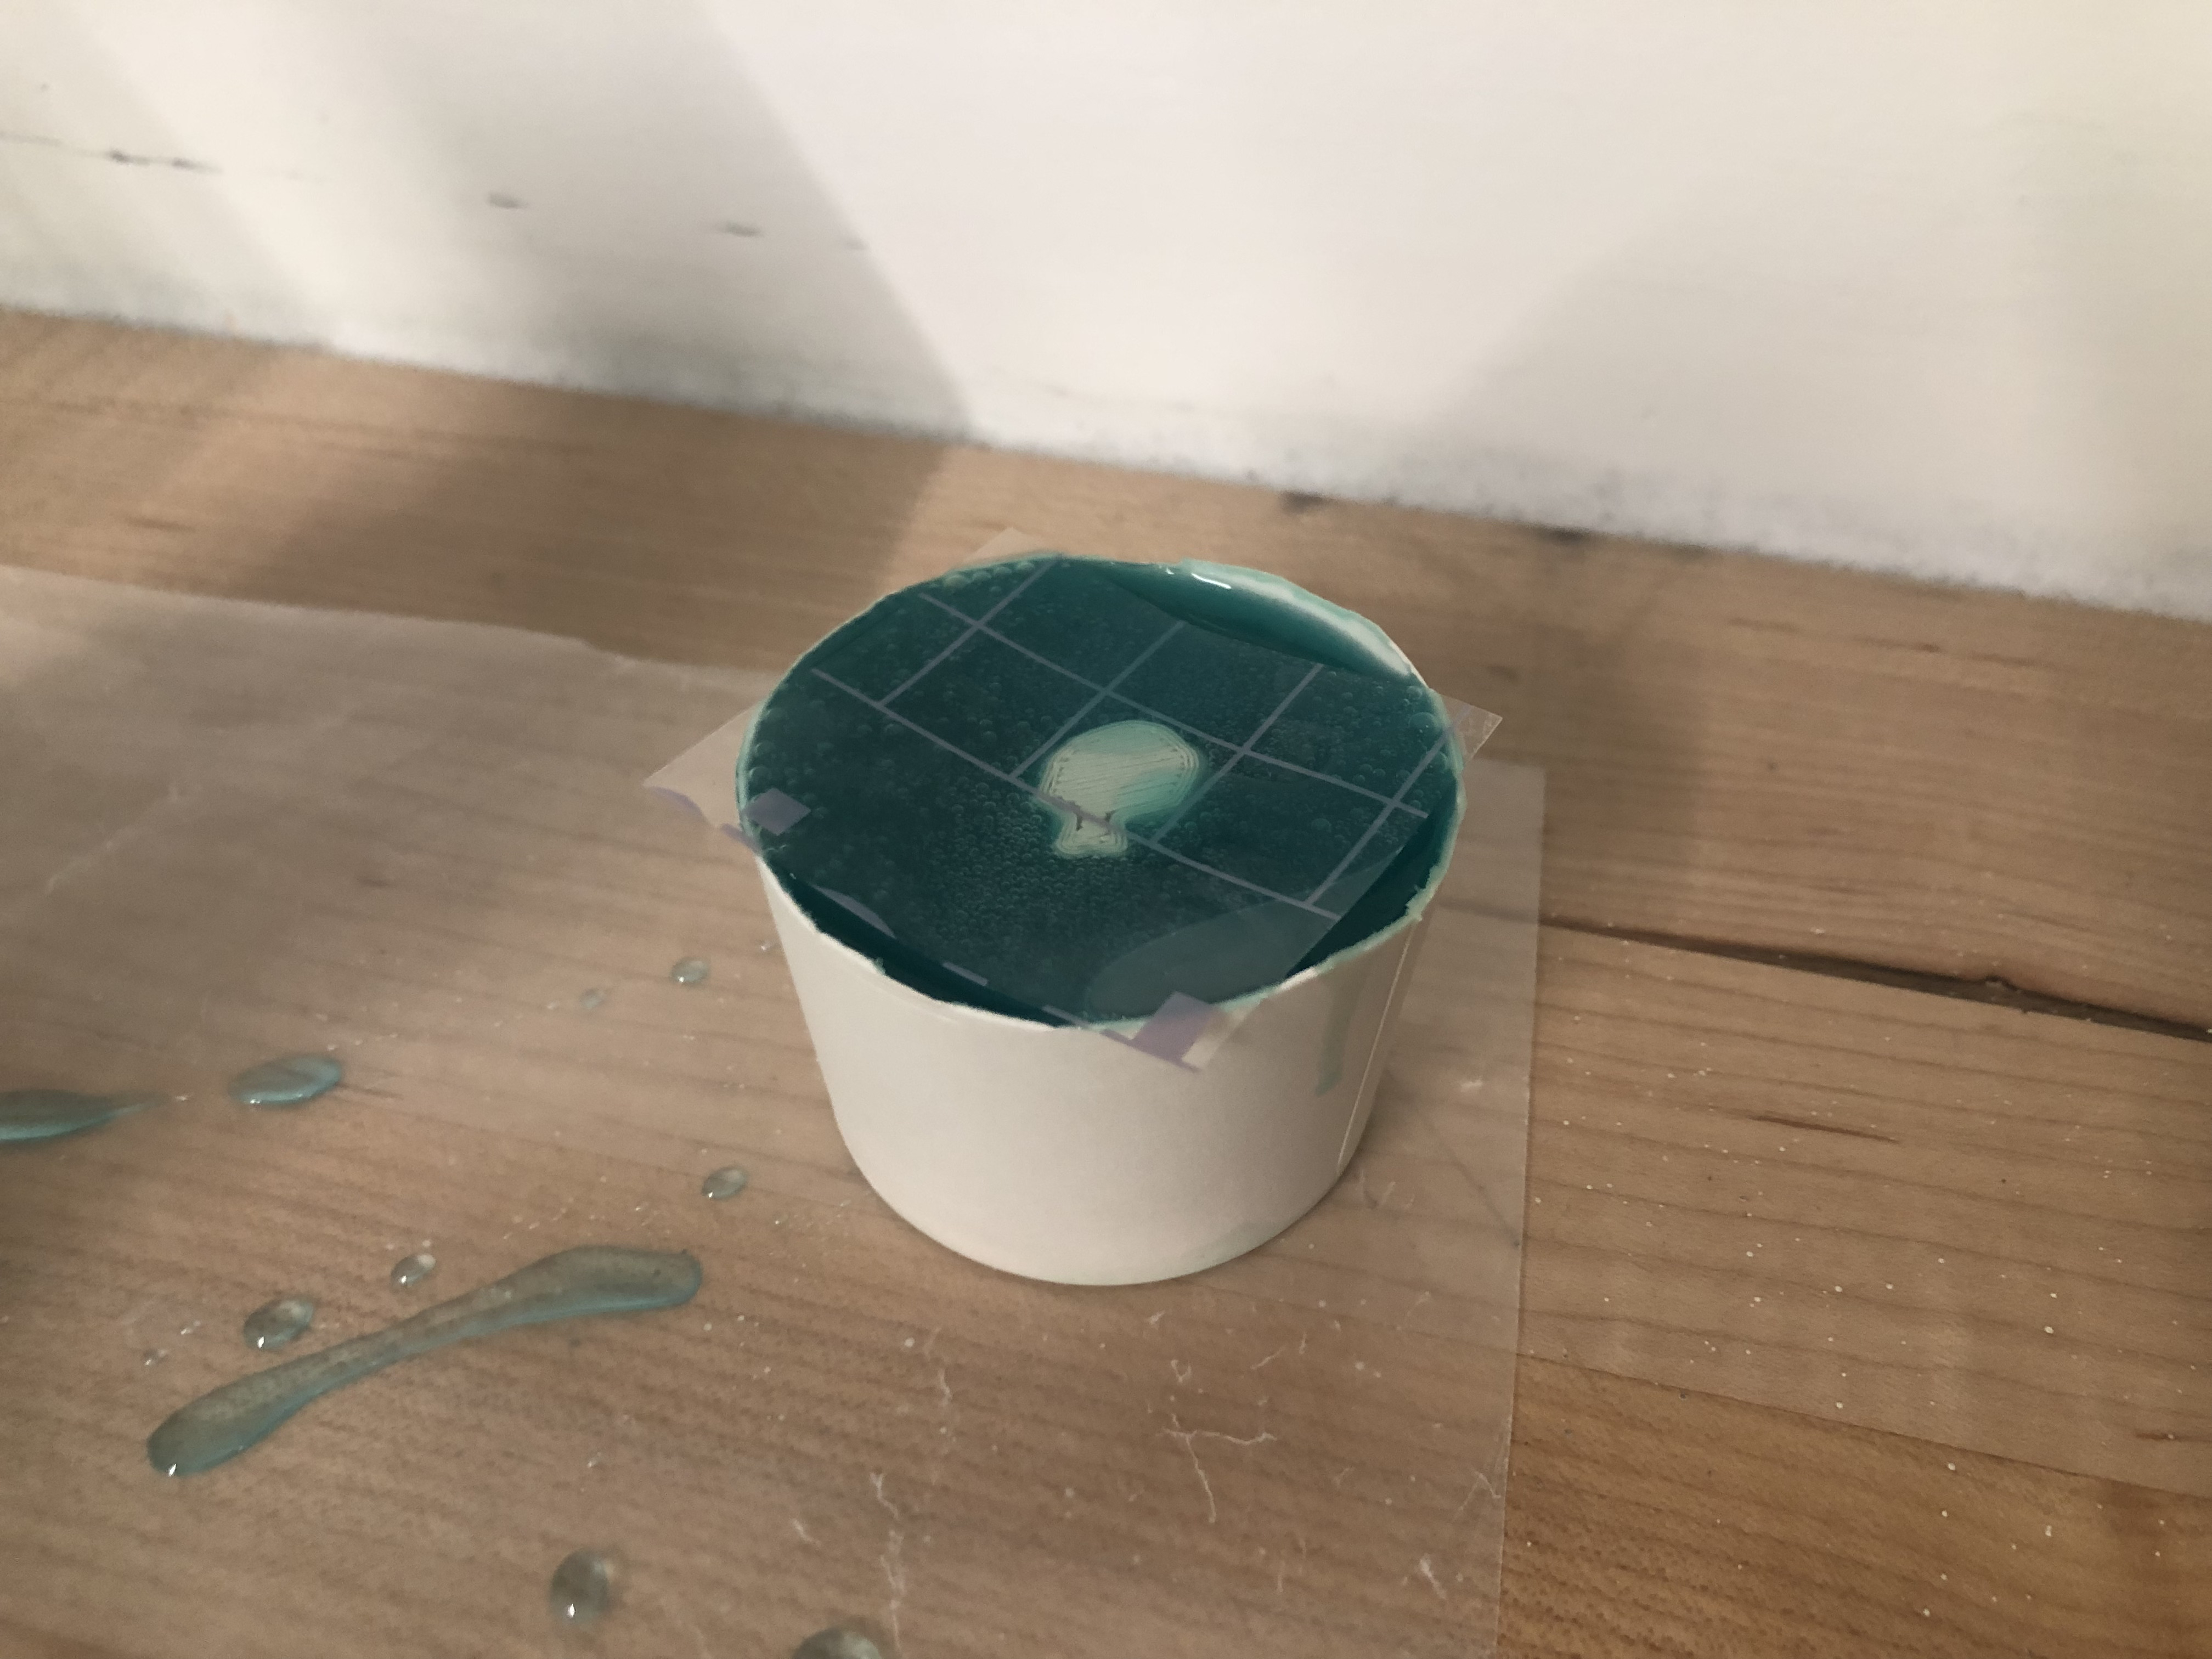
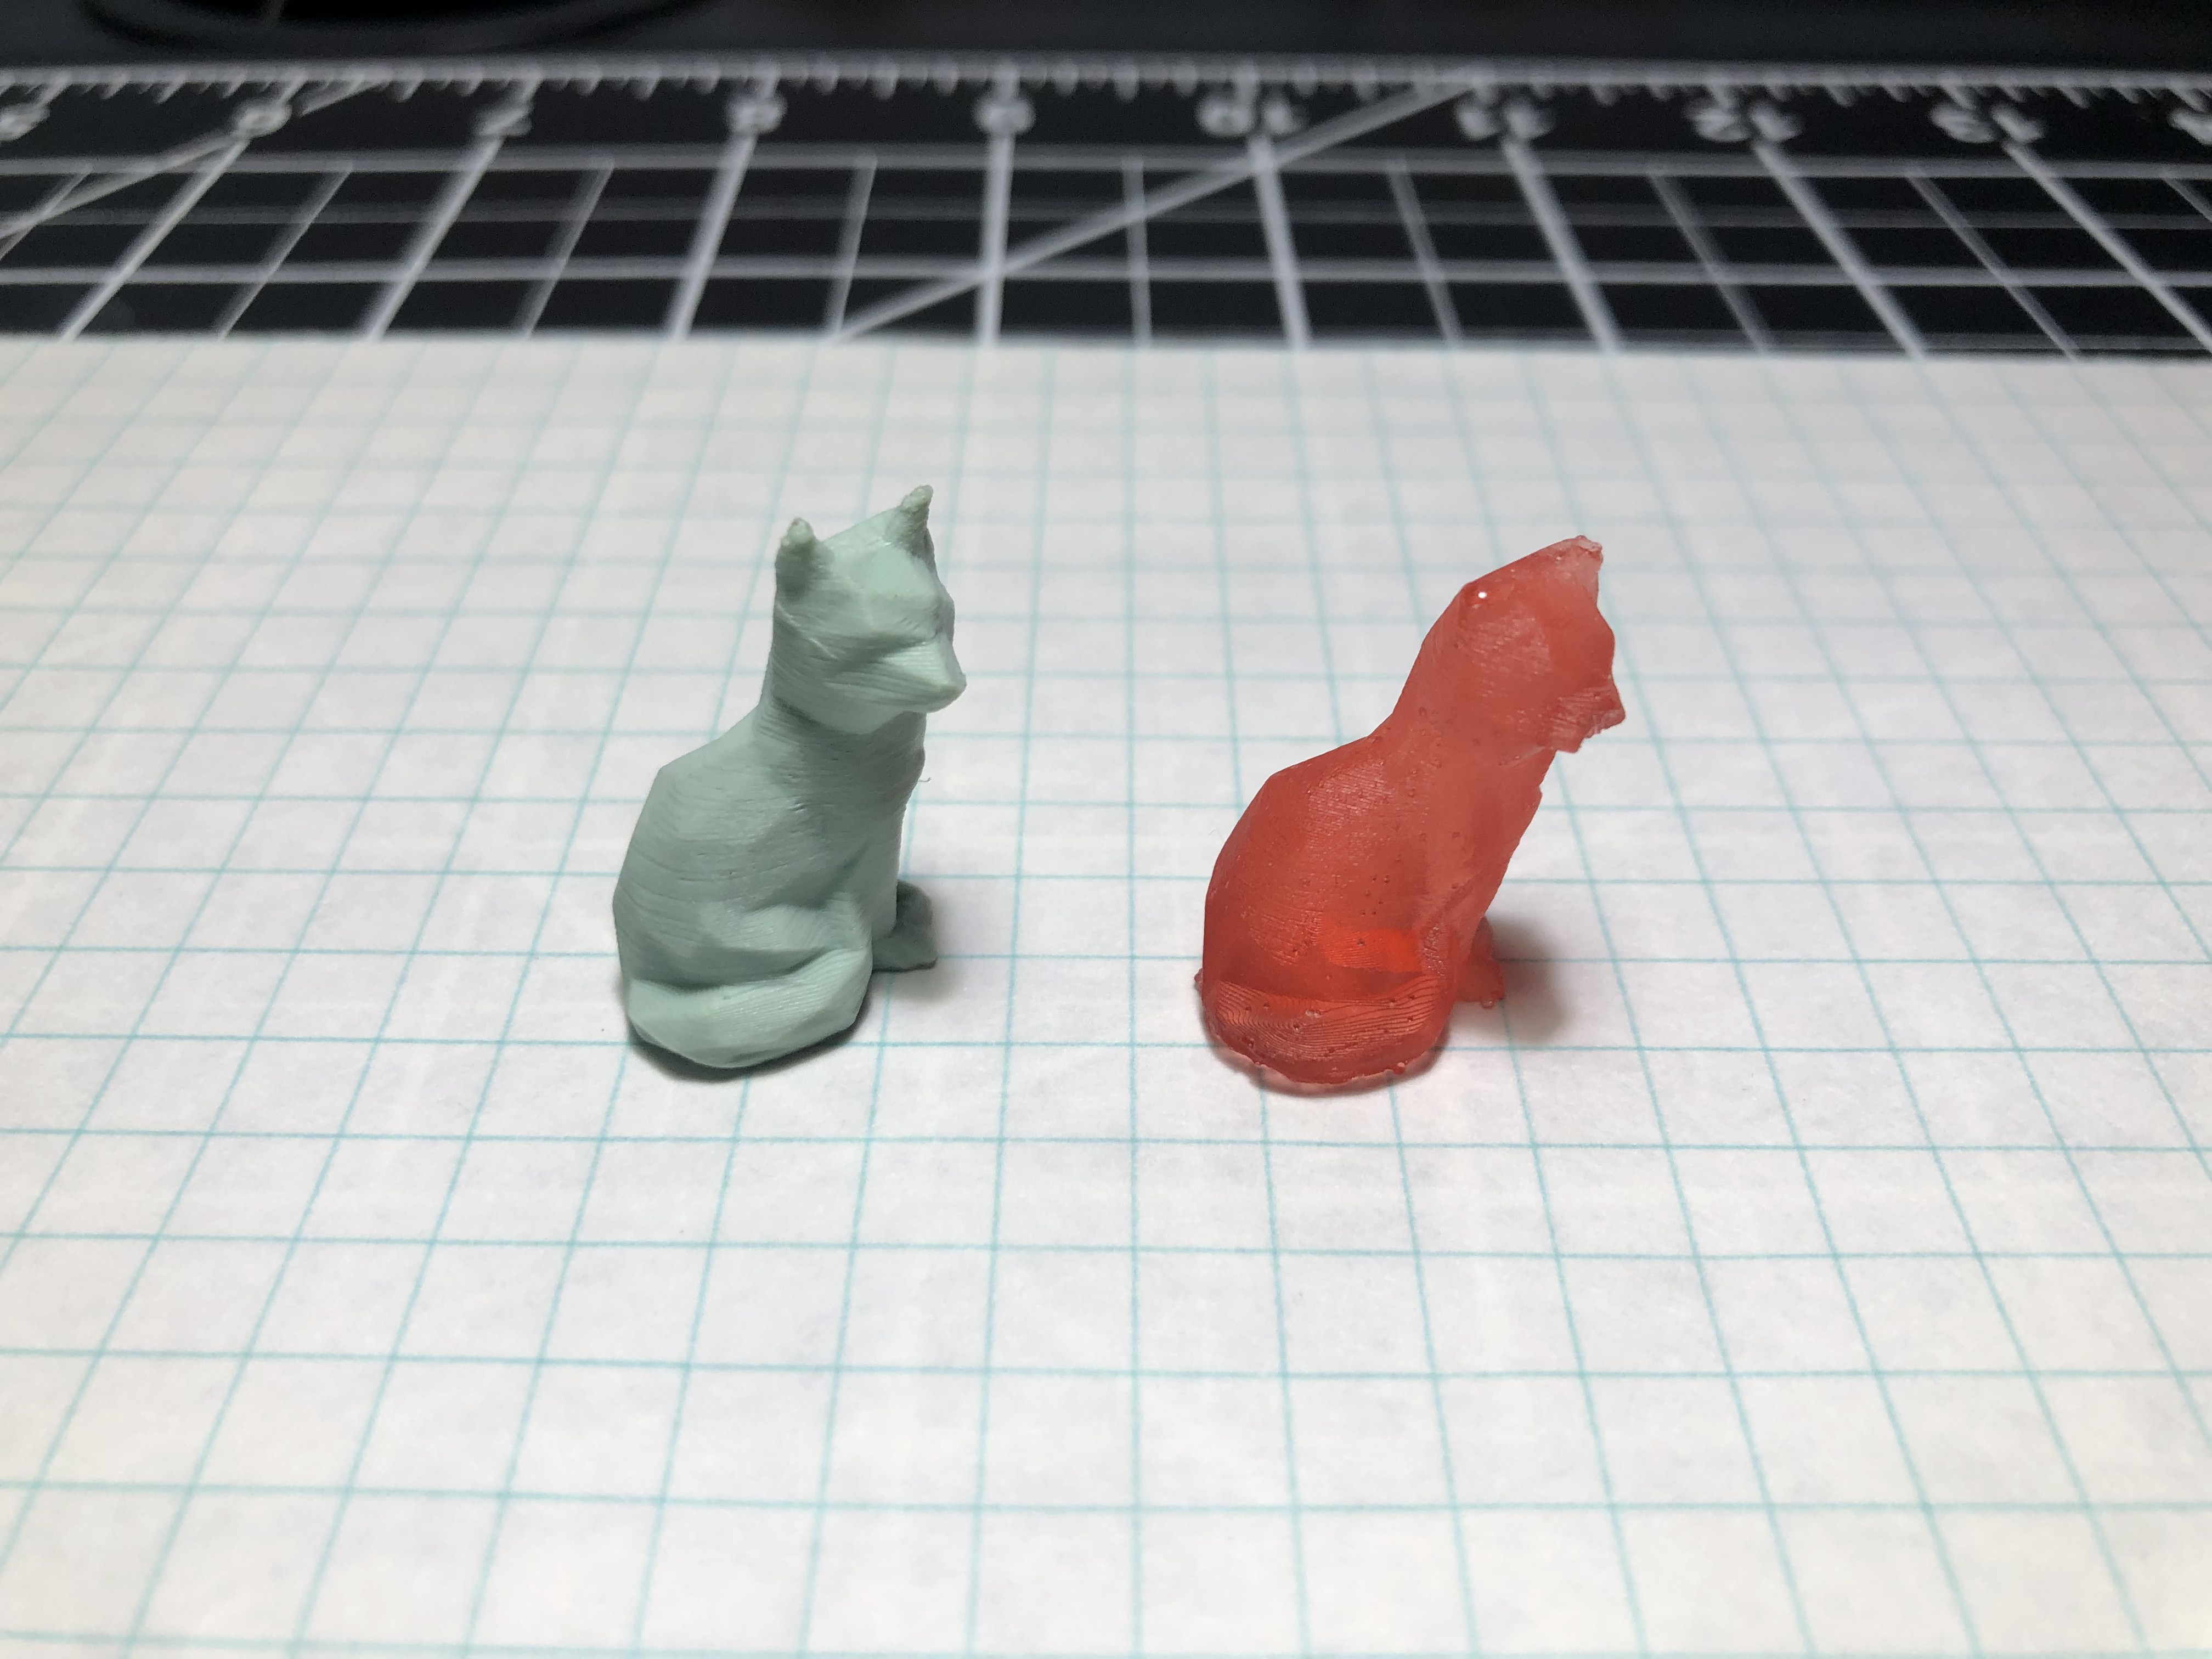
My final mold, that of a low-poly fox, was extremely simple. I used a small piece of the transfer tape and attached the fox to it before hanging it upside down in half of a small paper cup. I then poured in the silicone into the cup and pushed the tape down slightly, making sure the fox was fully inside the silicone. Once this was cured, the mold was down. I mixed together a small amount of resin and dyed it red to pour in. This attempt came out great except for bubble that got trapped where the ears and nose would have been, as the spots are hard for the resin to get into, instead trapping air when the resin goes into the mold. Overall, I had a blast with this mini project, and I hope to keep using this skill into my future. One self note, make sure that you always use protective gear when working with resin. Too much contact with resin can make you hypersensitive to it, which would mean that you could no longer work with resin.